HULL GELMARINE RESTORATION · RIVER THAMES
Our work  /  Fibreglass restoration

Sessa C35.
Behind the finish.

Extensive gelcoat repairs, non-slip refurbishment and a comprehensive exterior and cockpit rejuvenation for a luxury fibreglass sports cruiser.
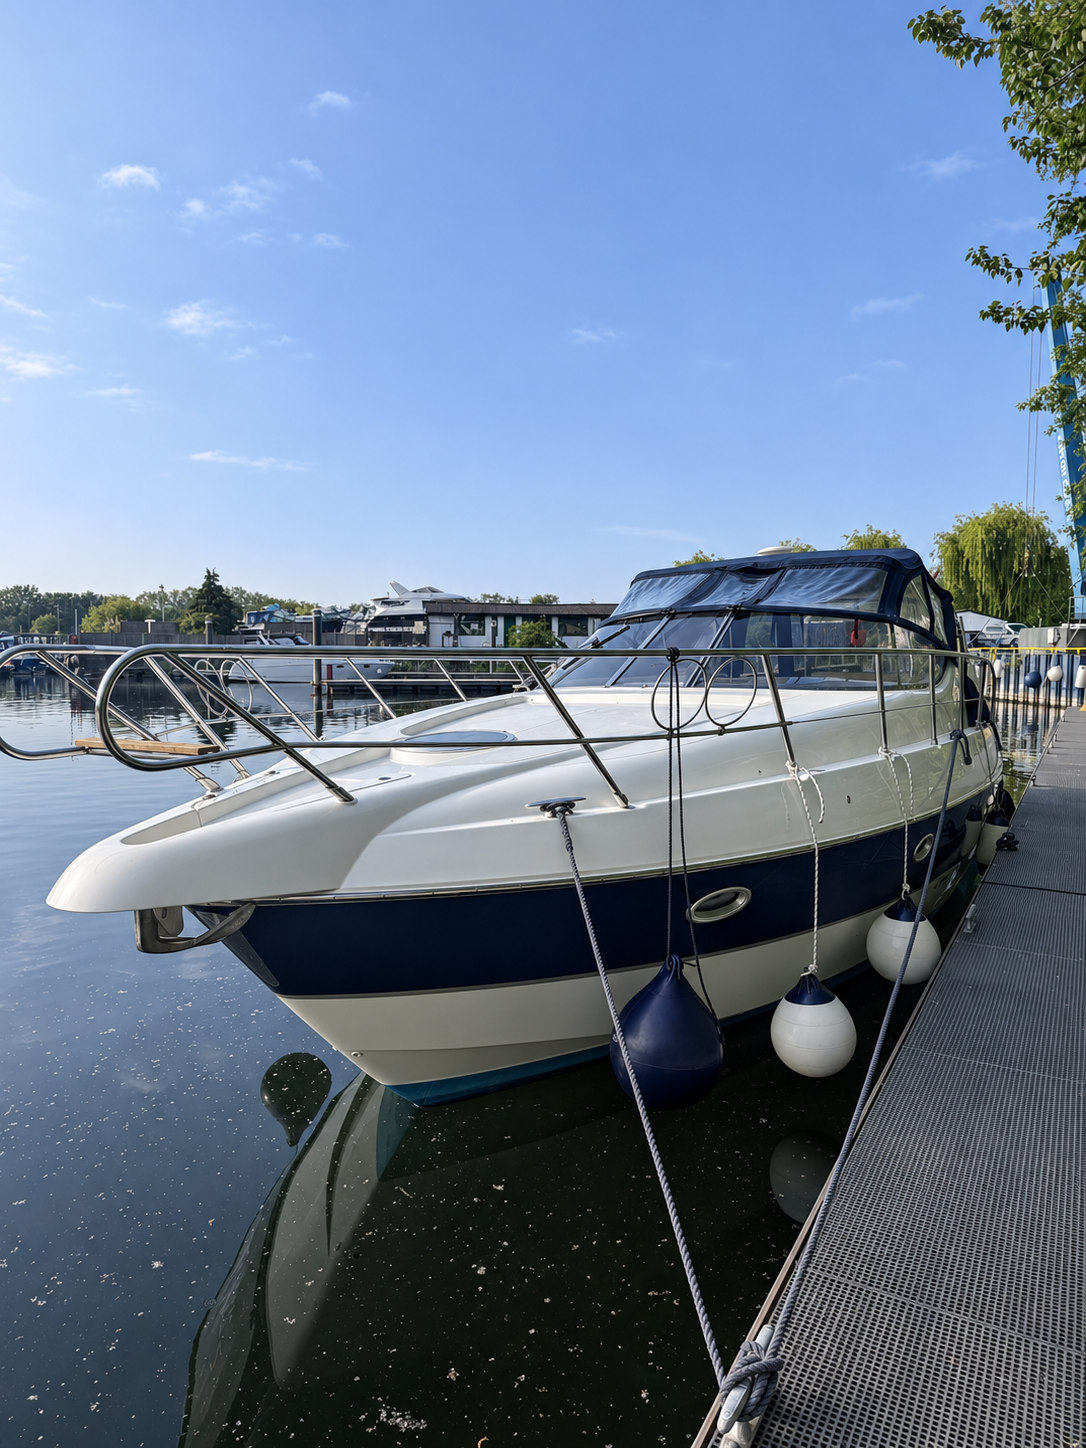
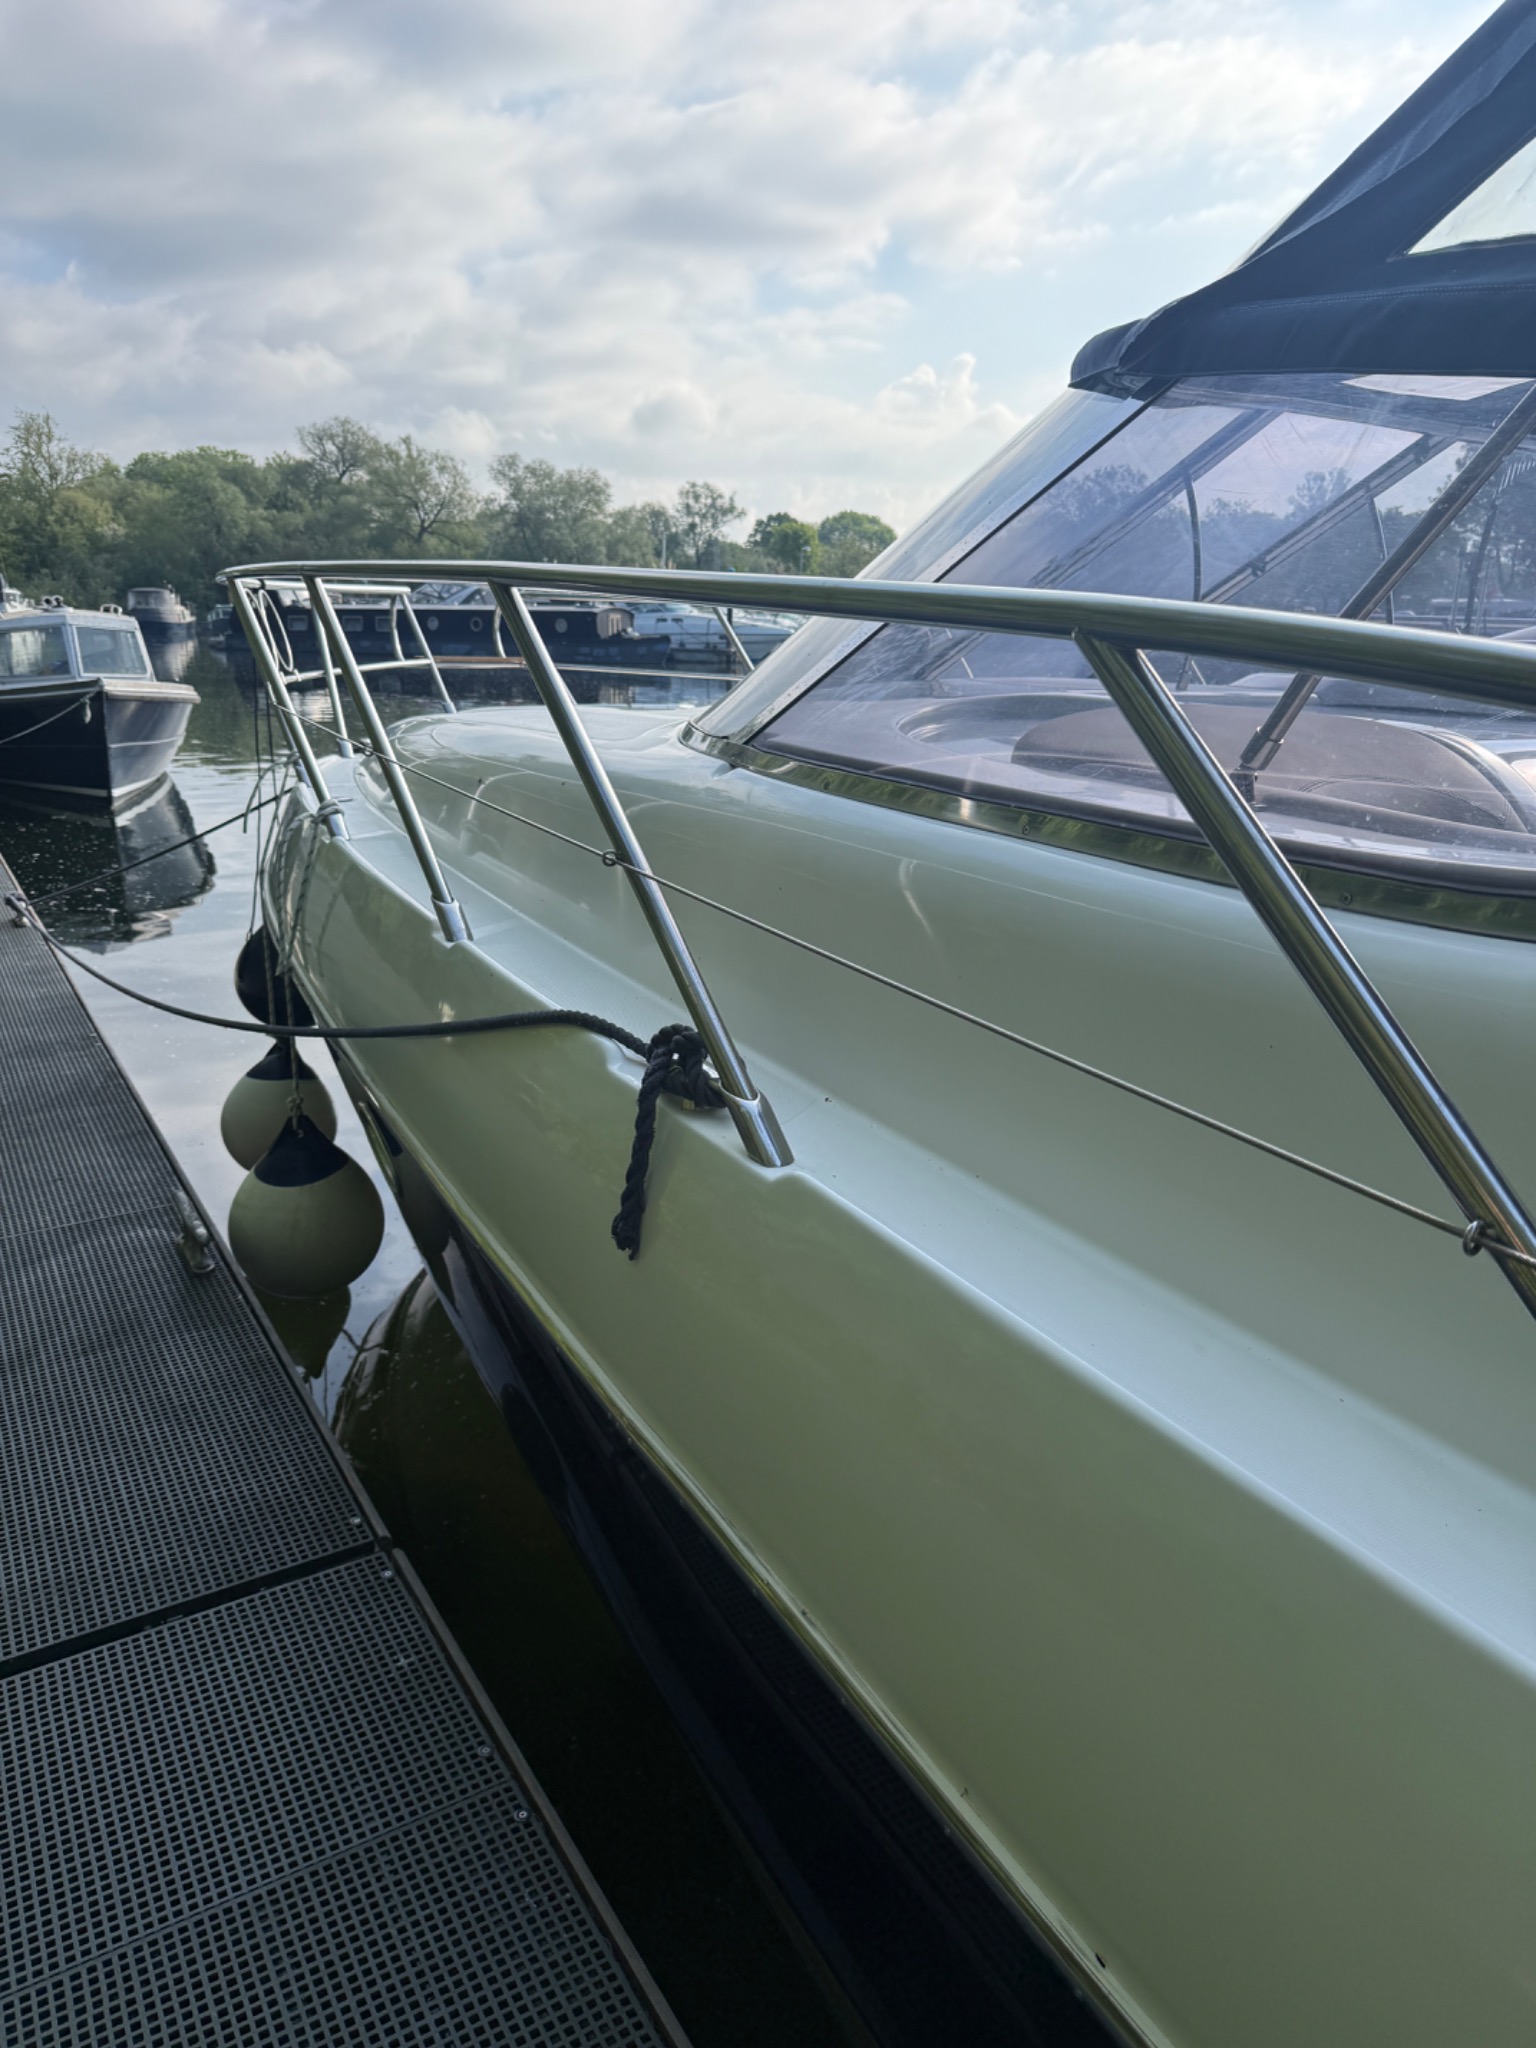
Finished Sessa C35 fibreglass sports cruiser moored at a marina
THE FINISHED VESSEL Gelcoat and cockpit restoration by Hull Gel
VesselSessa C35 sports cruiser
Principal workGelcoat & surface restoration
Owner's goalComplete pre-sale rejuvenation
The project / Behind the finish

Fibreglass cruiser restoration

Starting condition. Blistering and bubbling affected an estimated 50% of the superstructure gelcoat. Widespread pinholes, porosity and failed previous repairs meant the work needed to go well beyond polishing or isolated touch-ups.

Restoration undertaken. Failed material was removed back to sound fibreglass where necessary, followed by careful rebuilding and colour-matched gelcoat repairs. The programme also included renewed non-slip deck coatings, cockpit rejuvenation and refurbishment of the wet-bar area.

The result. A comprehensively rejuvenated sports cruiser, relaunched after restoration and sold that same afternoon. The chapters below document the starting condition, repair process and completed finish.

The condition, repairs, refinishing and relaunch are documented through genuine Hull Gel project photography.

01 / Original condition

It was more than tired gelcoat.

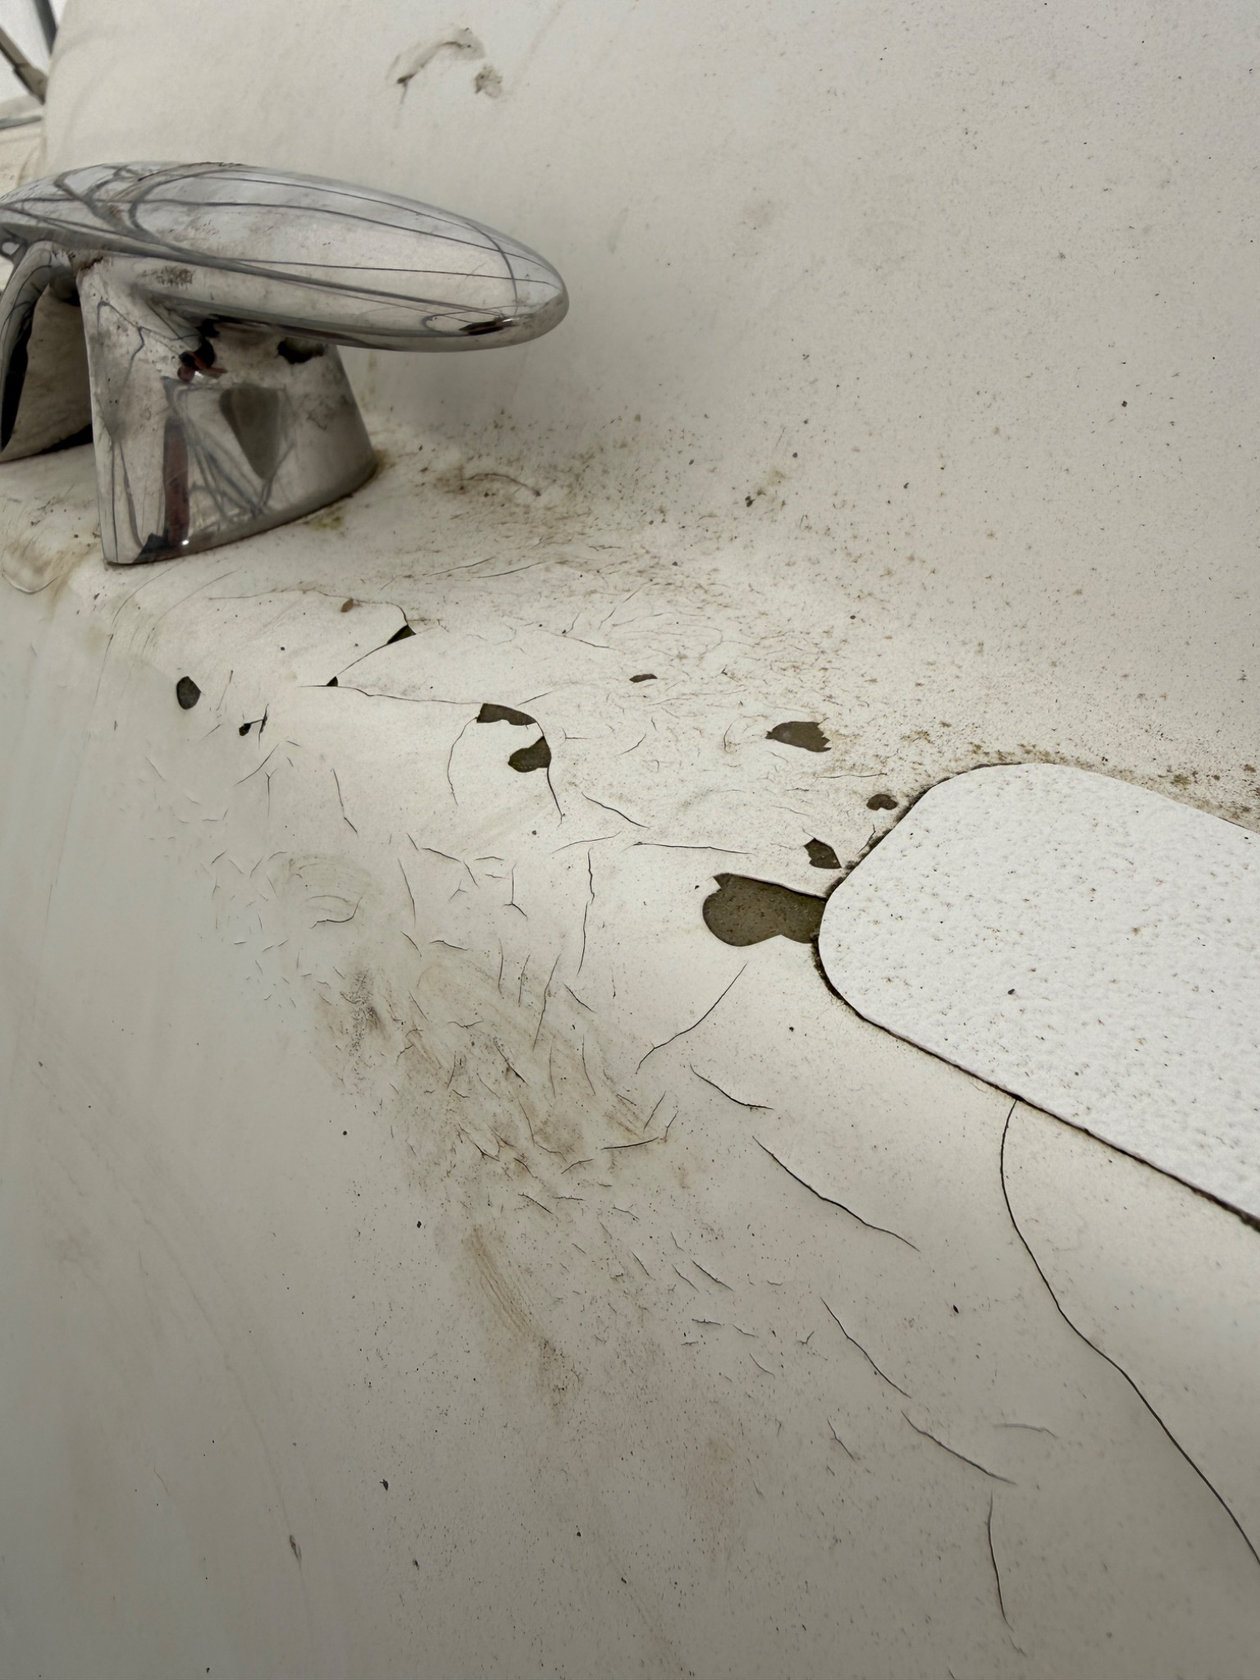
Before any refinishing began, the extent of the surface deterioration needed to be understood. The photographs reveal cracked and lifting previous repairs, broken coating layers, damaged gelcoat and compromised finishes alongside the original moulded non-slip sections. These defects demanded individual assessment rather than a simple cosmetic polish.
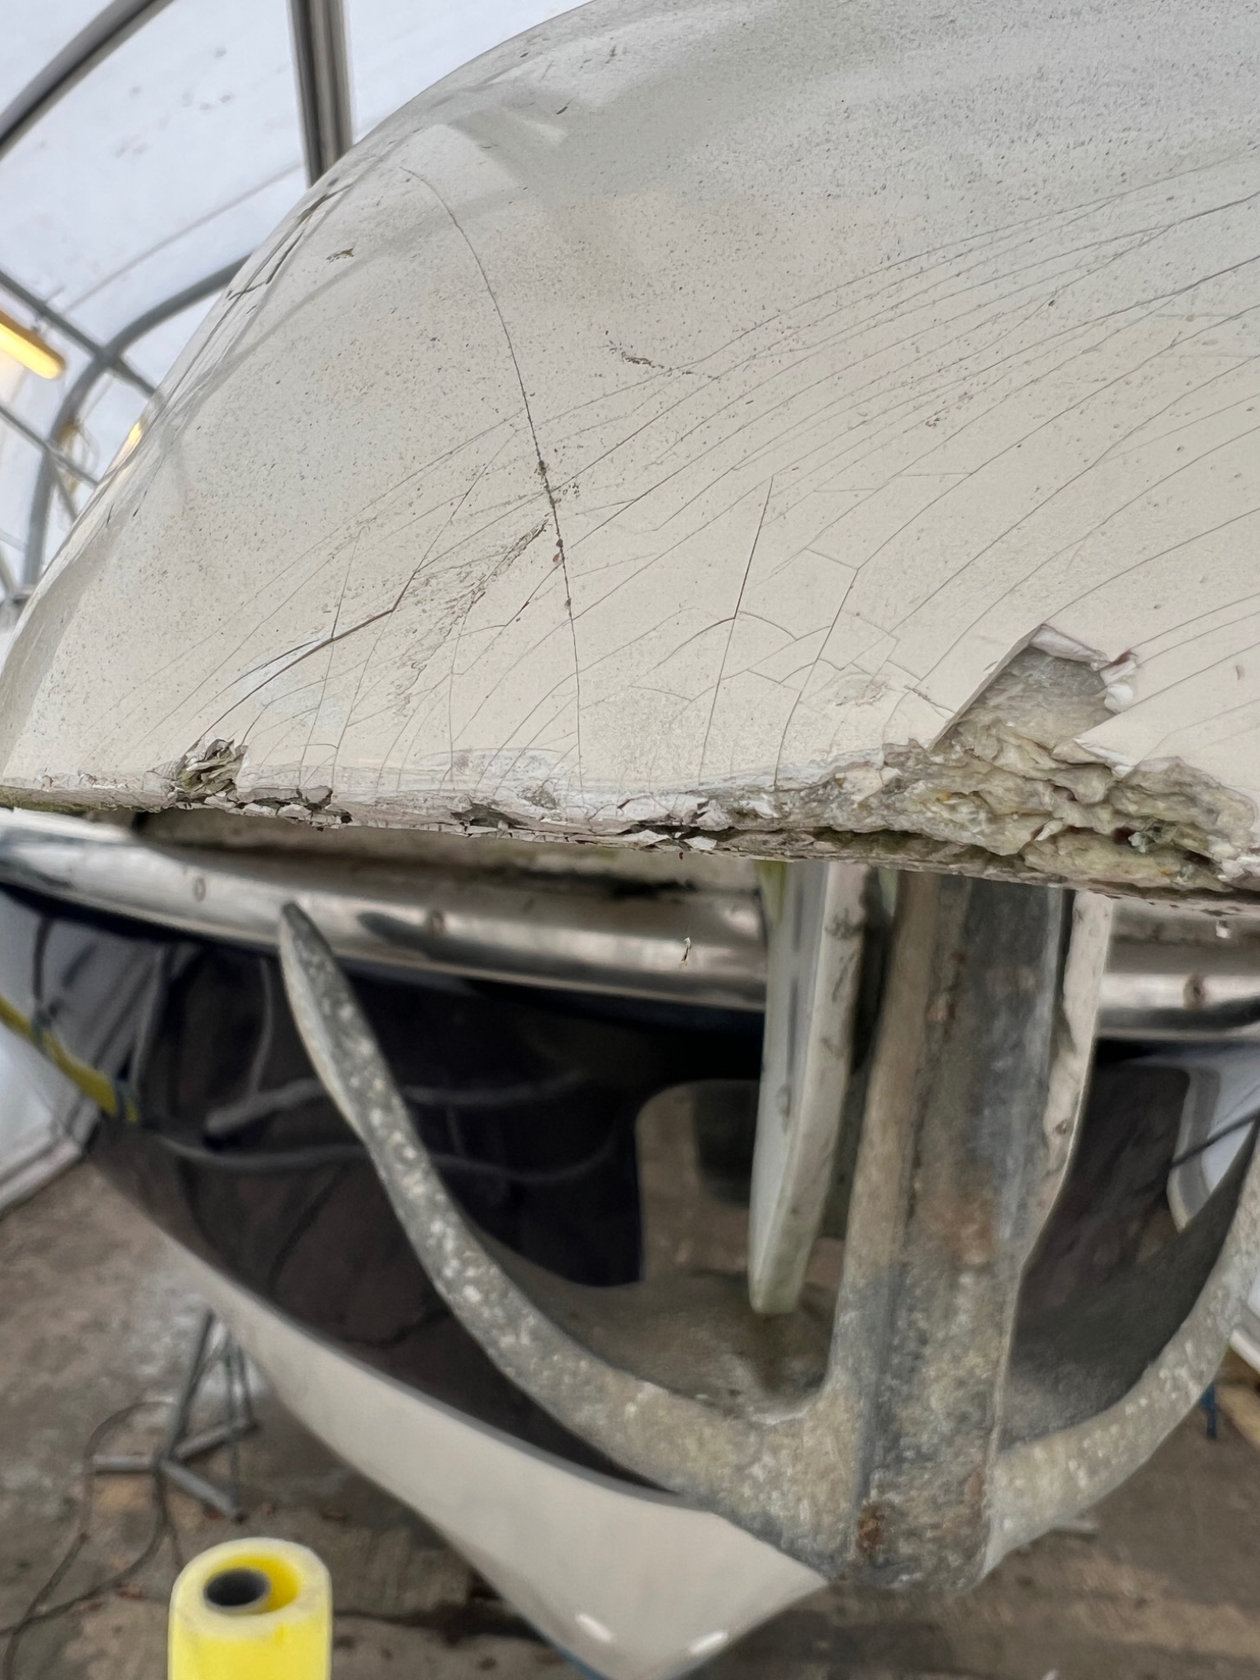
Portrait close-up showing substantial damaged finish at the Sessa C35 bow beside the anchor
Photo 01 Damaged gelcoat around the bowHeavy surface cracking and missing gelcoat around the bow and anchor area.
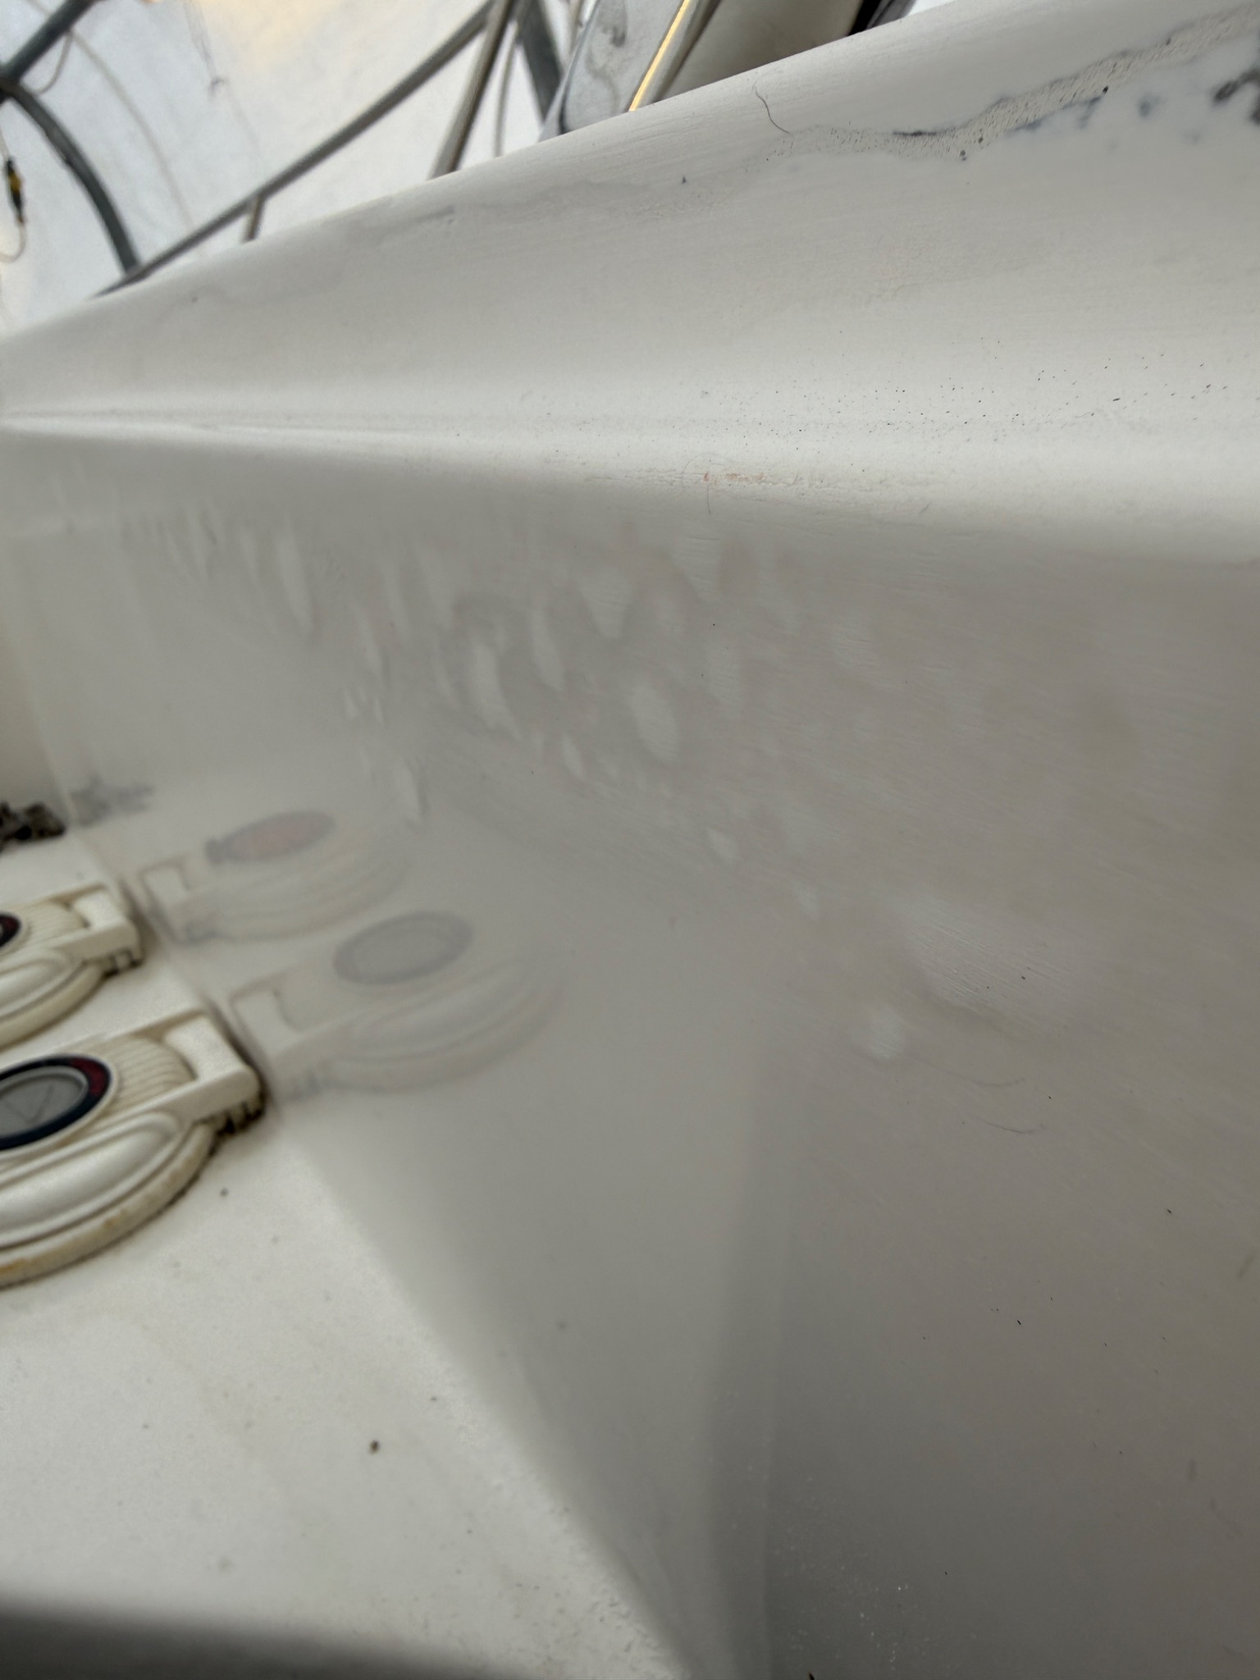
Gelcoat blistering and raised bubbles on the Sessa C35 before repair
Photo 02 Gelcoat blisteringRaised bubbles and blistering across the gelcoat surface.
Gelcoat delaminating from the underlying fibreglass beside a stainless deck fitting
Photo 03 Gelcoat delaminationThe gelcoat had lost adhesion to the underlying fibreglass, cracking and lifting away around the deck fitting.
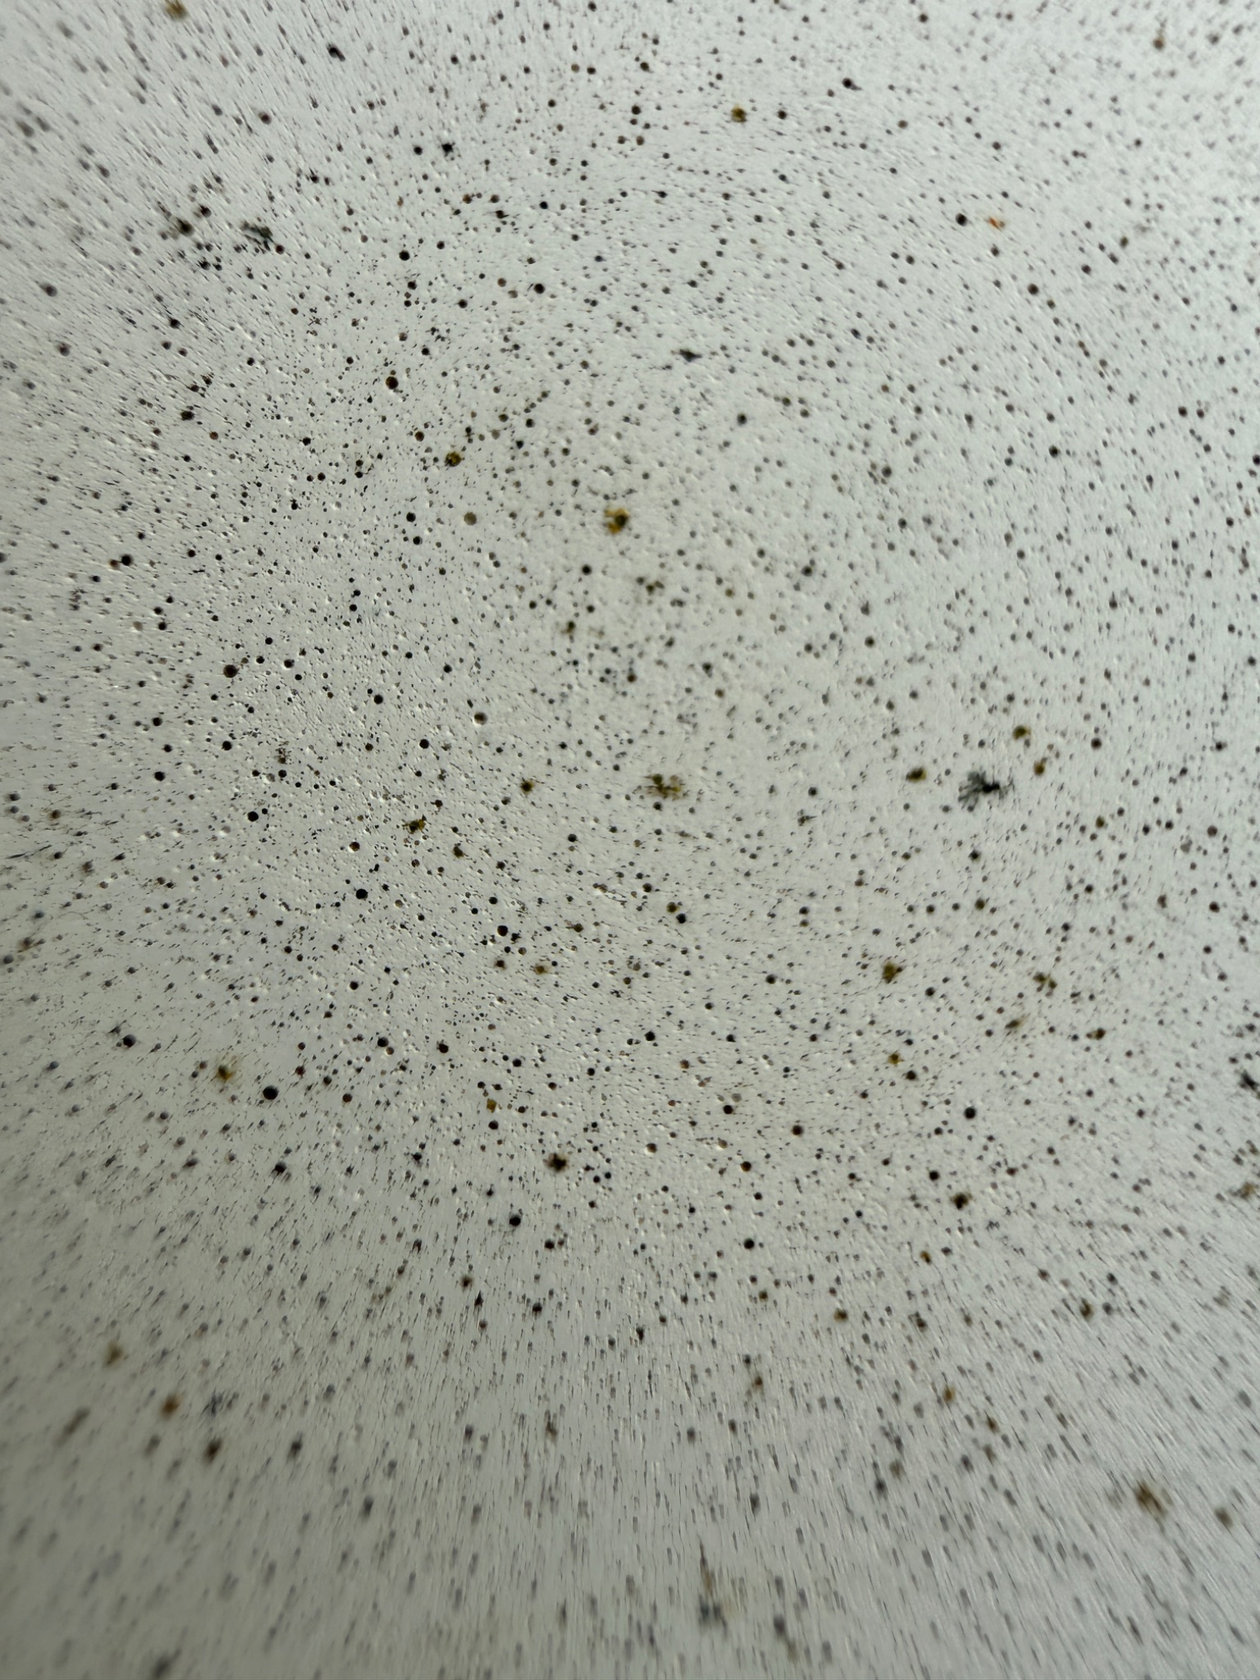
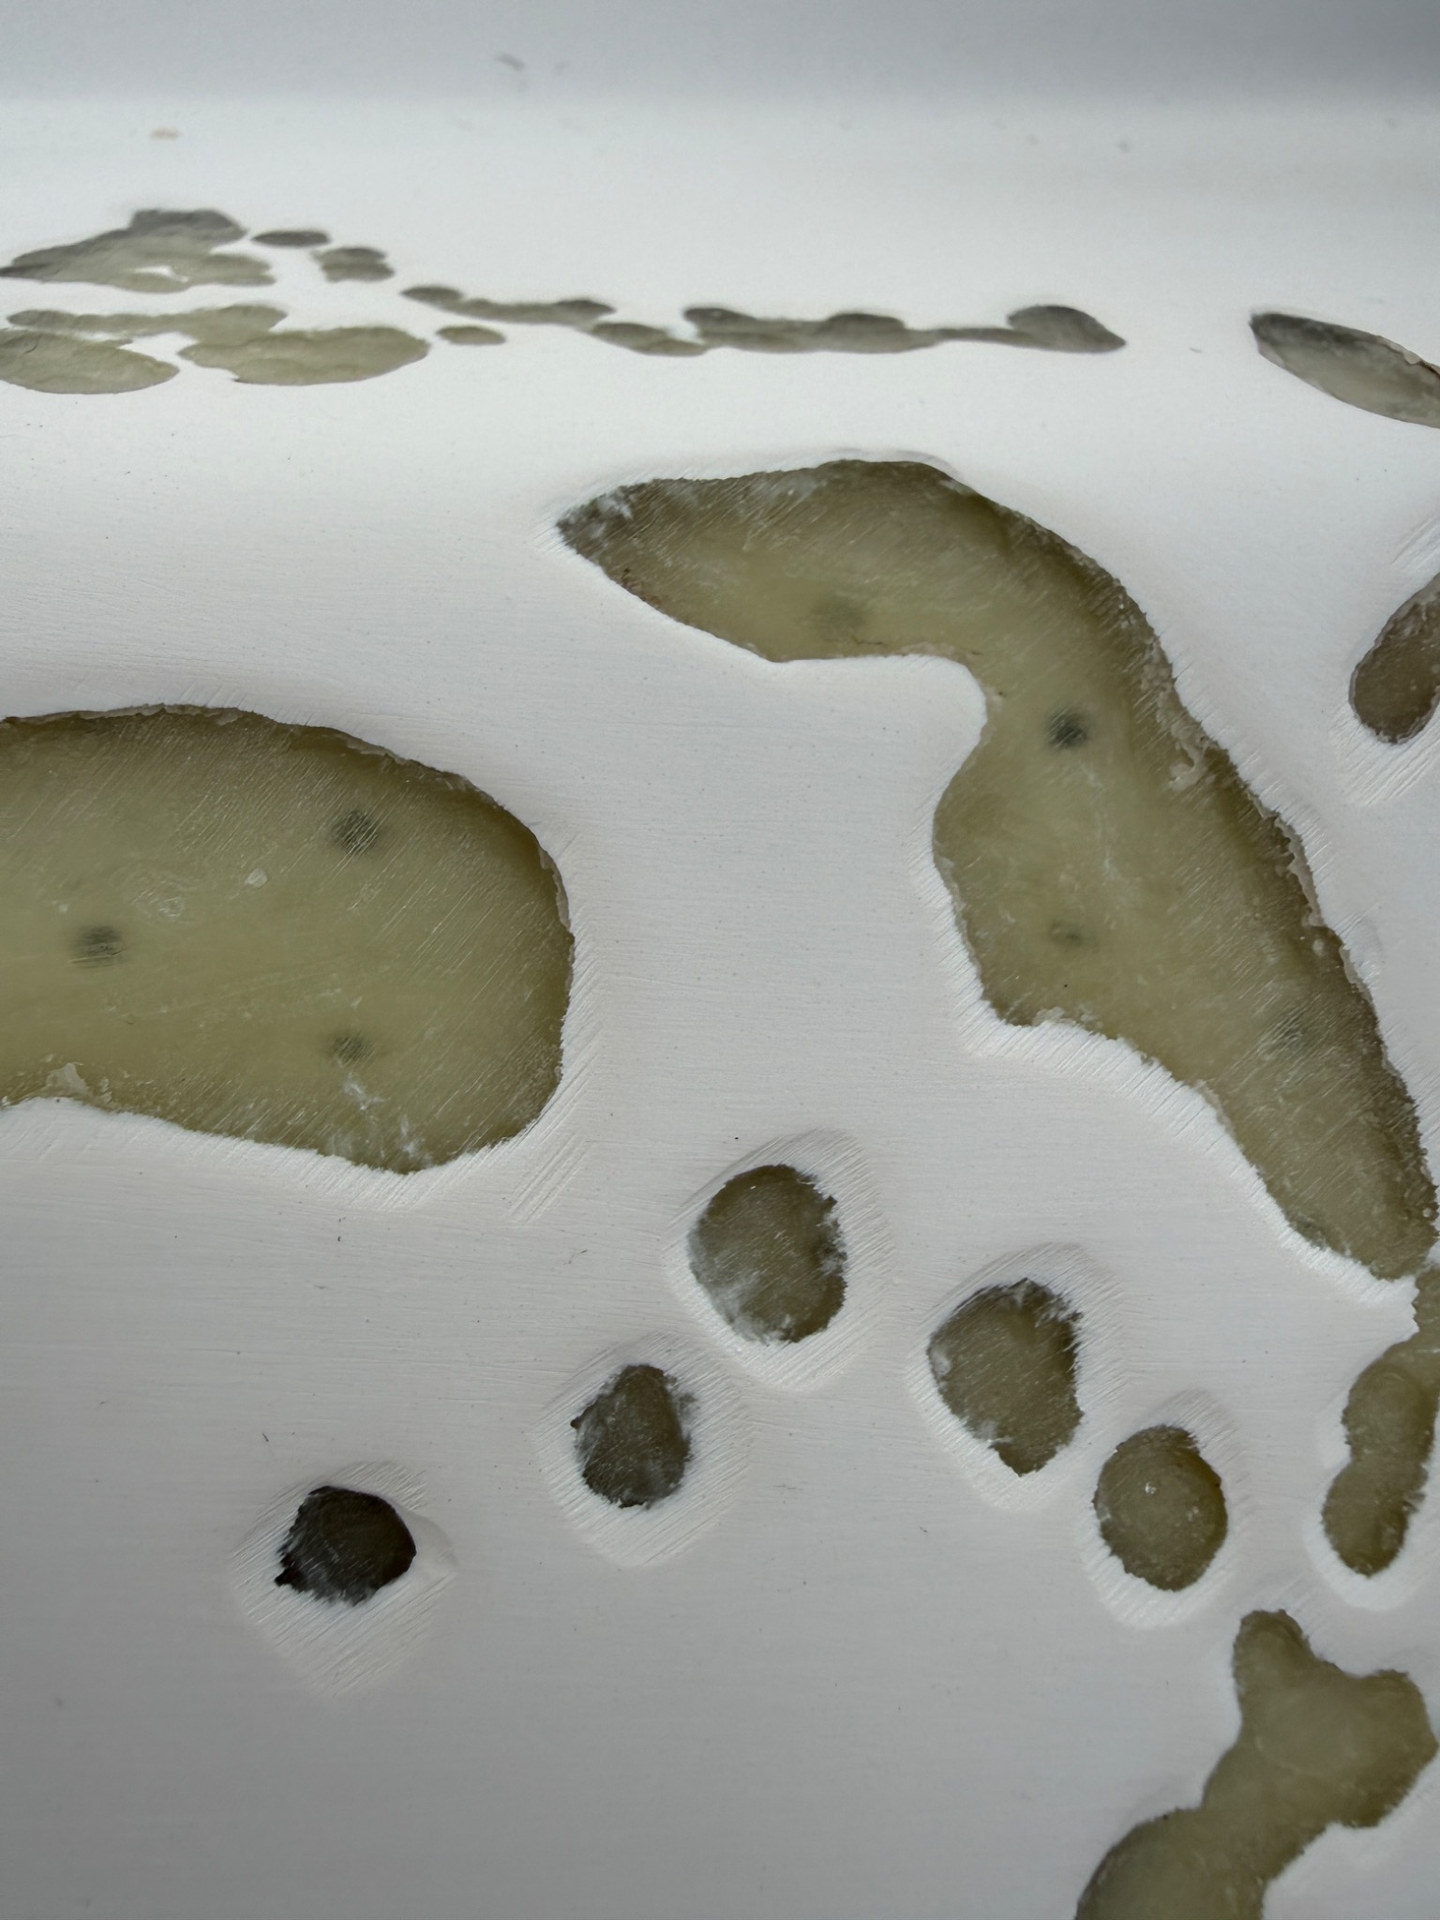
Close-up of numerous pinholes and porosity in the Sessa C35 gelcoat
Photo 04 Gelcoat pinholes and porosityNumerous tiny holes in the gelcoat, known as pinholes or porosity. These can result from trapped air, application problems or chemical issues during moulding or spraying.
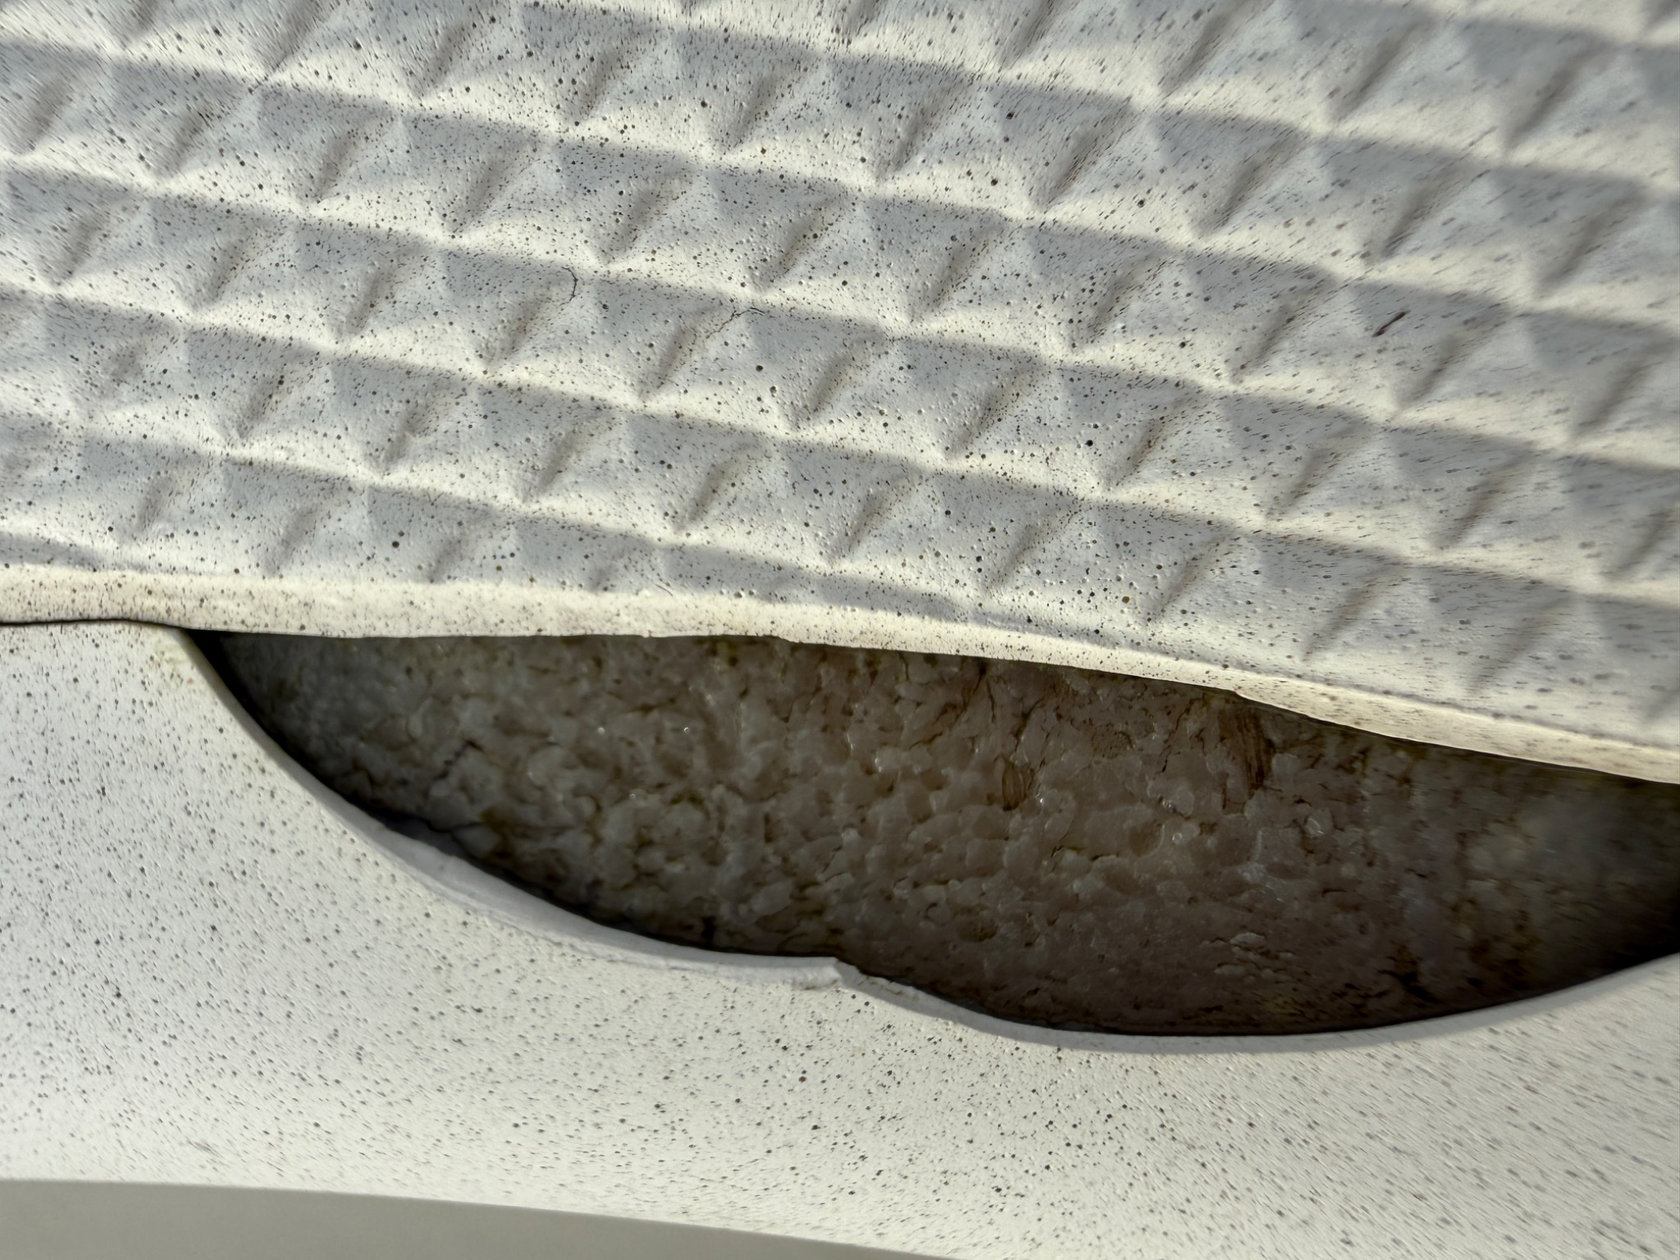
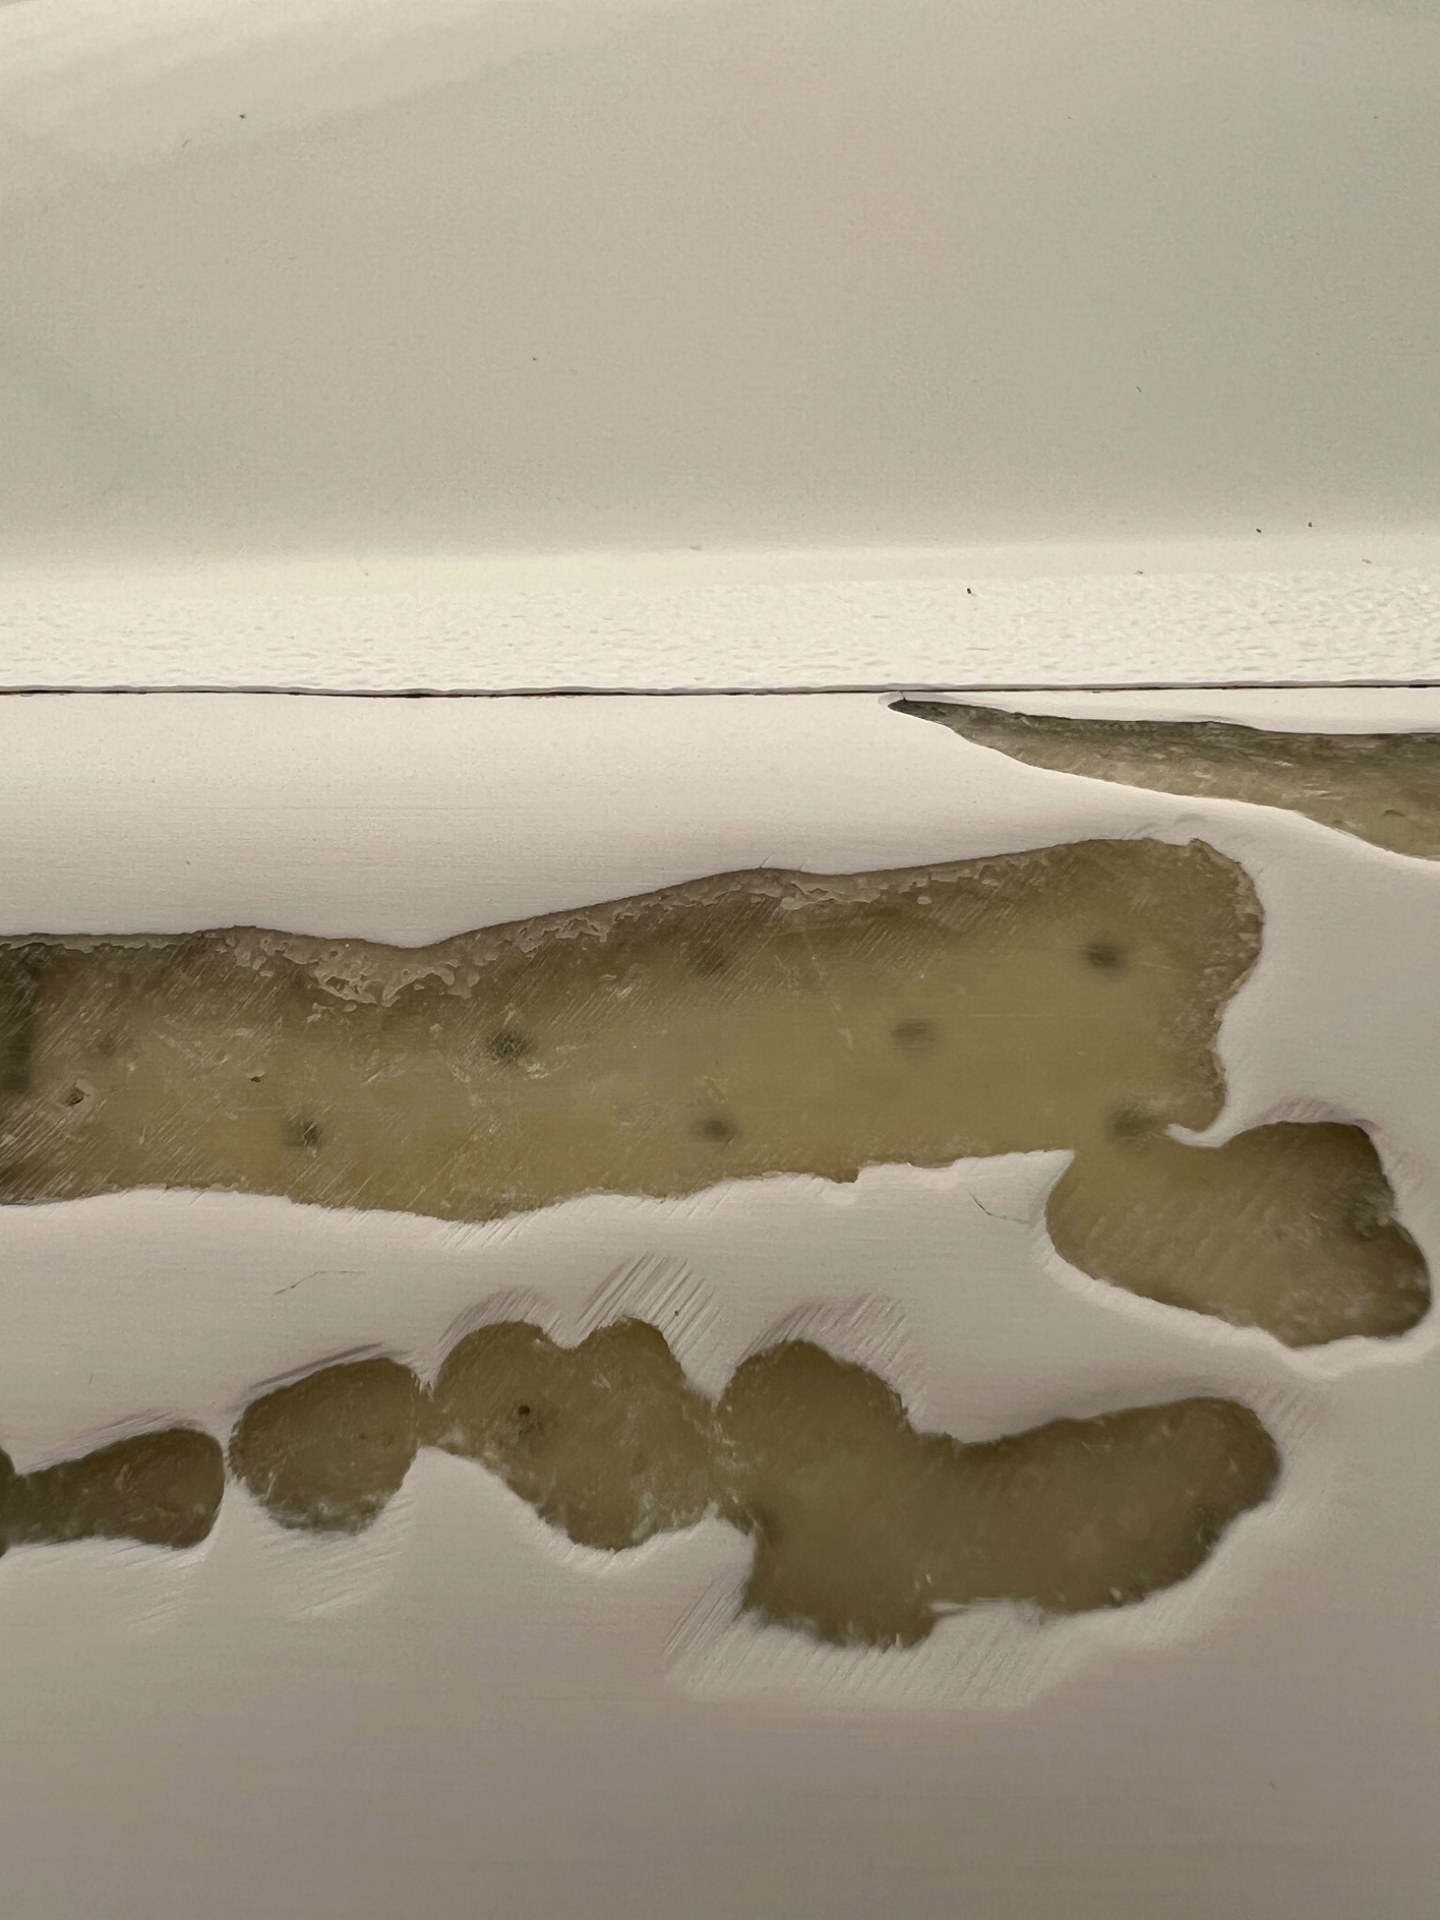
Cracked gelcoat over original moulding voids beside non-slip
Photo 05 Gelcoat failure over moulding voidsAir voids formed during the original moulding process left areas of gelcoat unsupported, contributing to cracking and material loss.
Wider foredeck view showing cracked older coating beside non-slip sections
Photo 06 Damage across adjoining deck sectionsThe extent of failed surface layers becomes clearer in this wider view of the deck and its curved borders.
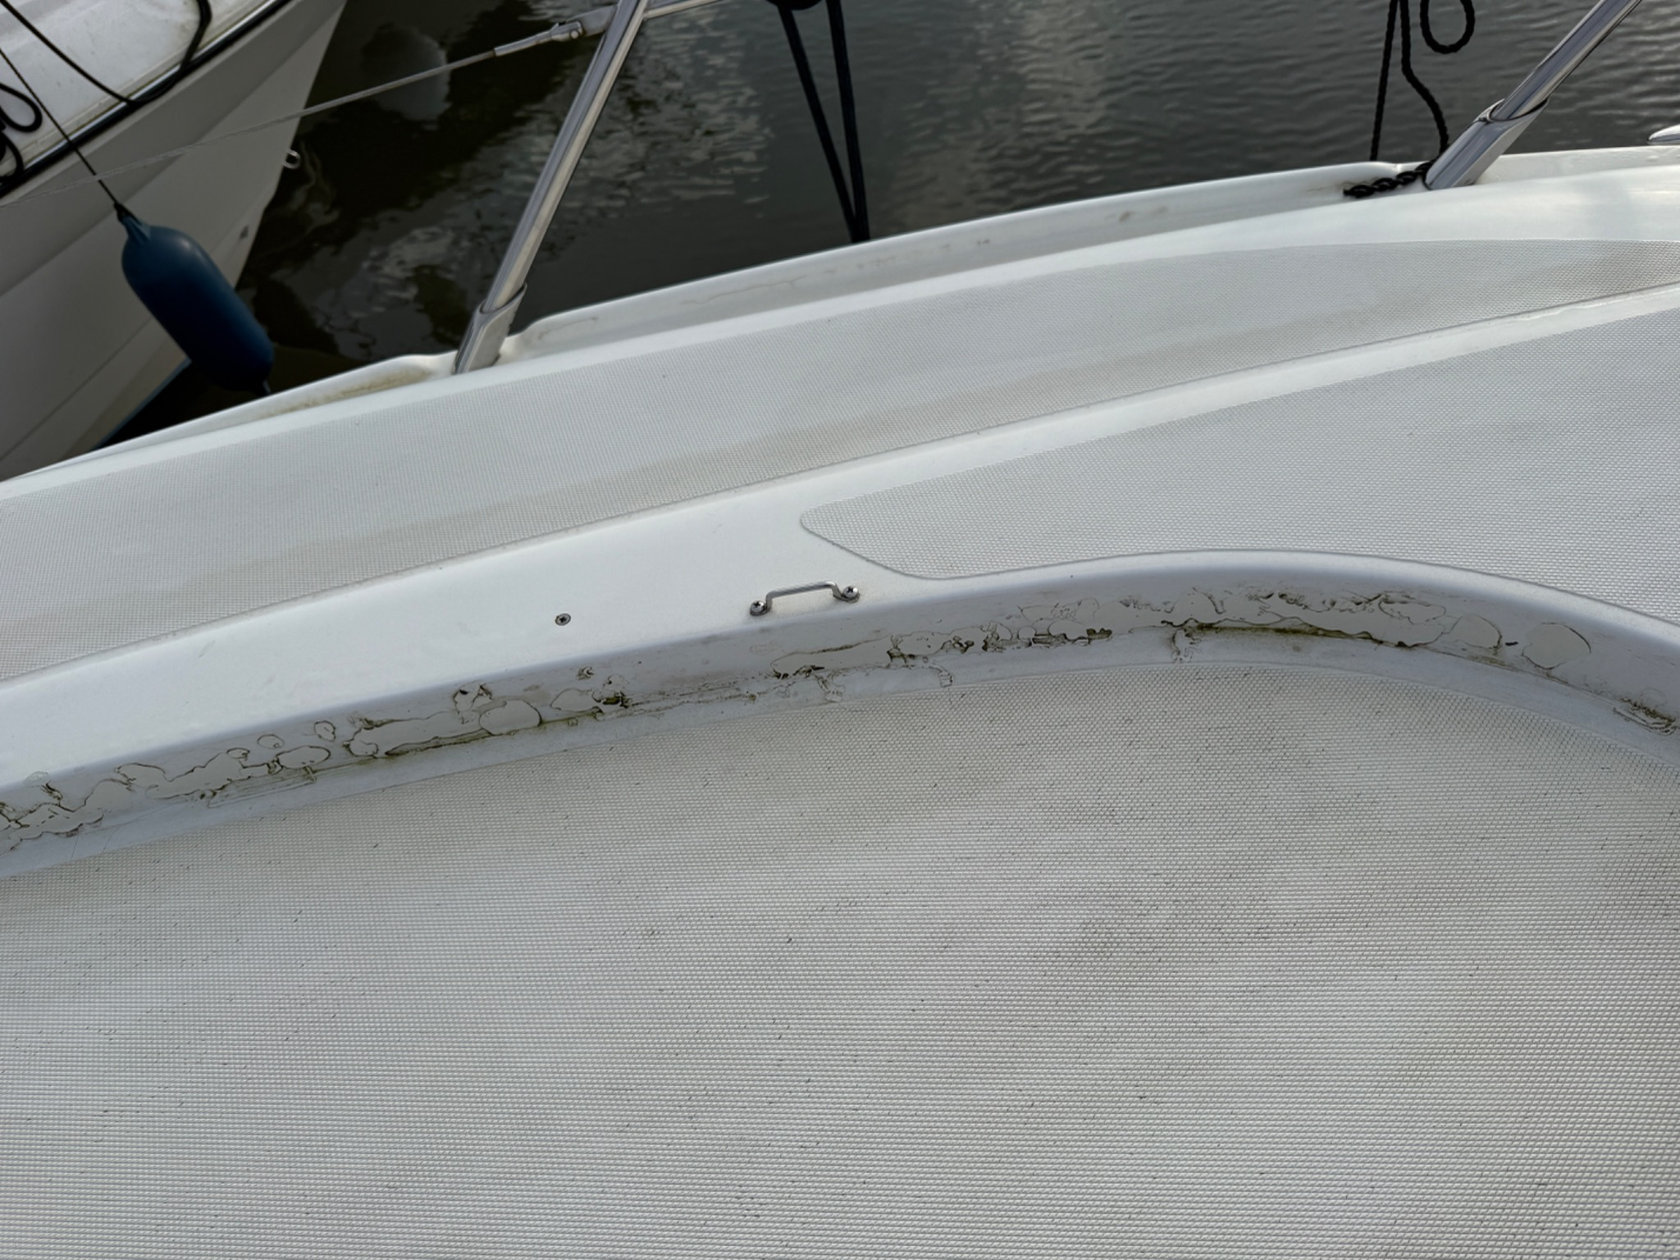
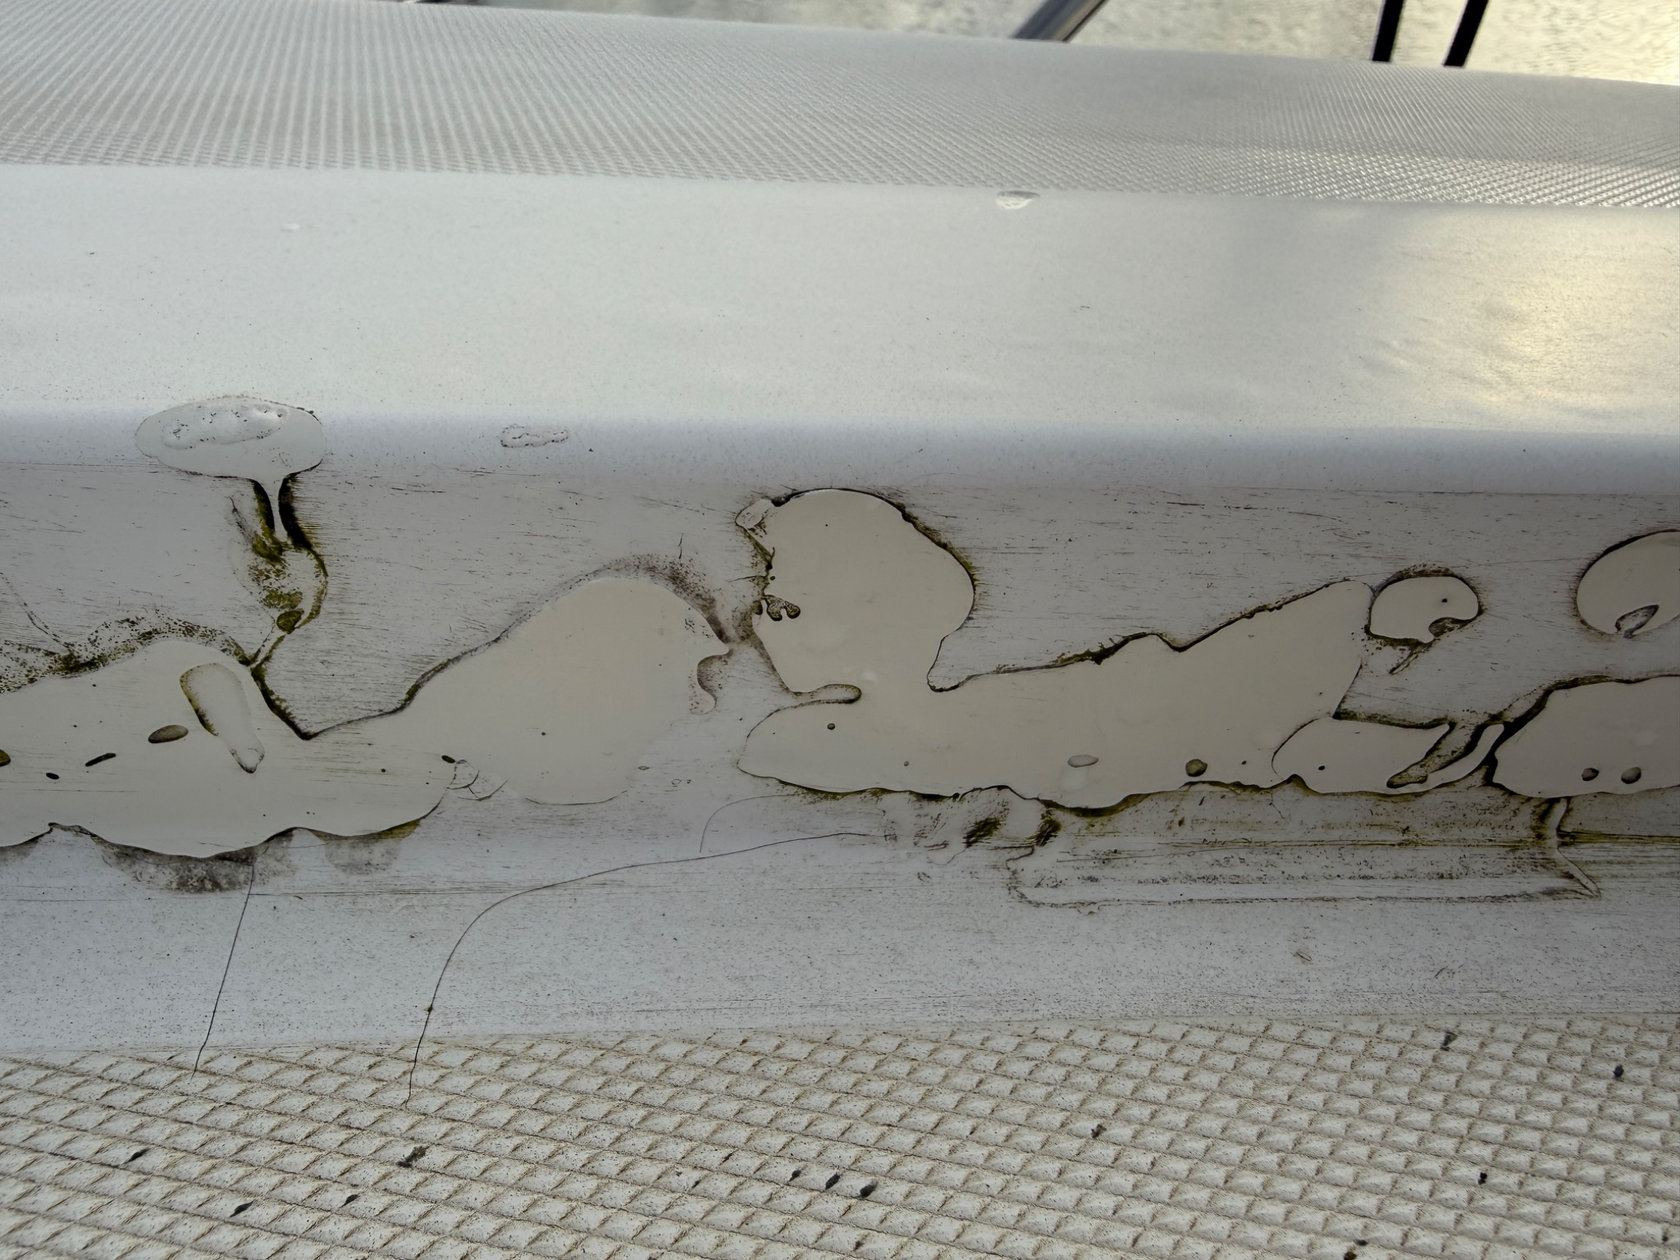
Earlier failed gelcoat repair attempts with peeling and cracking beside the deck
Photo 07 Failed earlier repair attemptsPrevious attempts to repair these areas had failed, leaving cracked and lifting material along the deck transition.
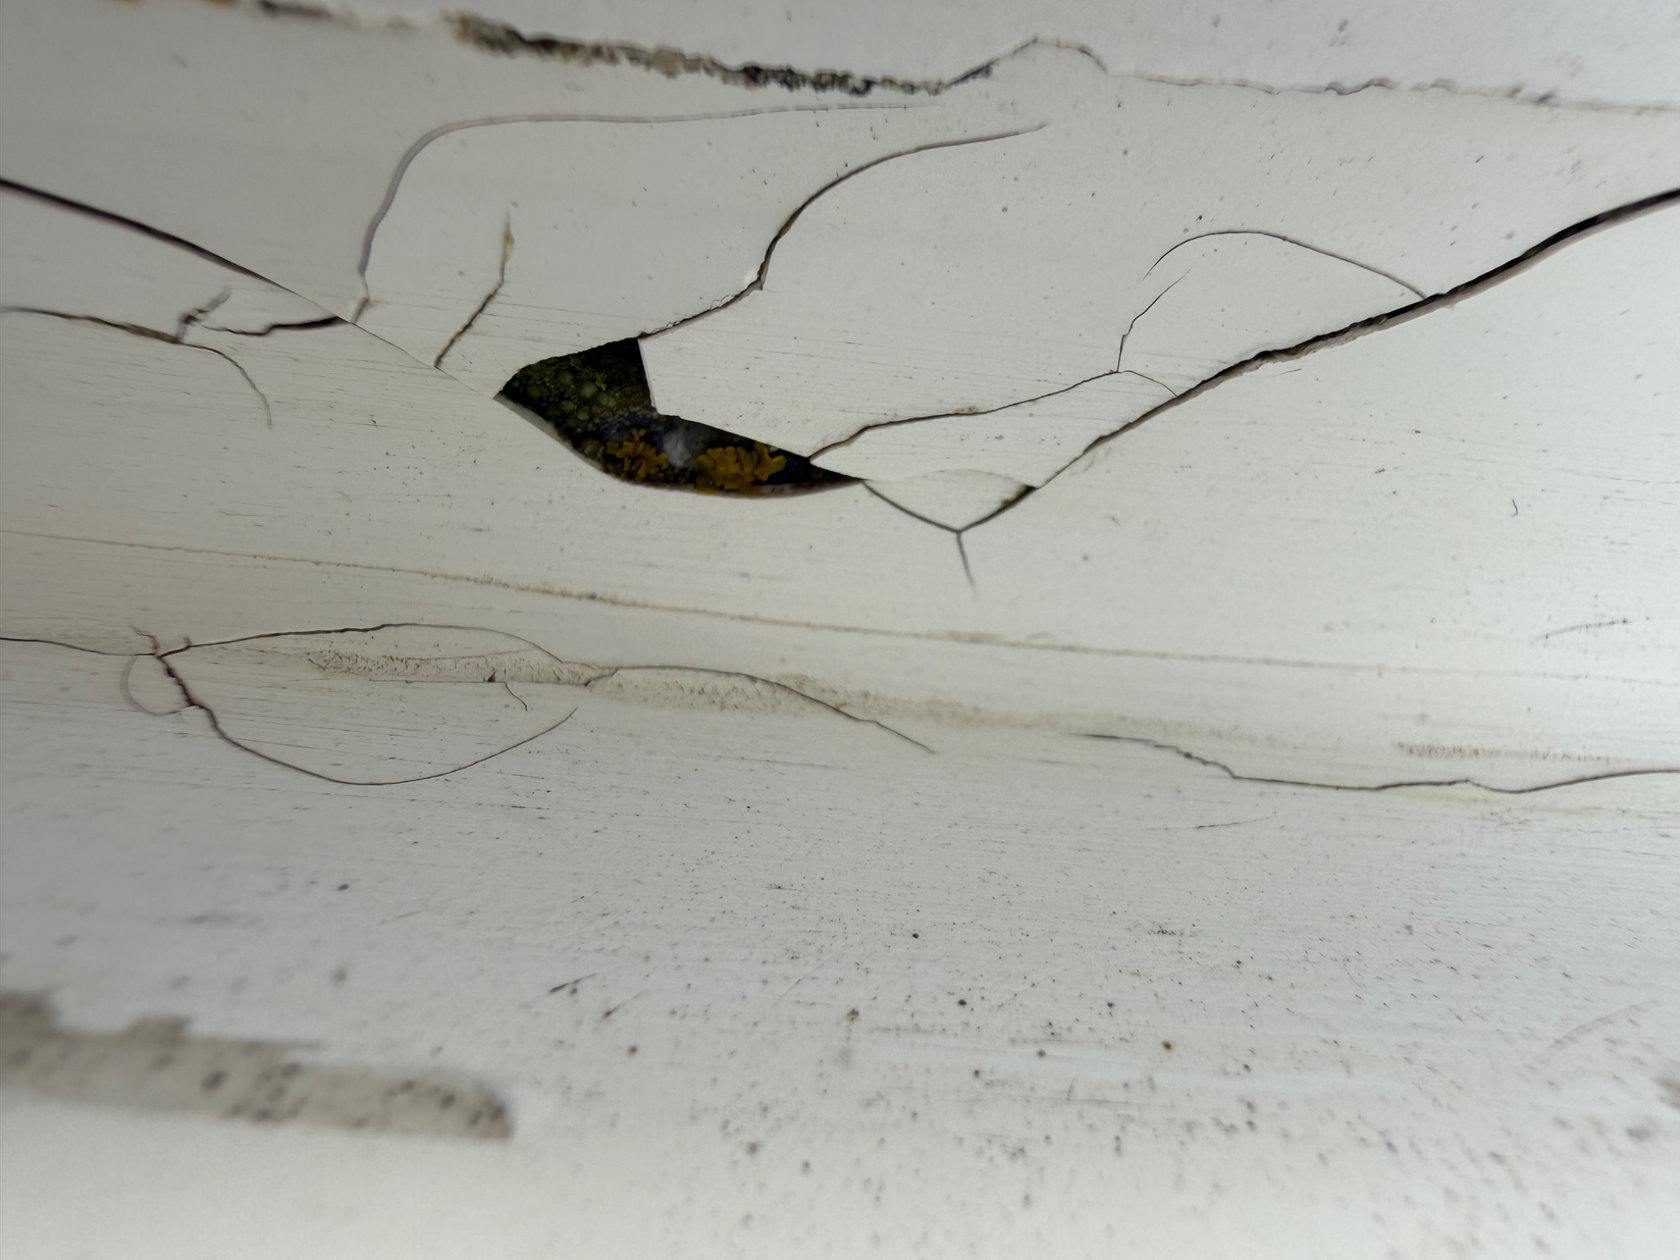
Close-up of cracking and separation in old deck coating on the Sessa C35
Photo 08 Cracked and detached previous materialA closer view of separated surface layers, with cracks extending beyond the visibly missing material.
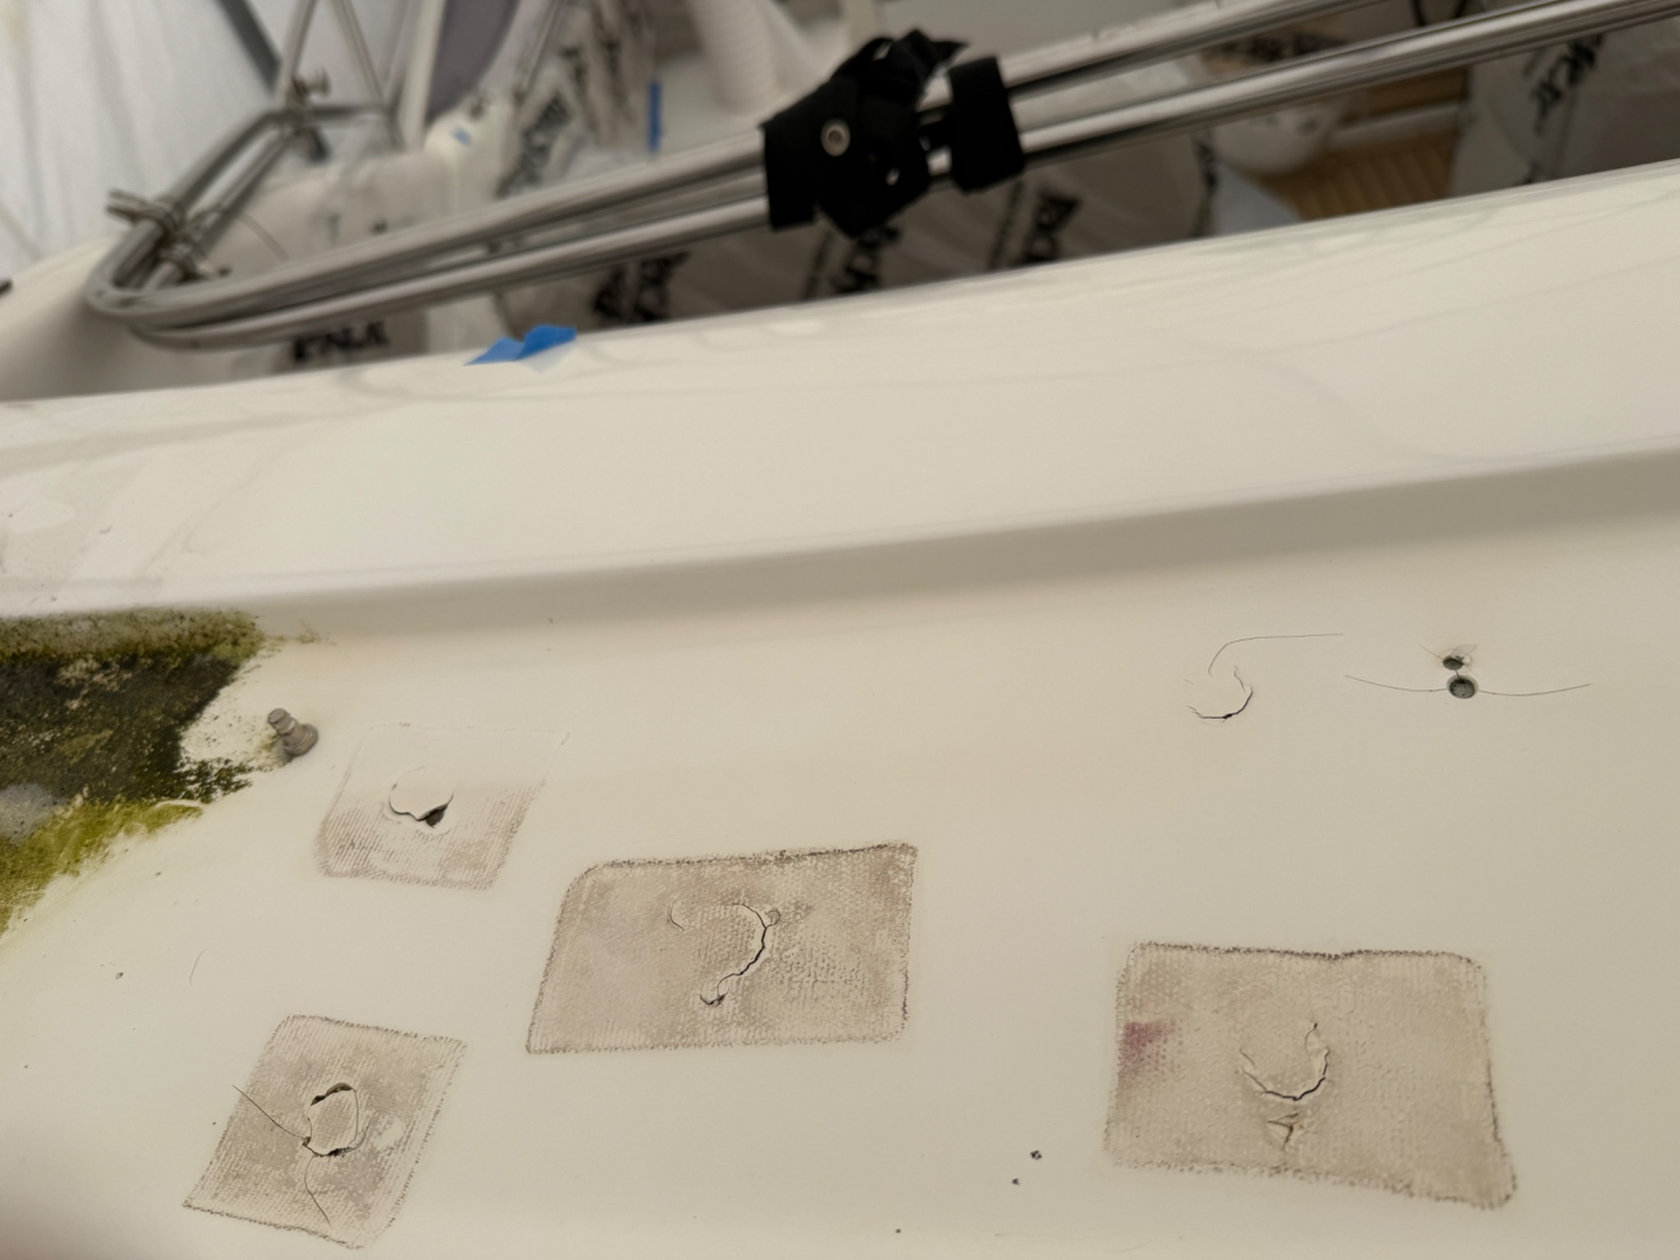
Several failed previous repair patches on the Sessa C35 deck
Photo 09 Further failed previous repairsSeveral earlier repair patches had failed, with visible cracking and deterioration requiring proper assessment and remedial work.
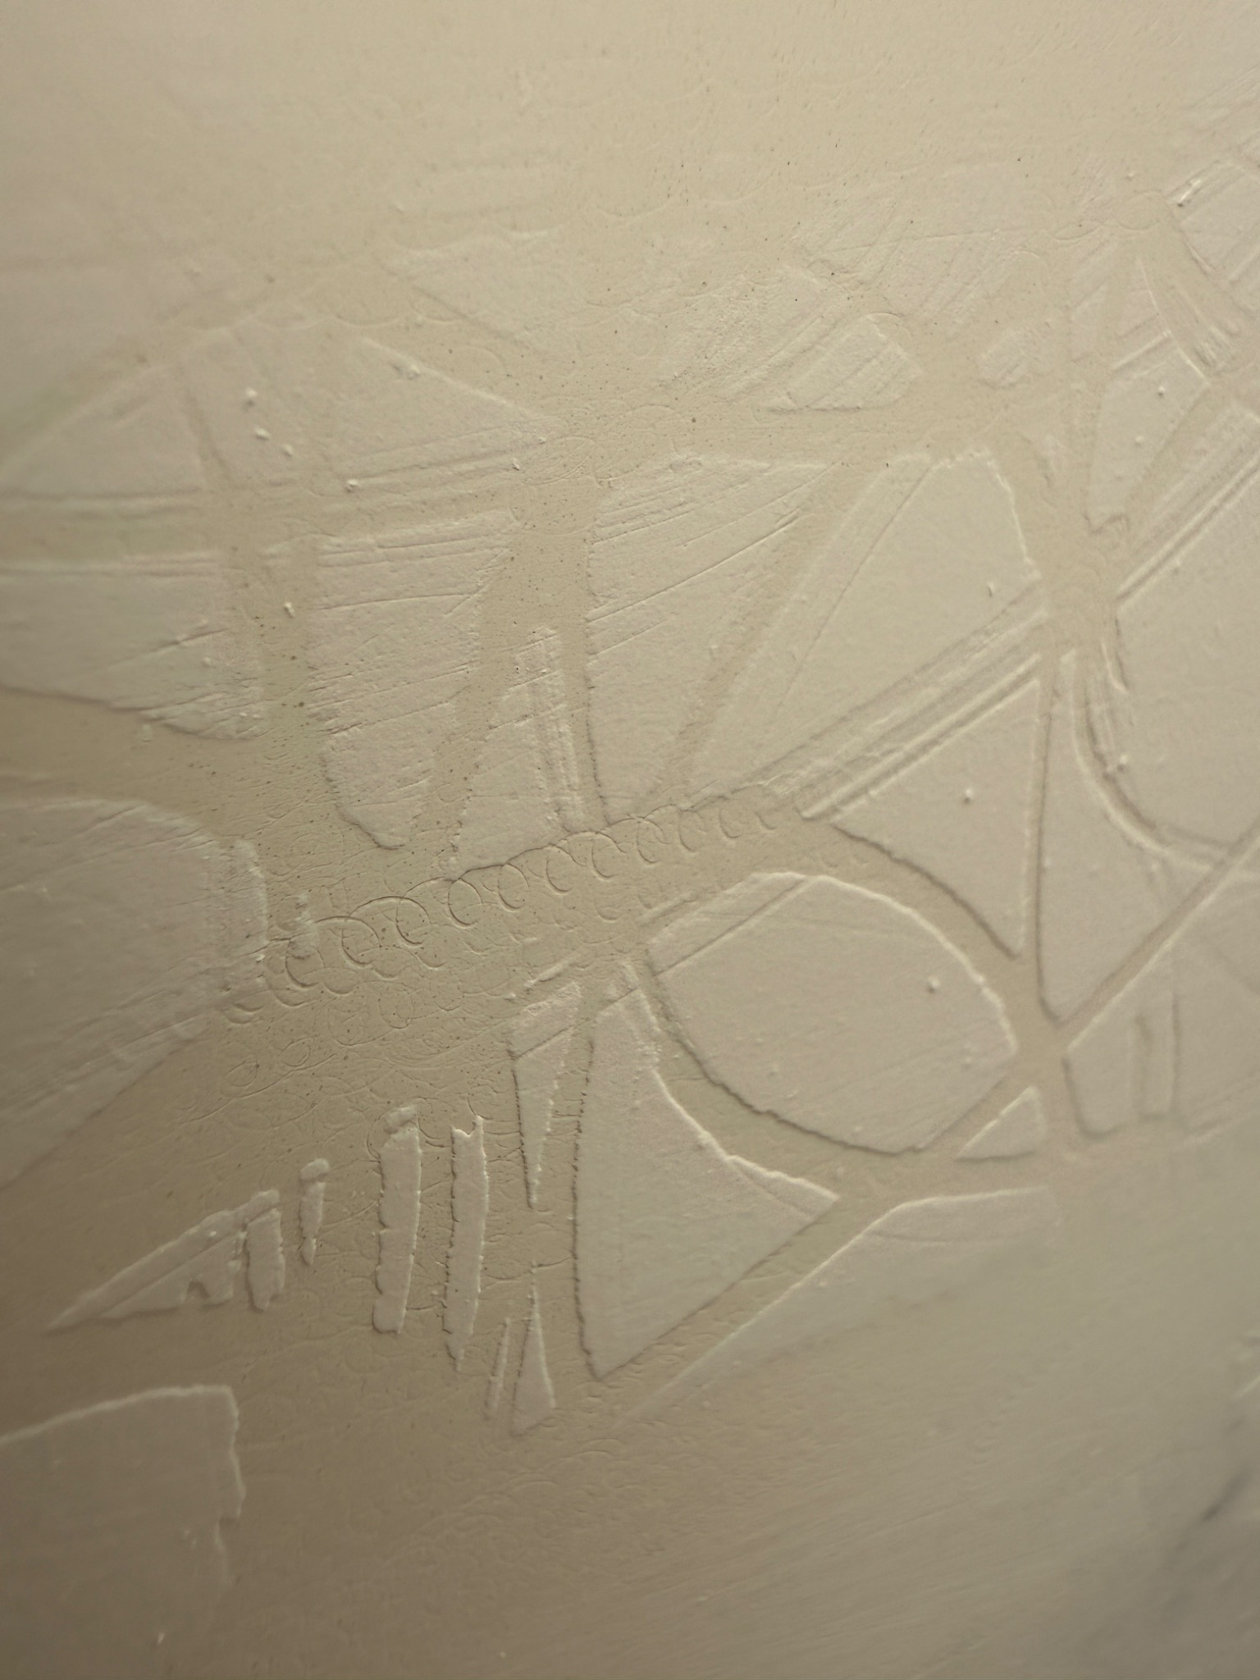
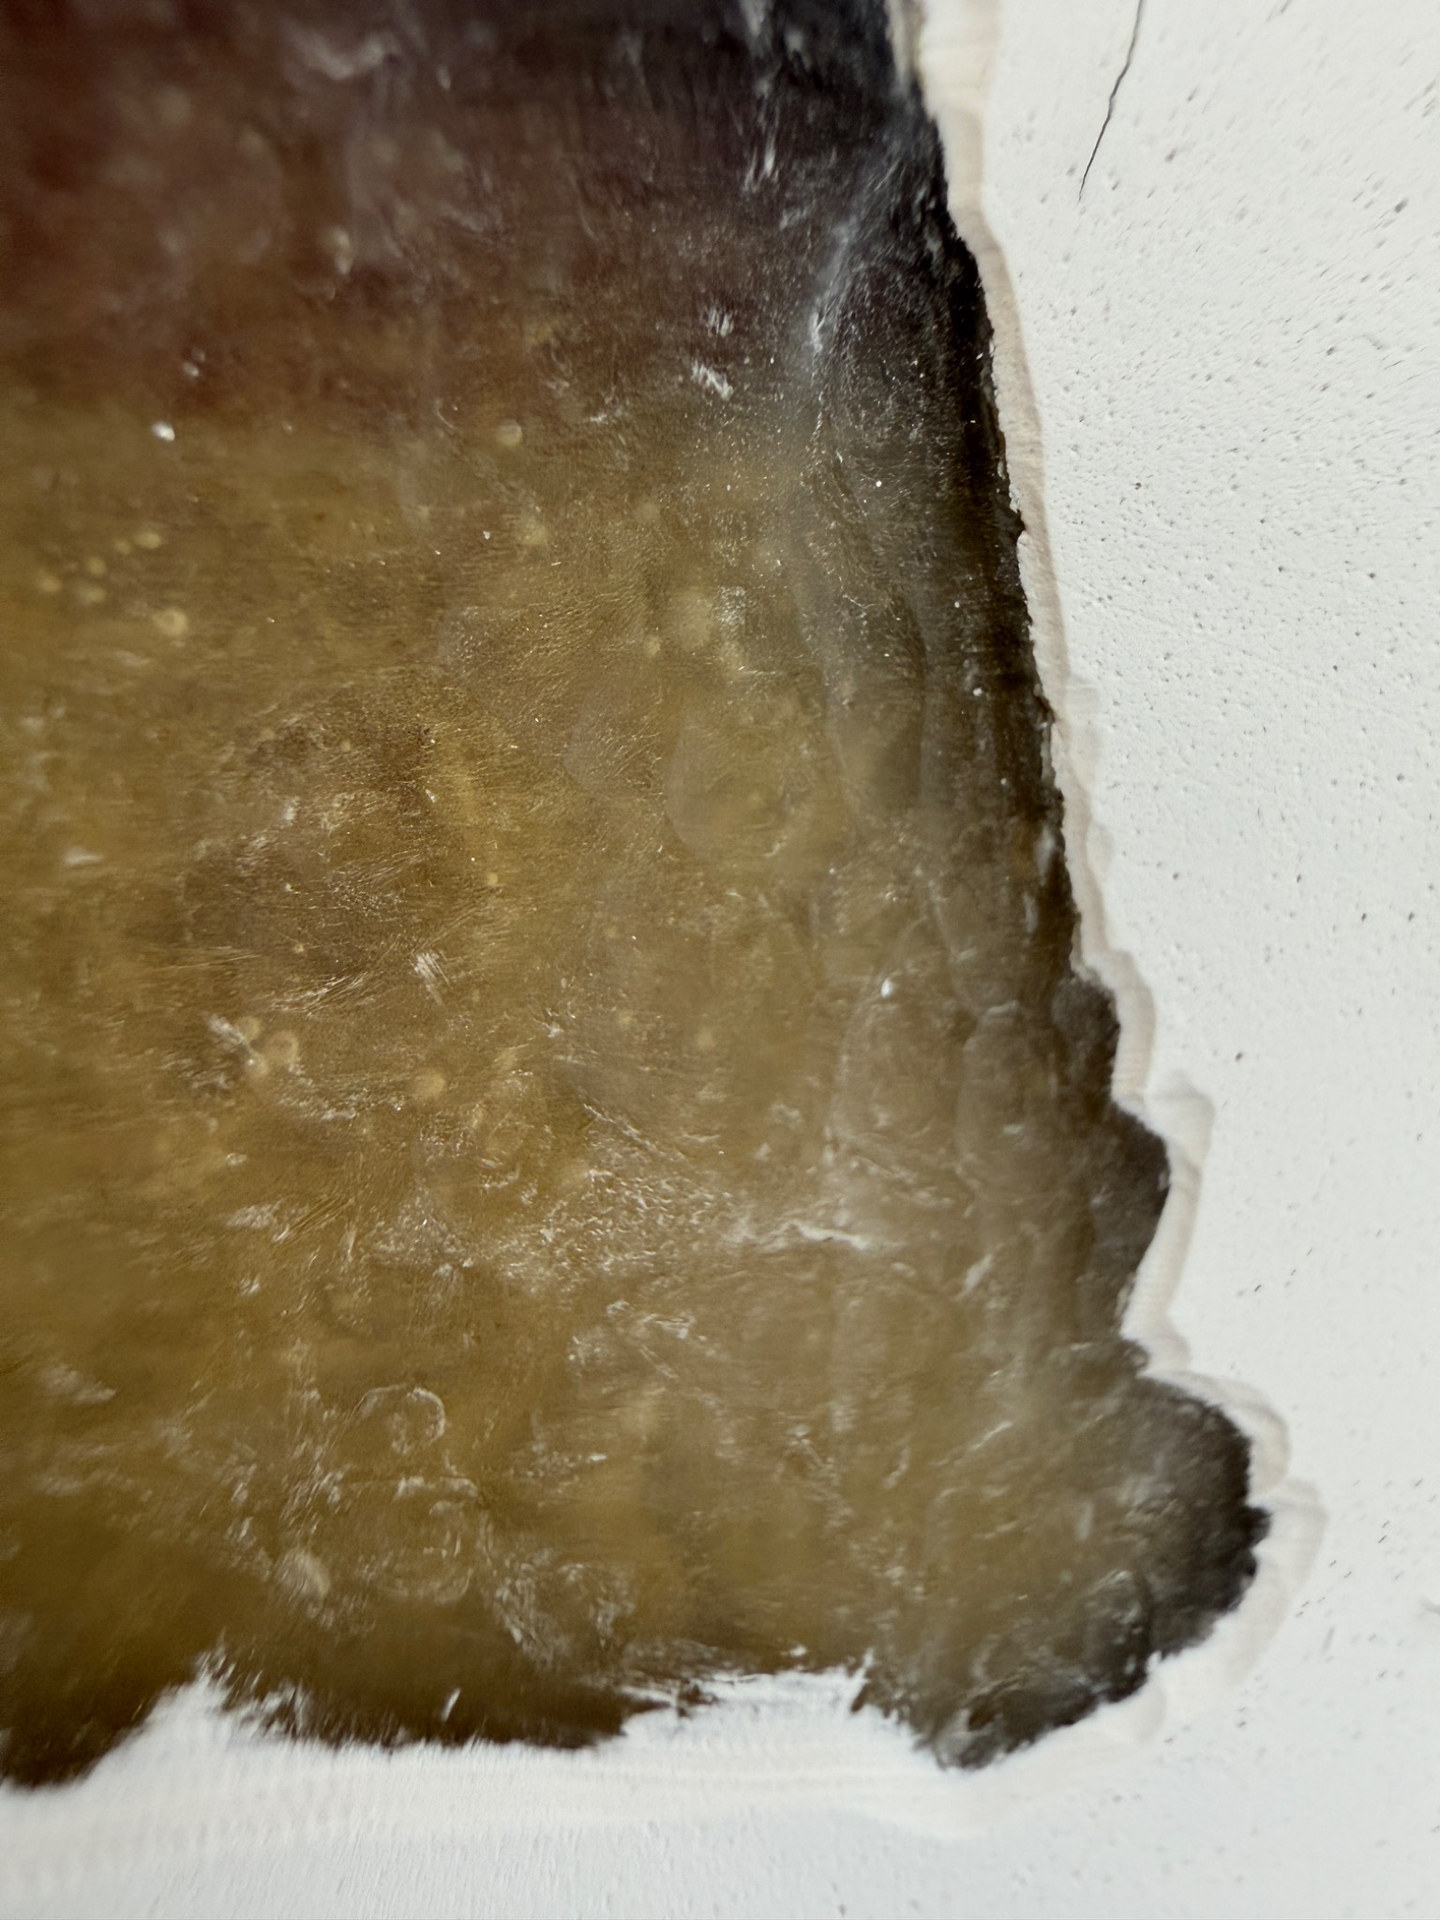
Uncured and improperly catalysed gelcoat from an earlier Sessa C35 repair
Photo 10 Uncured gelcoat from a previous repairAn earlier gelcoat repair had not been properly catalysed and remained uncured. The material was so soft it could be removed with a fingernail.
02 / Gelcoat & fibreglass repairs

Back to a sound foundation.

The condition of the existing gelcoat and failed previous repairs required damaged material to be removed, with affected areas taken back to the underlying fibreglass where necessary. That preparation provided a sound foundation for the later rebuilding and colour-matched gelcoat work.

The photographs follow the preparation of long runs along the topsides and individual defects around glazing and fittings, then show the repaired surfaces developing an even finish.

01 / Preparation

Removing failed material

Extensive and localised gelcoat damage was opened back before the affected areas were rebuilt.
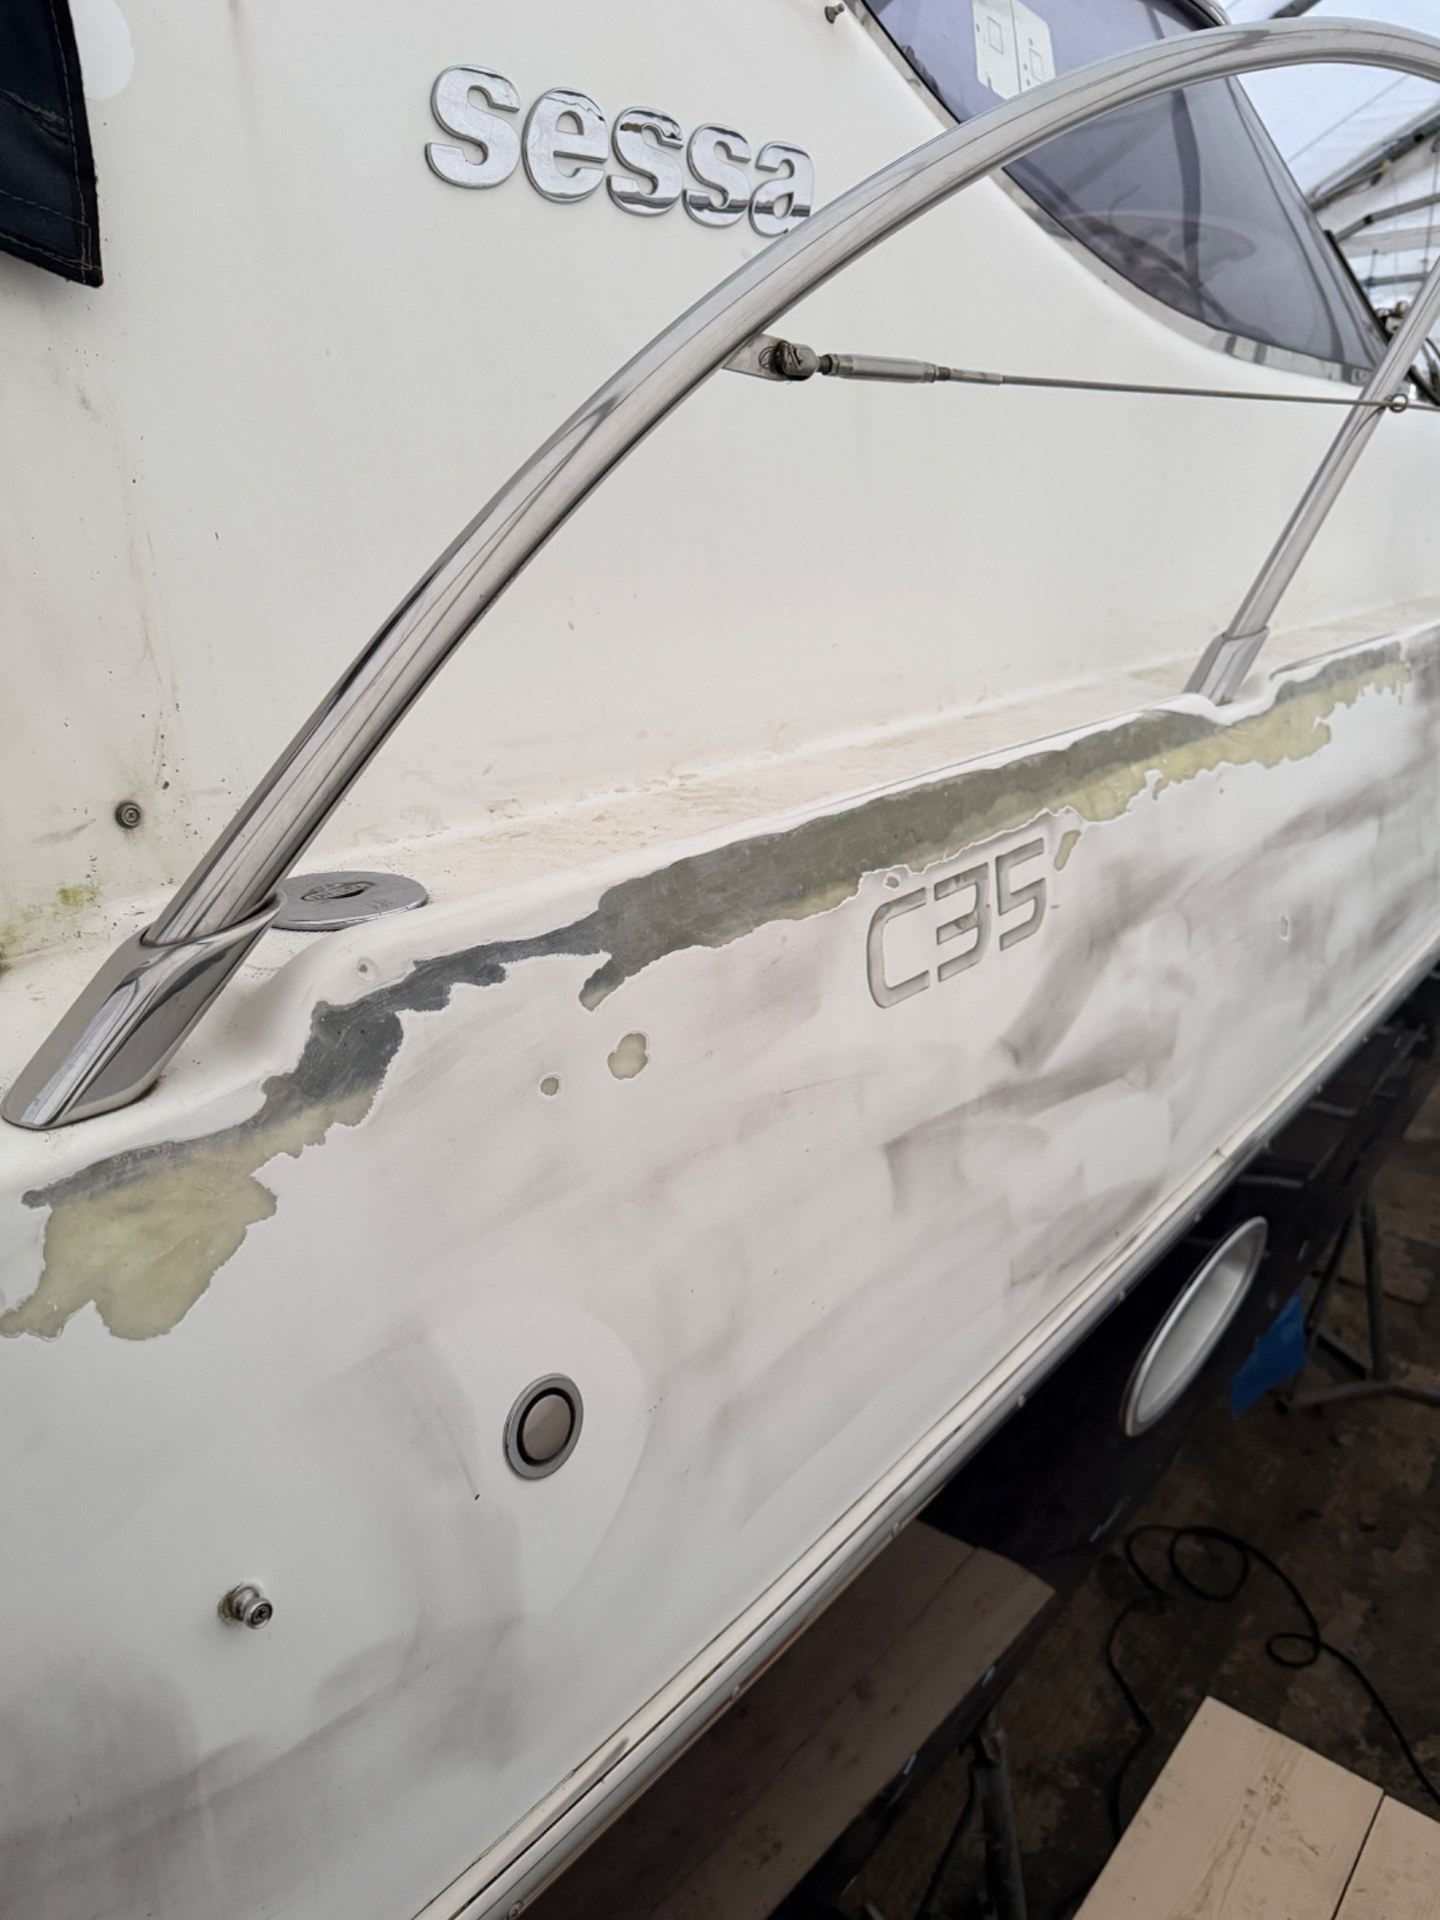
Sessa C35 damaged gelcoat removed to the fibreglass beneath
Photo 01Removal of damaged gelcoatDamaged gelcoat removed down to the underlying fibreglass.
Removed damaged gelcoat around stainless steel fittings
Photo 02Opening individual defectsFailed gelcoat worked back around several fittings and along the upper edge.
Localised defective gelcoat removed to expose fibreglass
Photo 03Fibreglass exposed beneath gelcoatIndividual areas of defective gelcoat removed to expose the fibreglass underneath.
Close-up of exposed fibreglass after damaged gelcoat removal
Photo 04Gelcoat removed to fibreglassDamaged gelcoat removed to expose the underlying fibreglass.
02 / Detail work

Around the edges and fittings

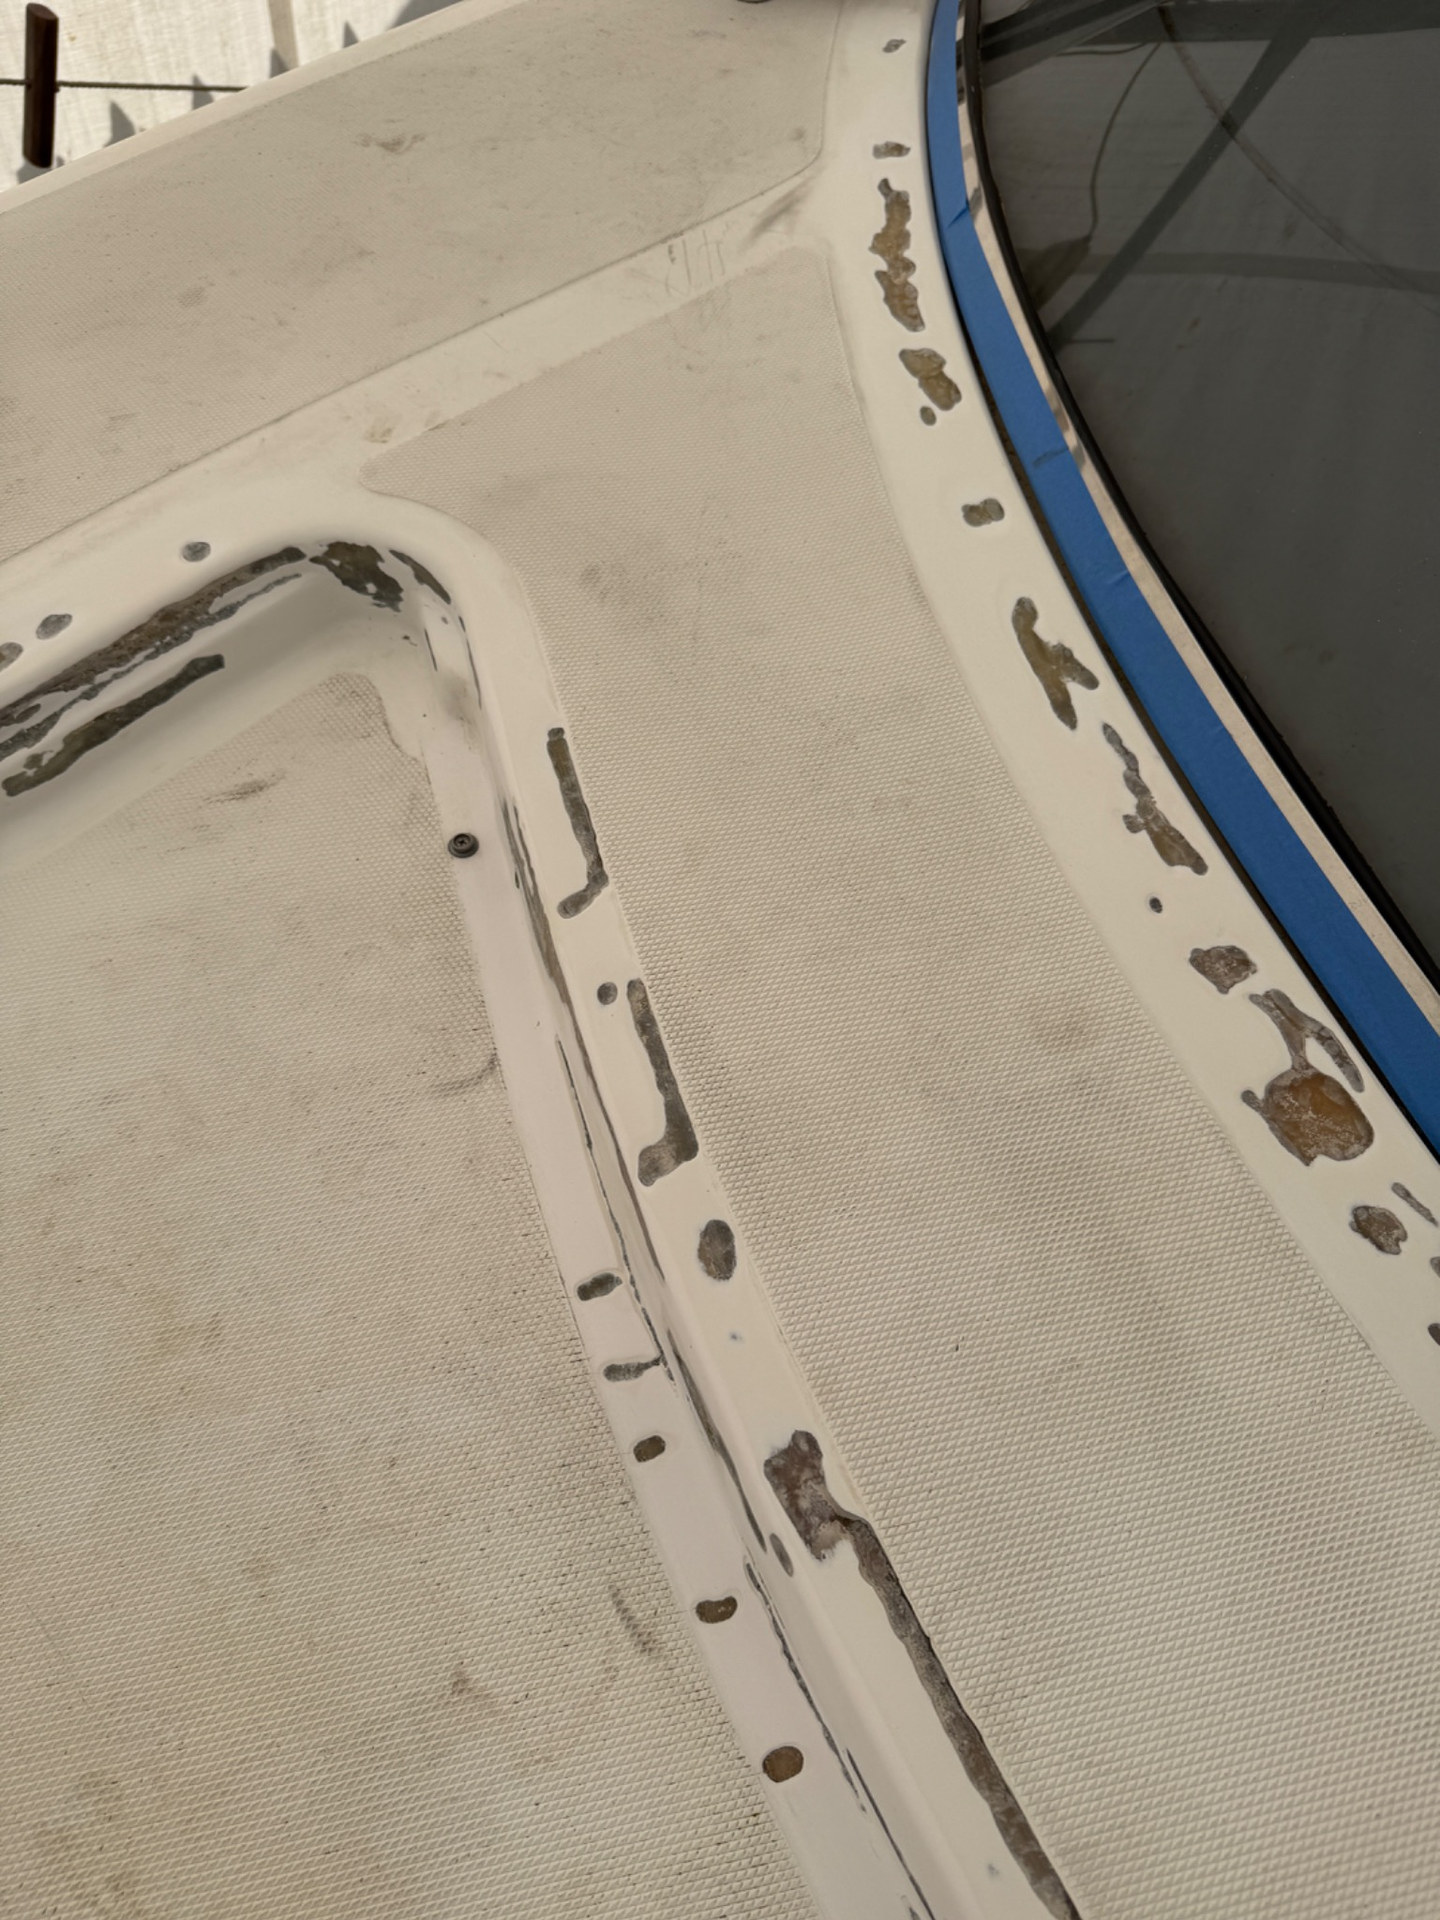
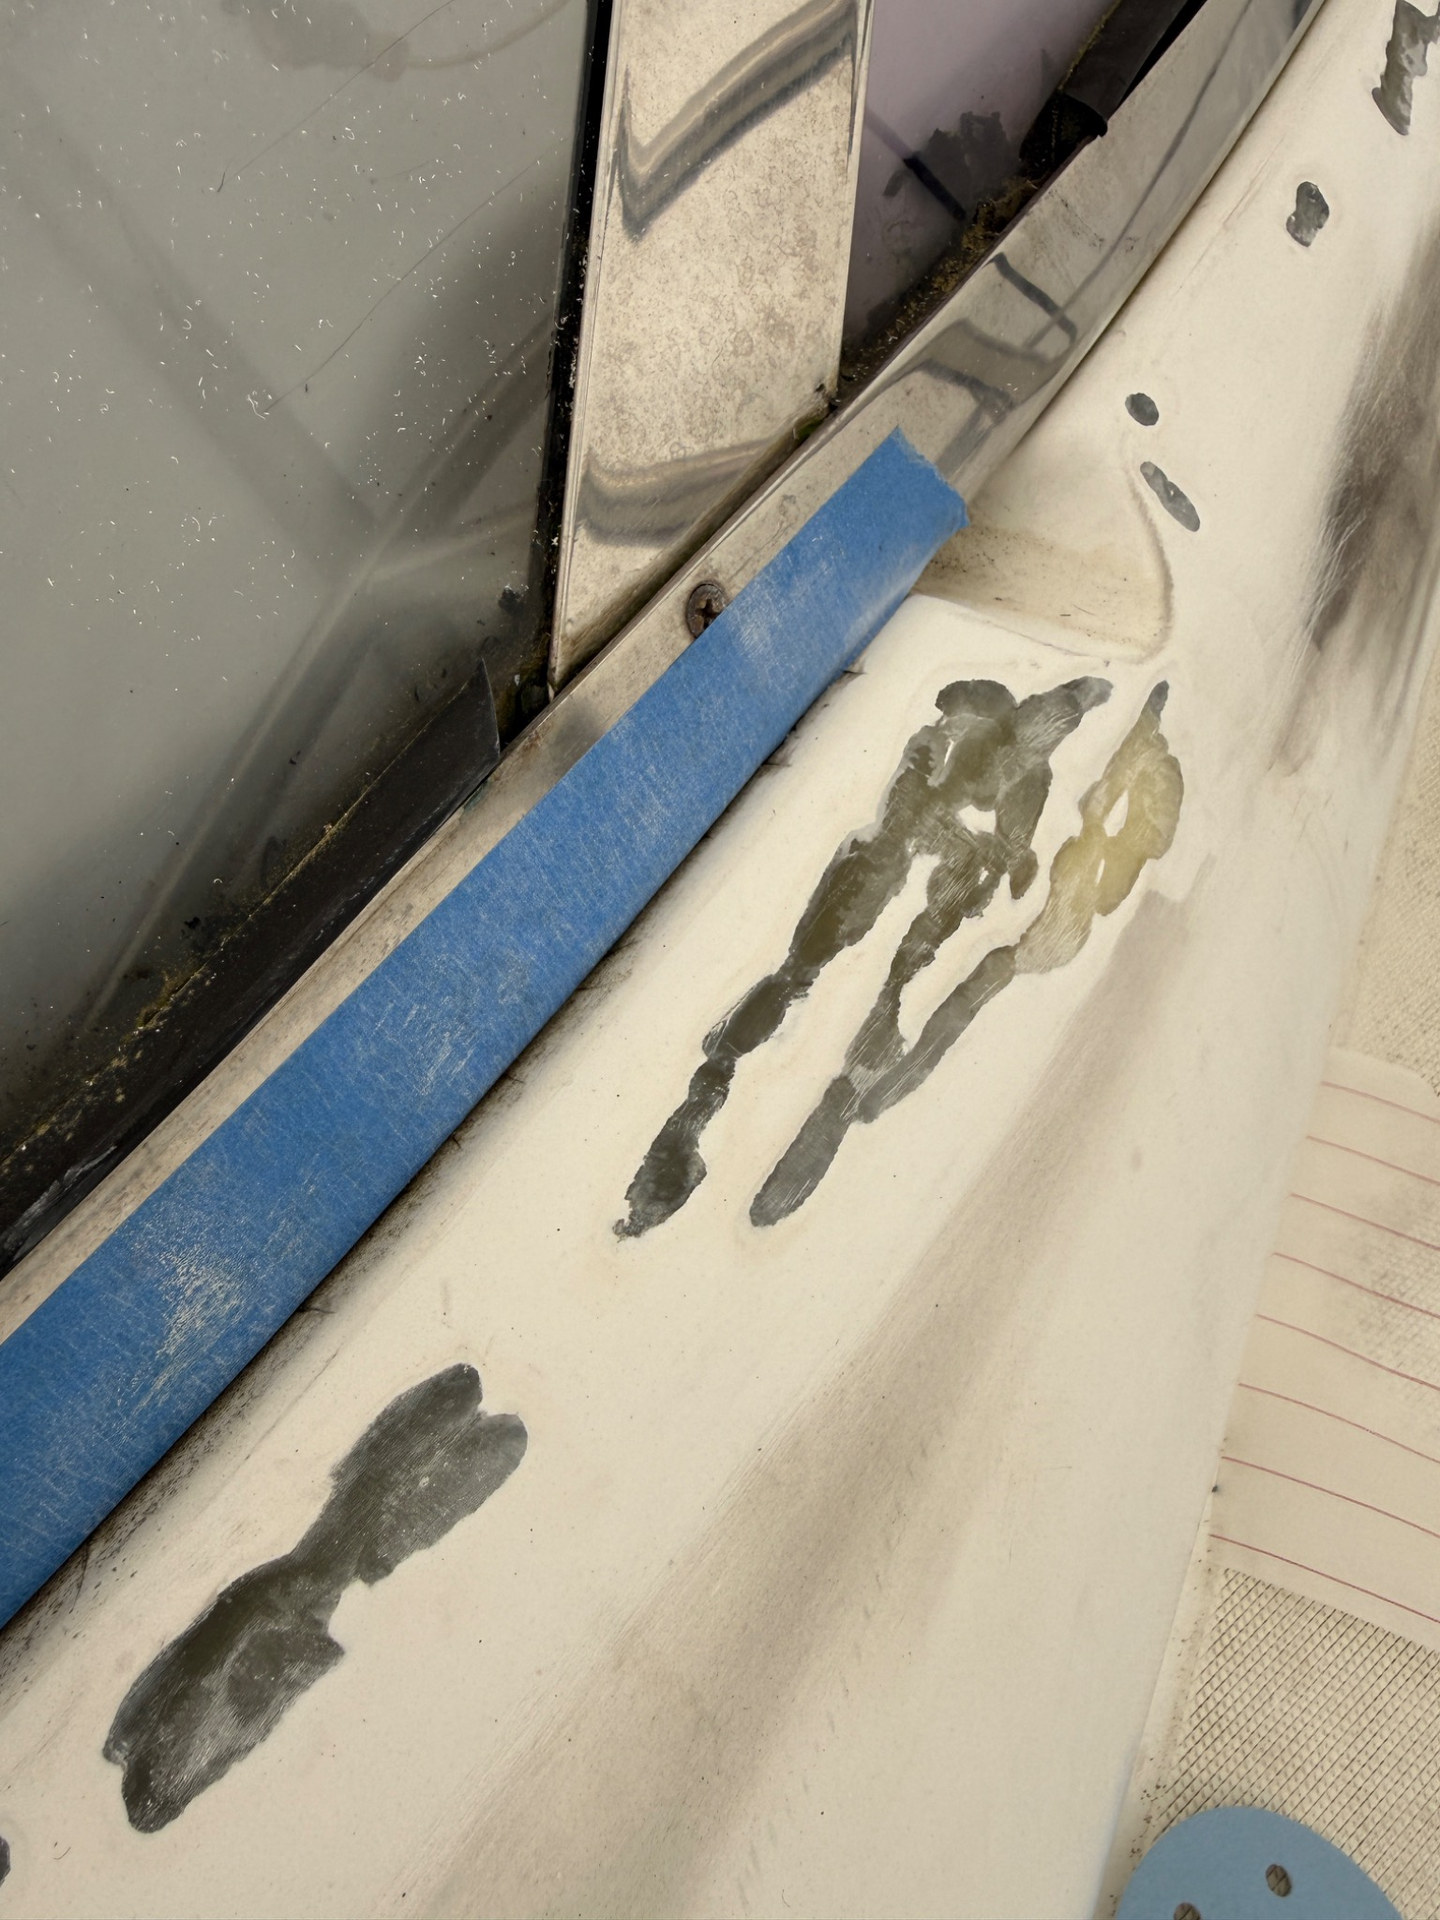
Careful preparation also extended to more confined surfaces alongside glazing and moulded details.
Close view of exposed fibreglass and intact adjacent gelcoat
Photo 05Exposed repair substrateClose-up of the underlying fibreglass after damaged gelcoat has been removed.
Gelcoat defects opened beside the cabin glazing
Photo 06Repairs beside the glazingLocalised gelcoat defects opened up beside the glazing.
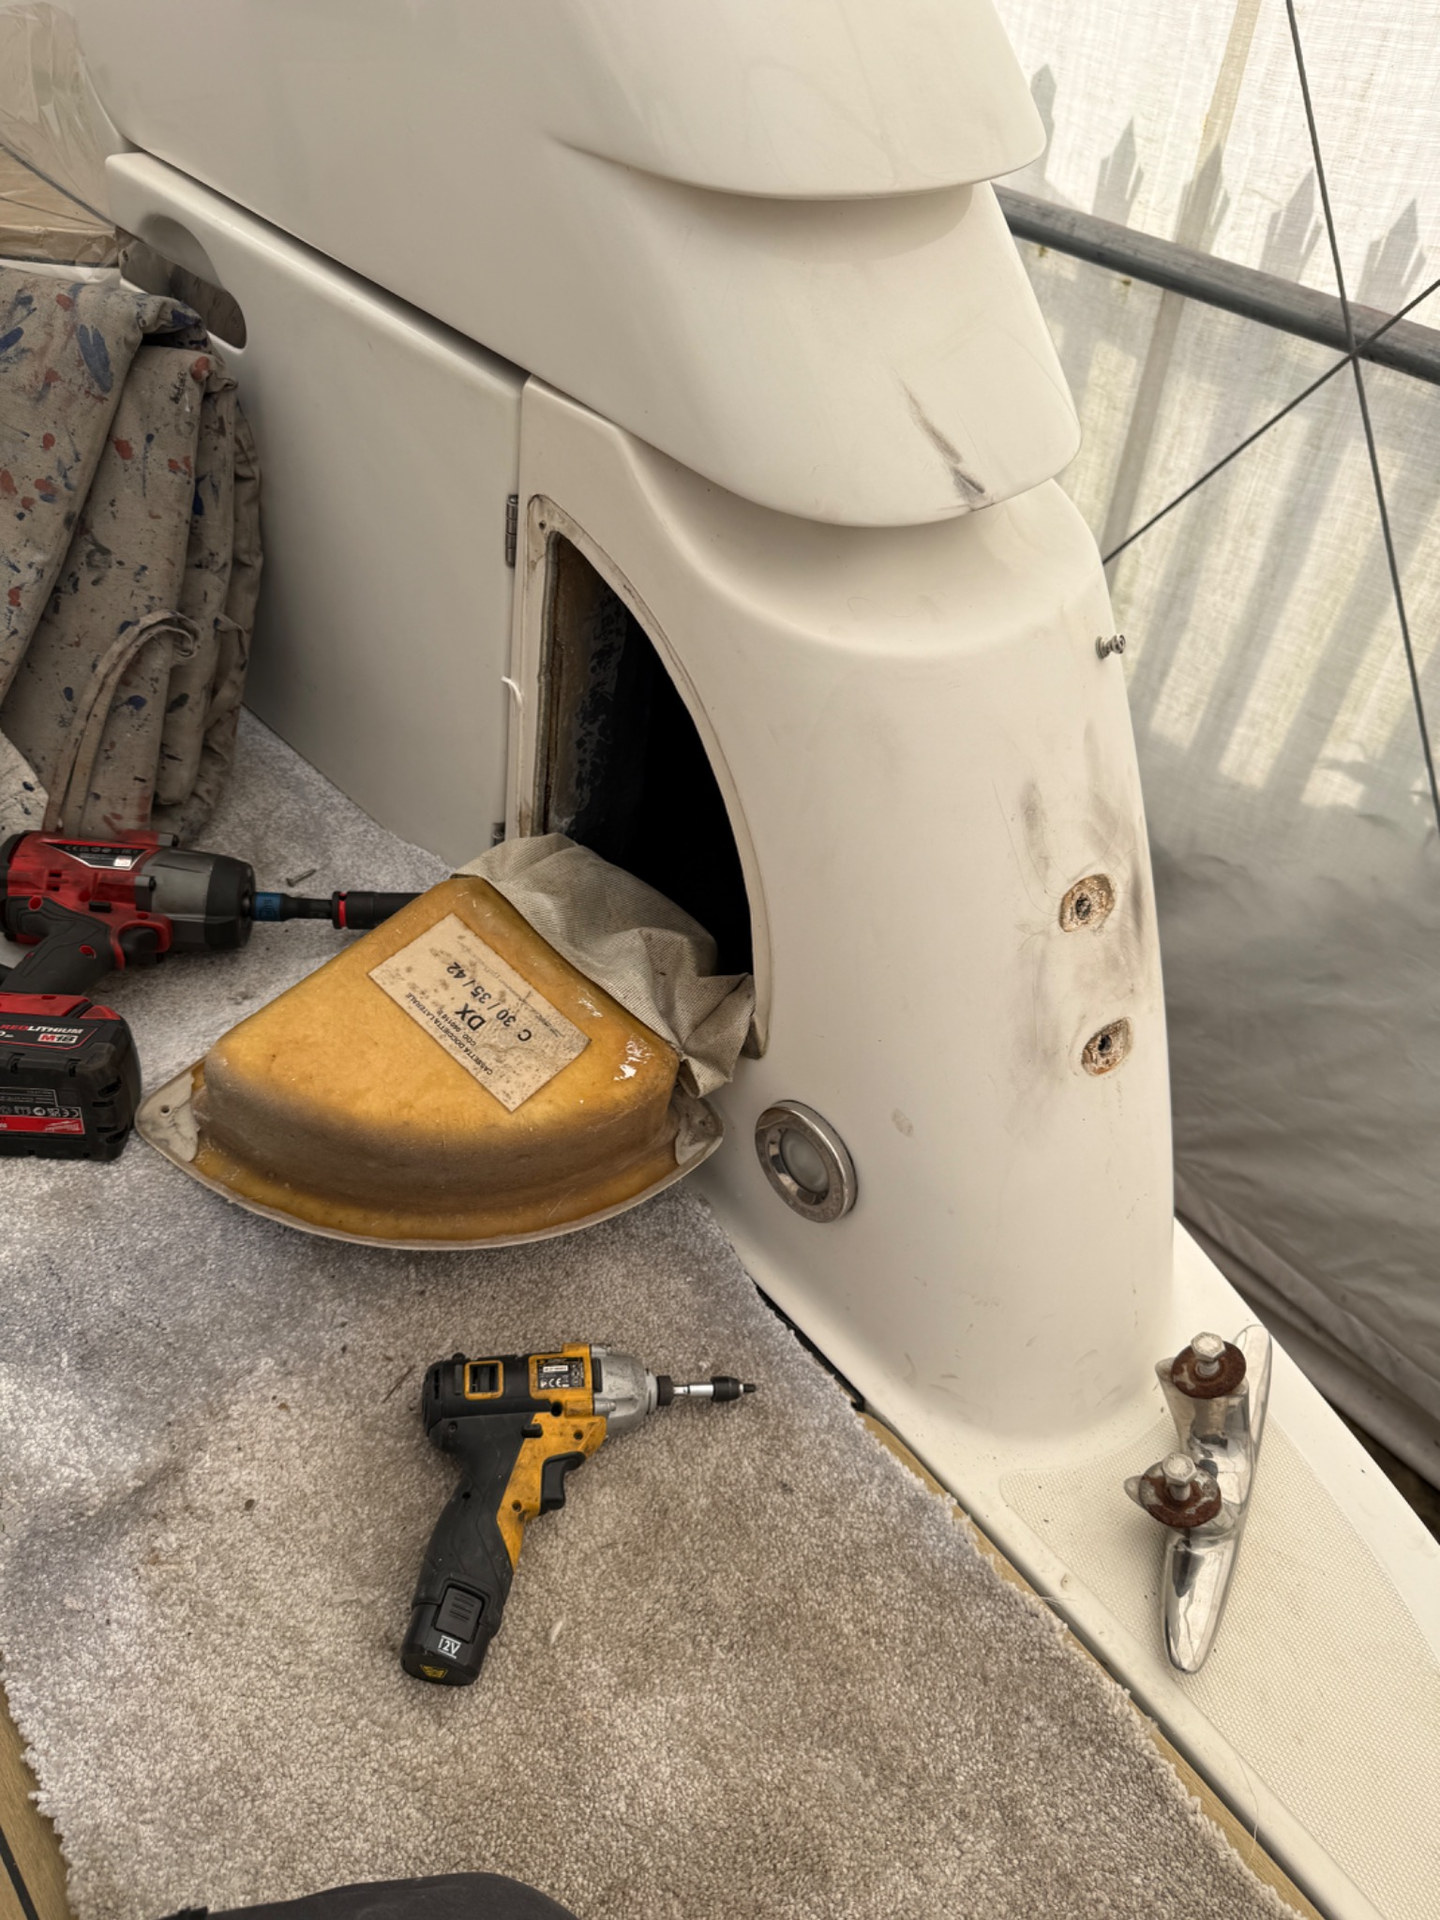
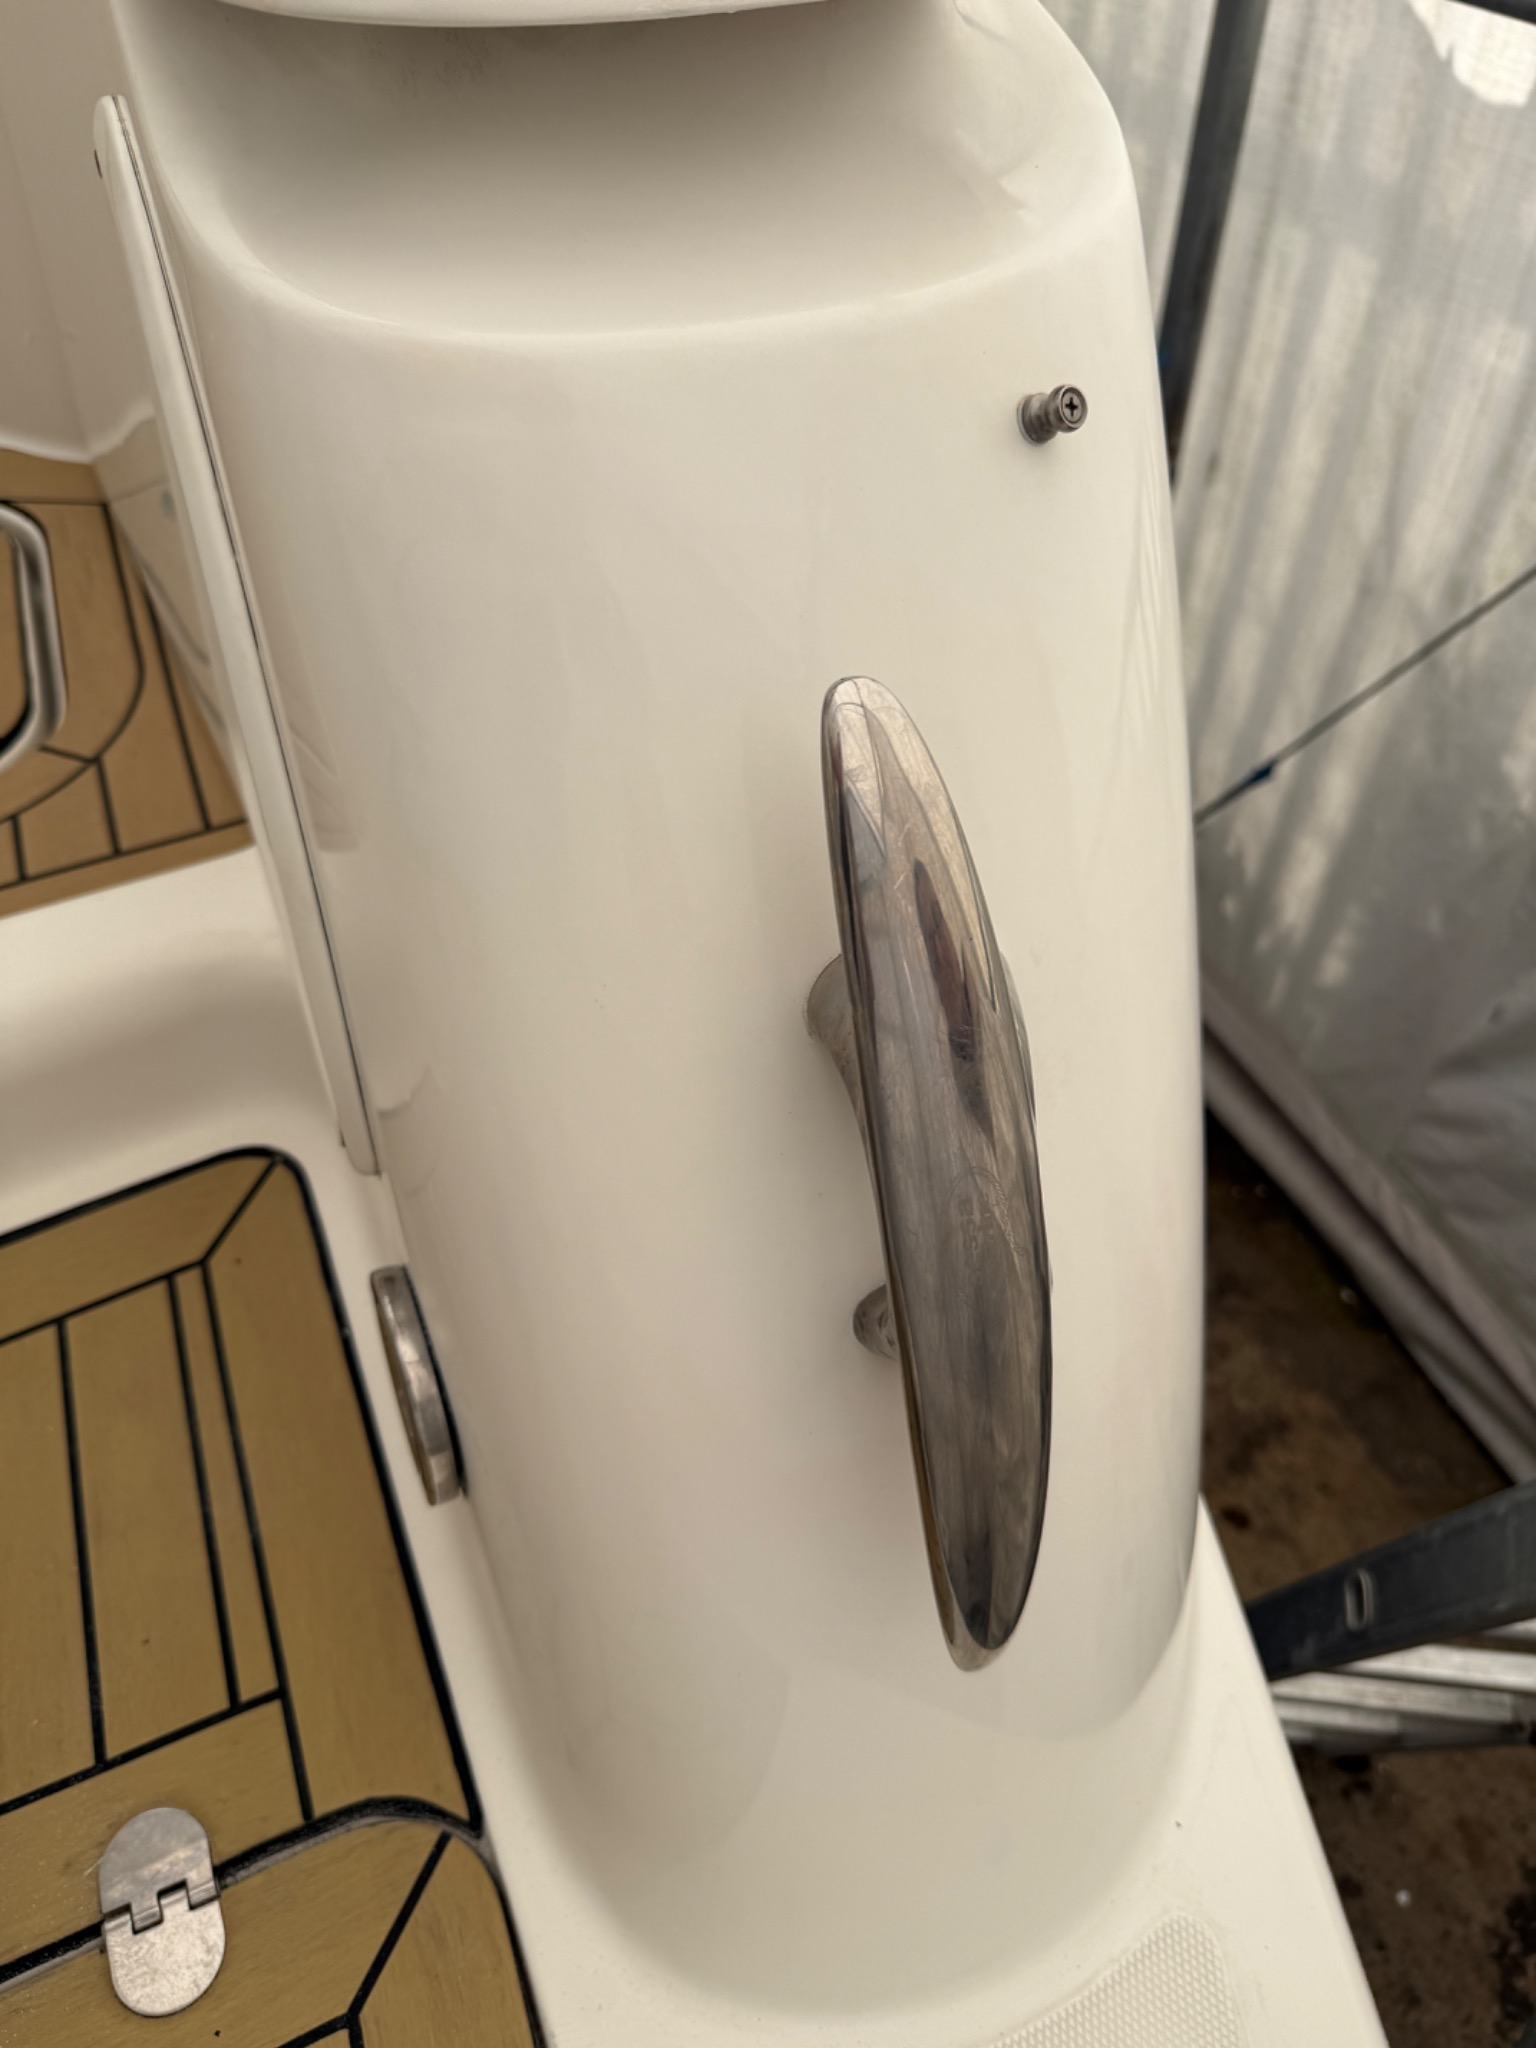
Access opened behind the cleat mounting to reach the damaged area
Photo 07Access behind the cleat damageAccess opened to the rear of the damaged area around the cleat.
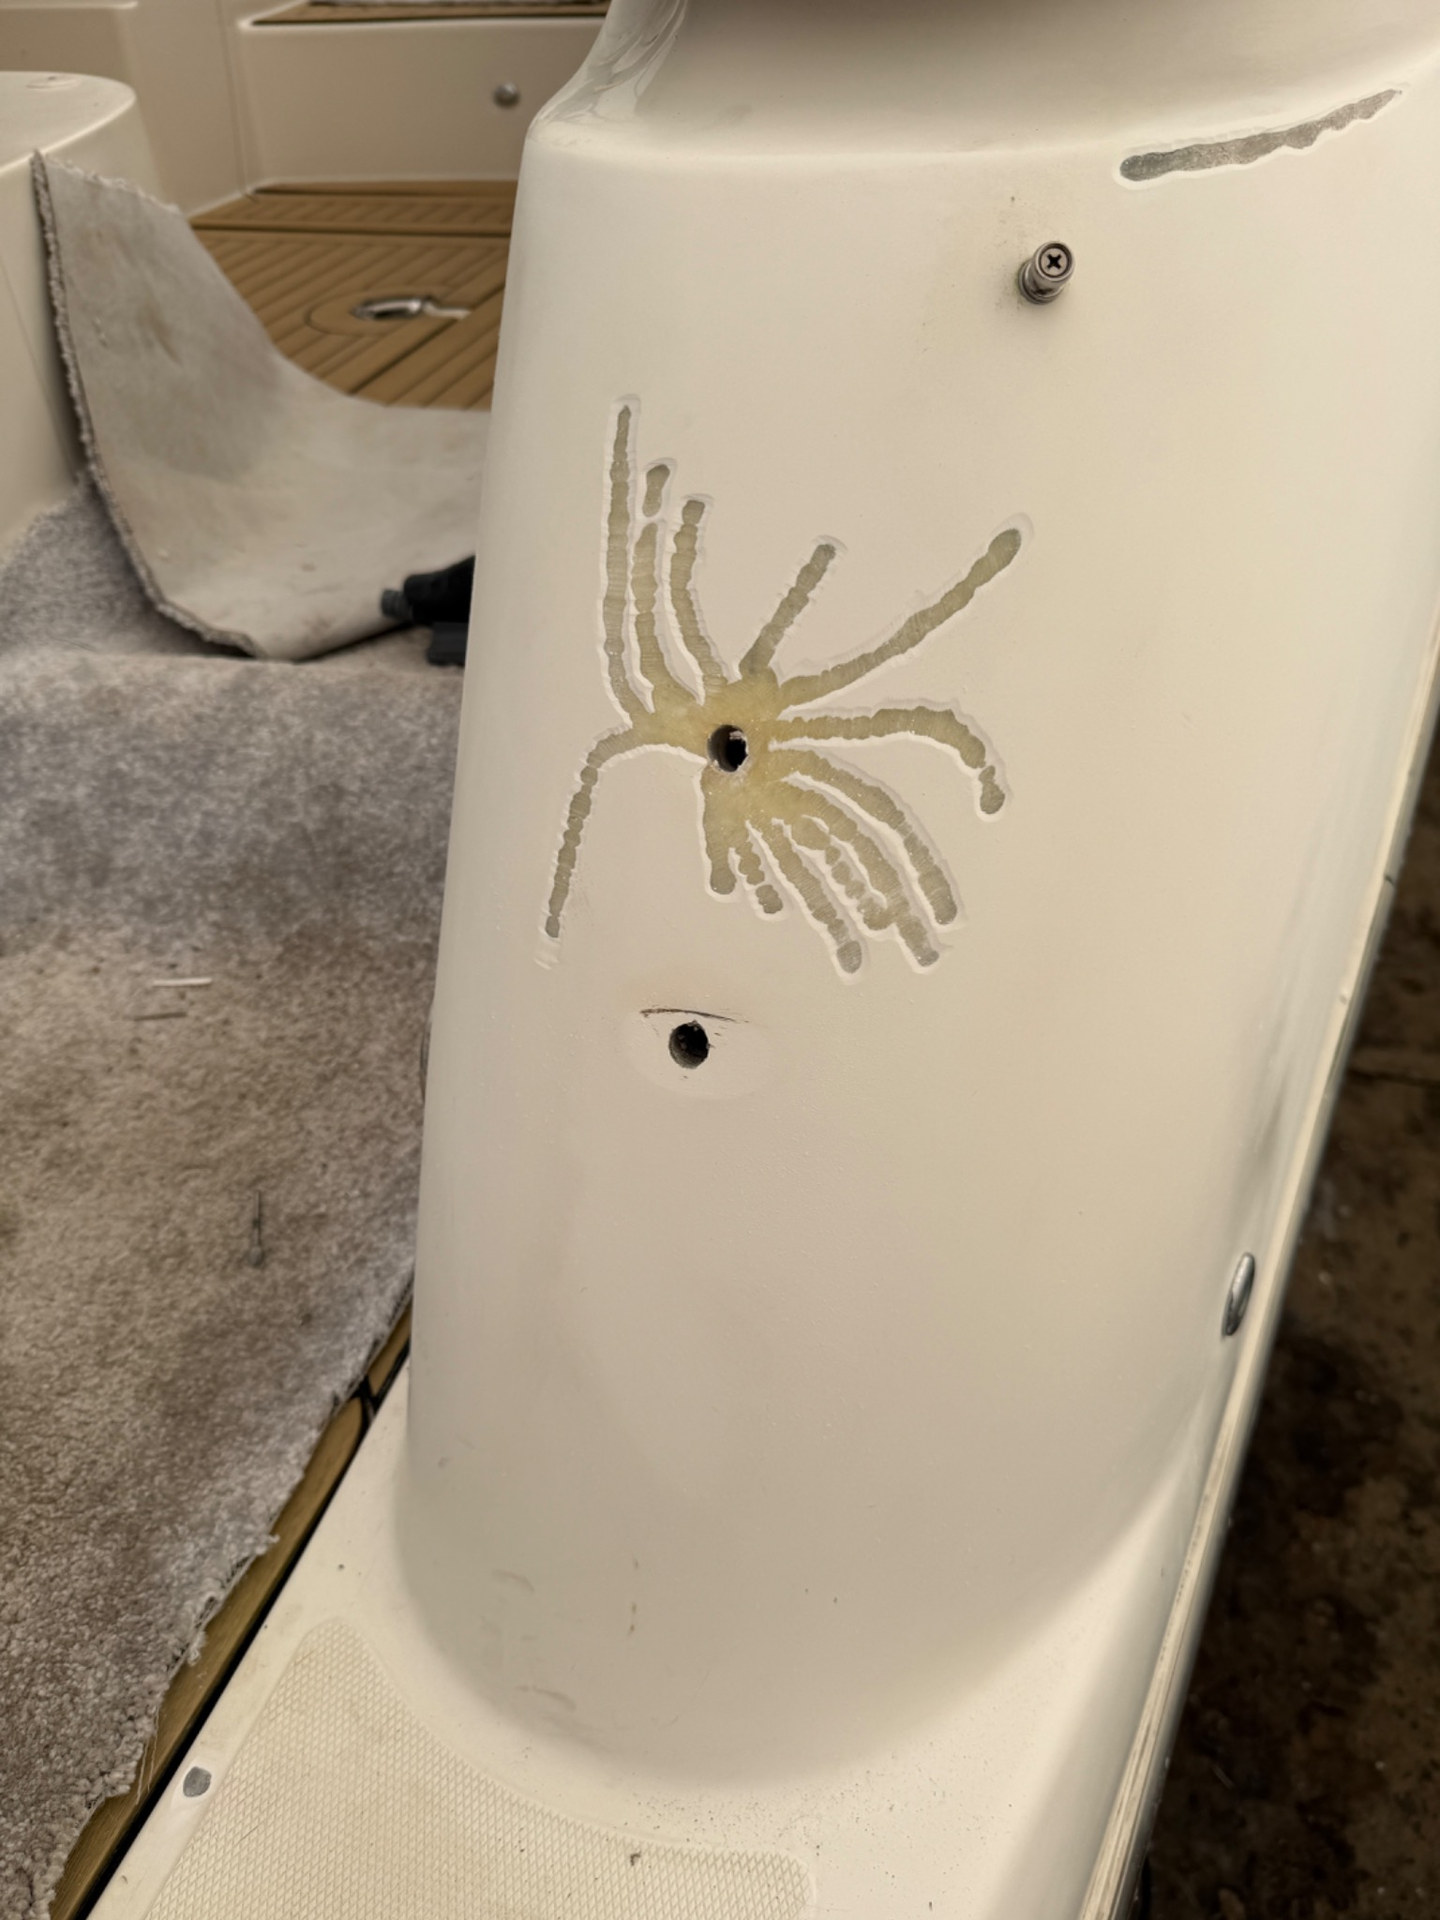
Spider cracking around the removed cleat fixing on the Sessa C35
Photo 08Spider cracks around the removed cleatSpider cracks radiating from the cleat fixing point after the cleat was removed.
03 / Restoration progress

Refining the repaired gelcoat

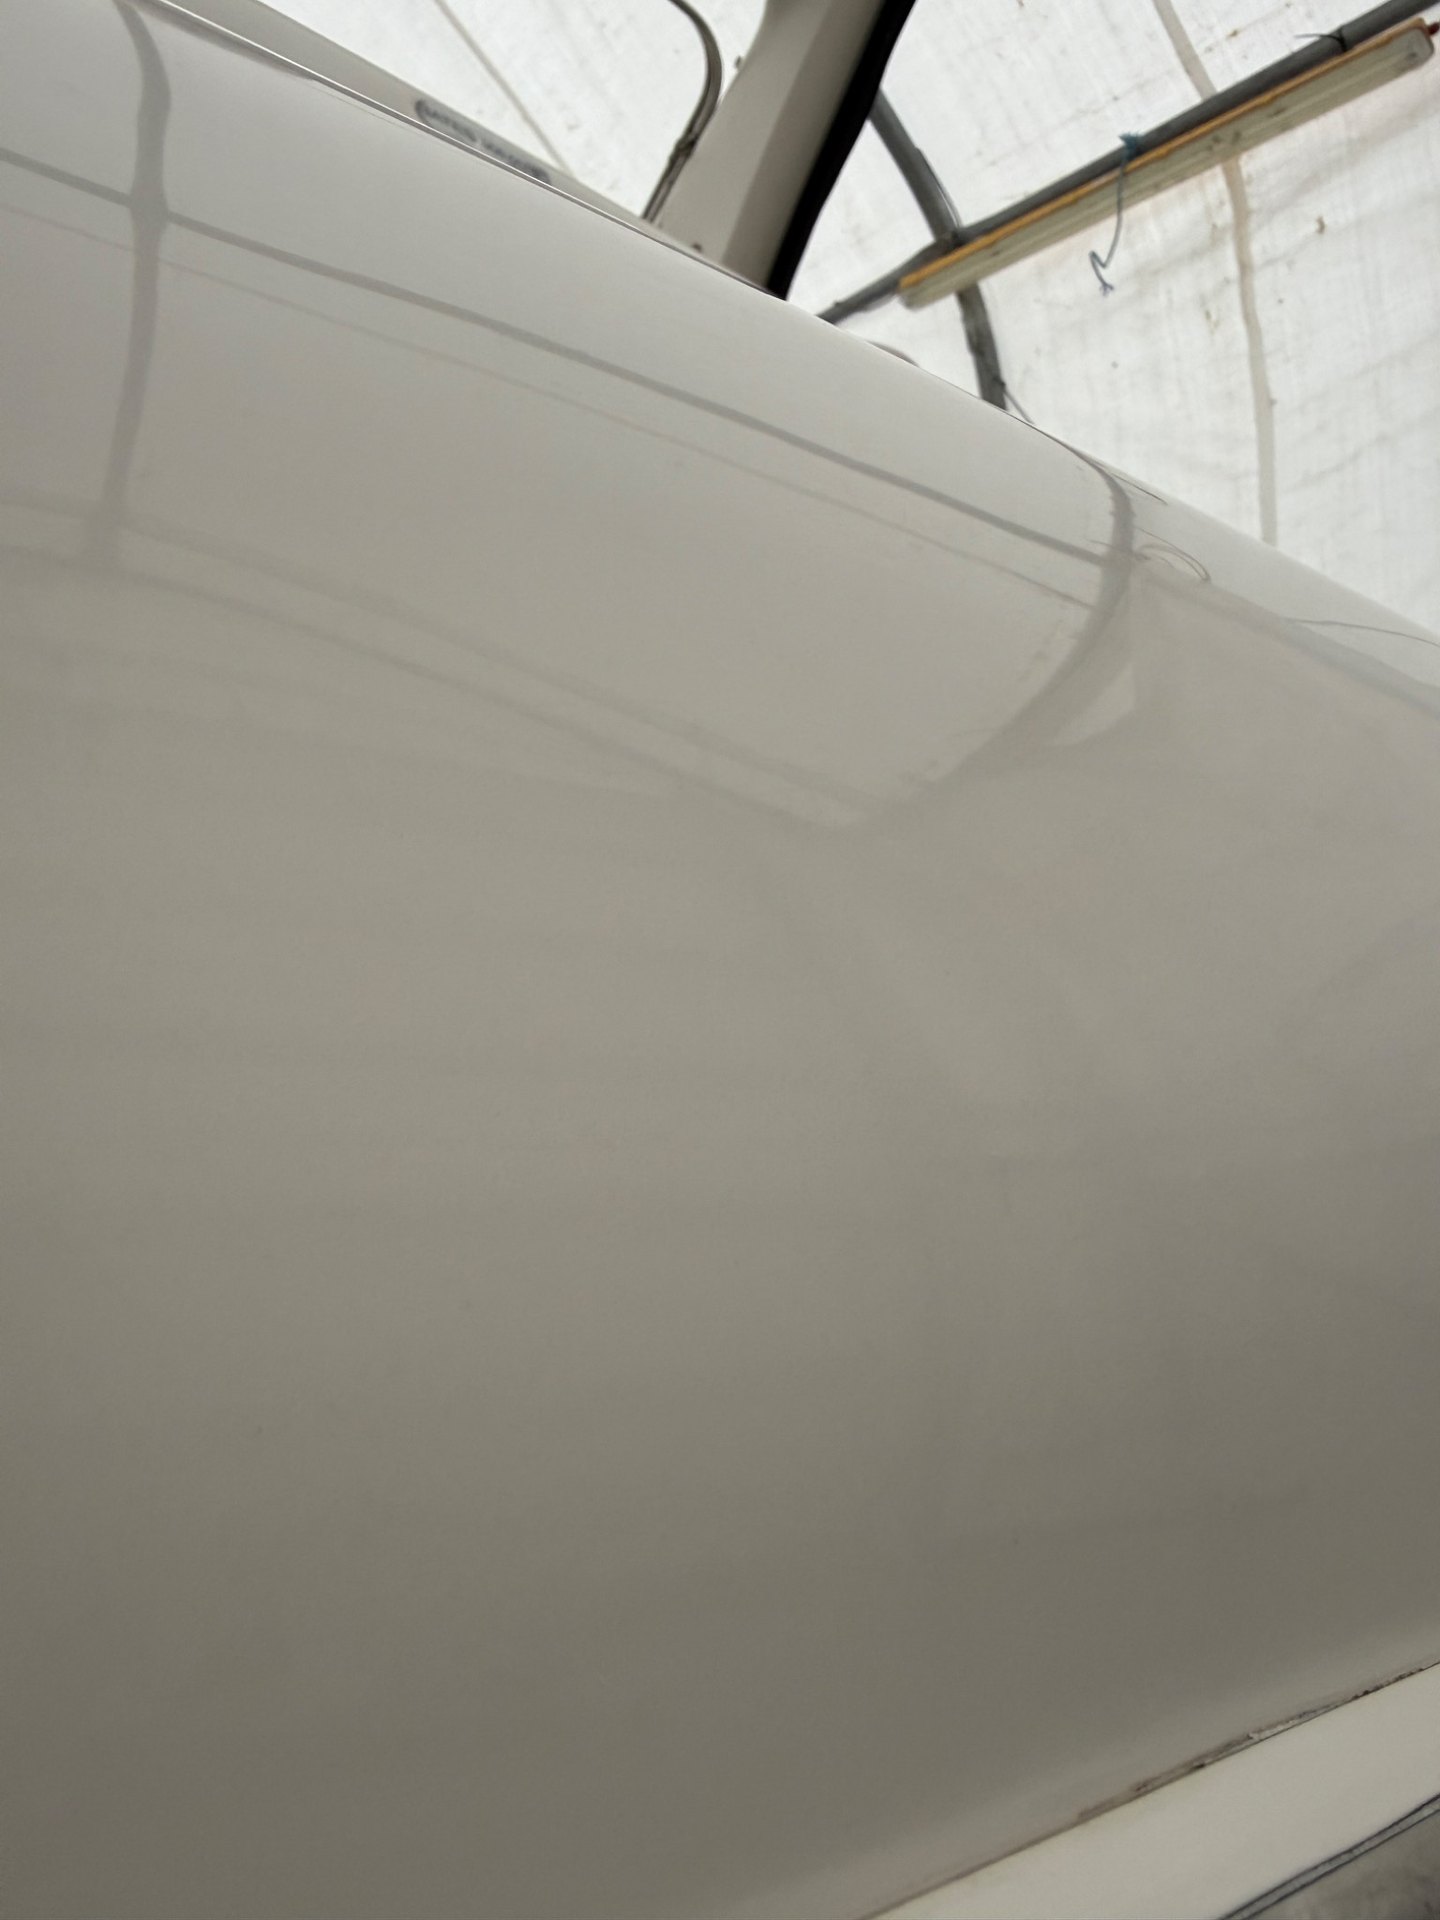
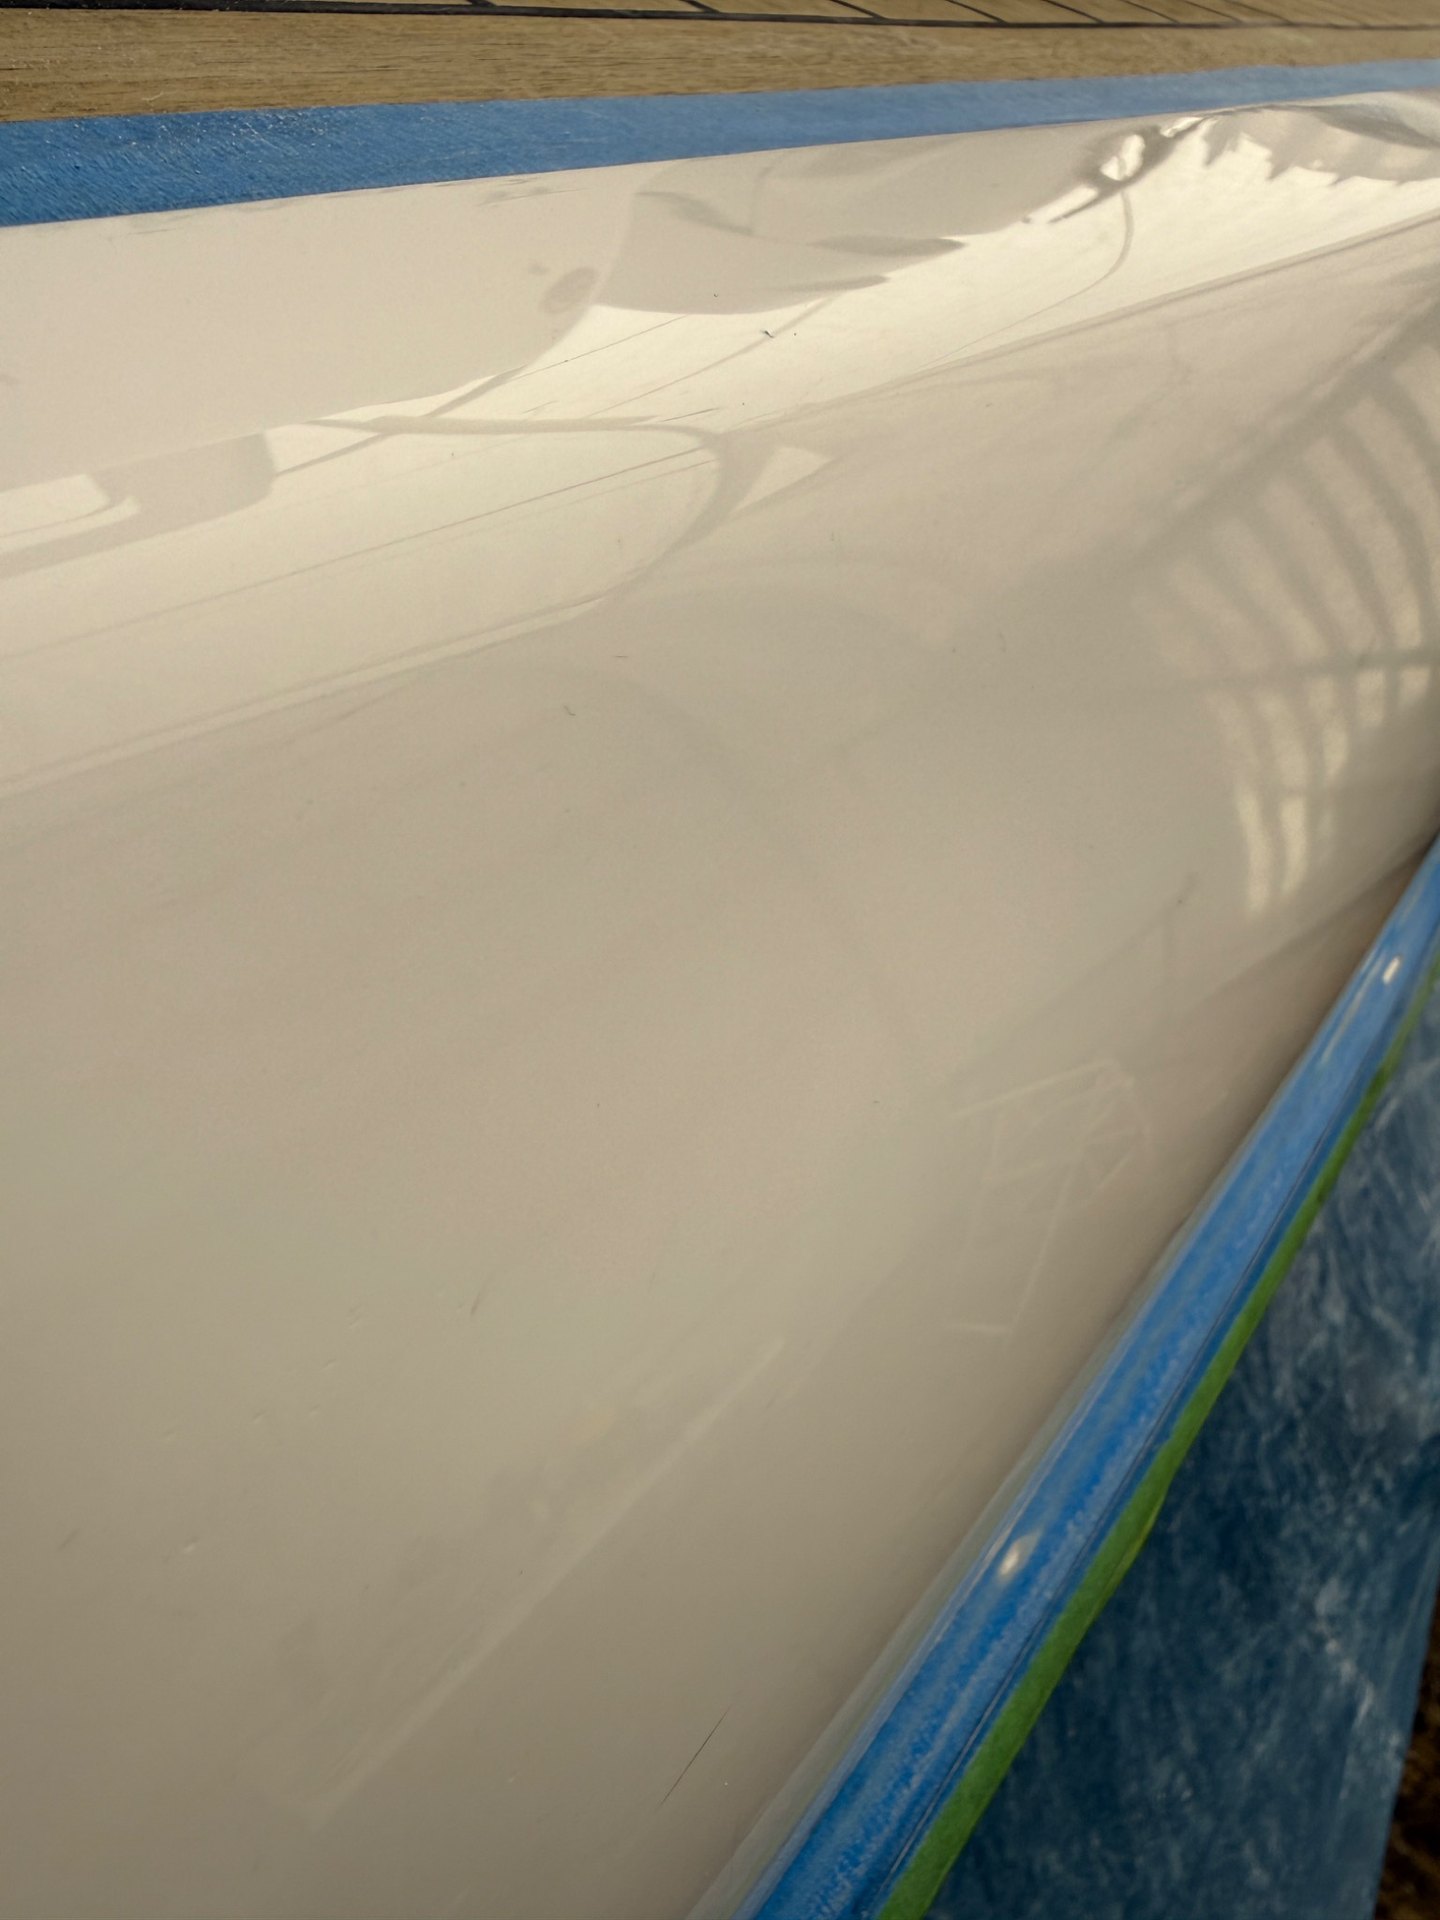
With preparation and rebuilding work undertaken across the affected areas, these photographs show the finish taking shape. They document progress rather than final handover; masking, fitting reinstatement and other work were still under way.
Reflections on a newly refined white gelcoat surface inside the Hull Gel work enclosure
Progress 01A continuous finish taking shapeA close view of gelcoat restoration in progress, with the surface reflecting the work enclosure.
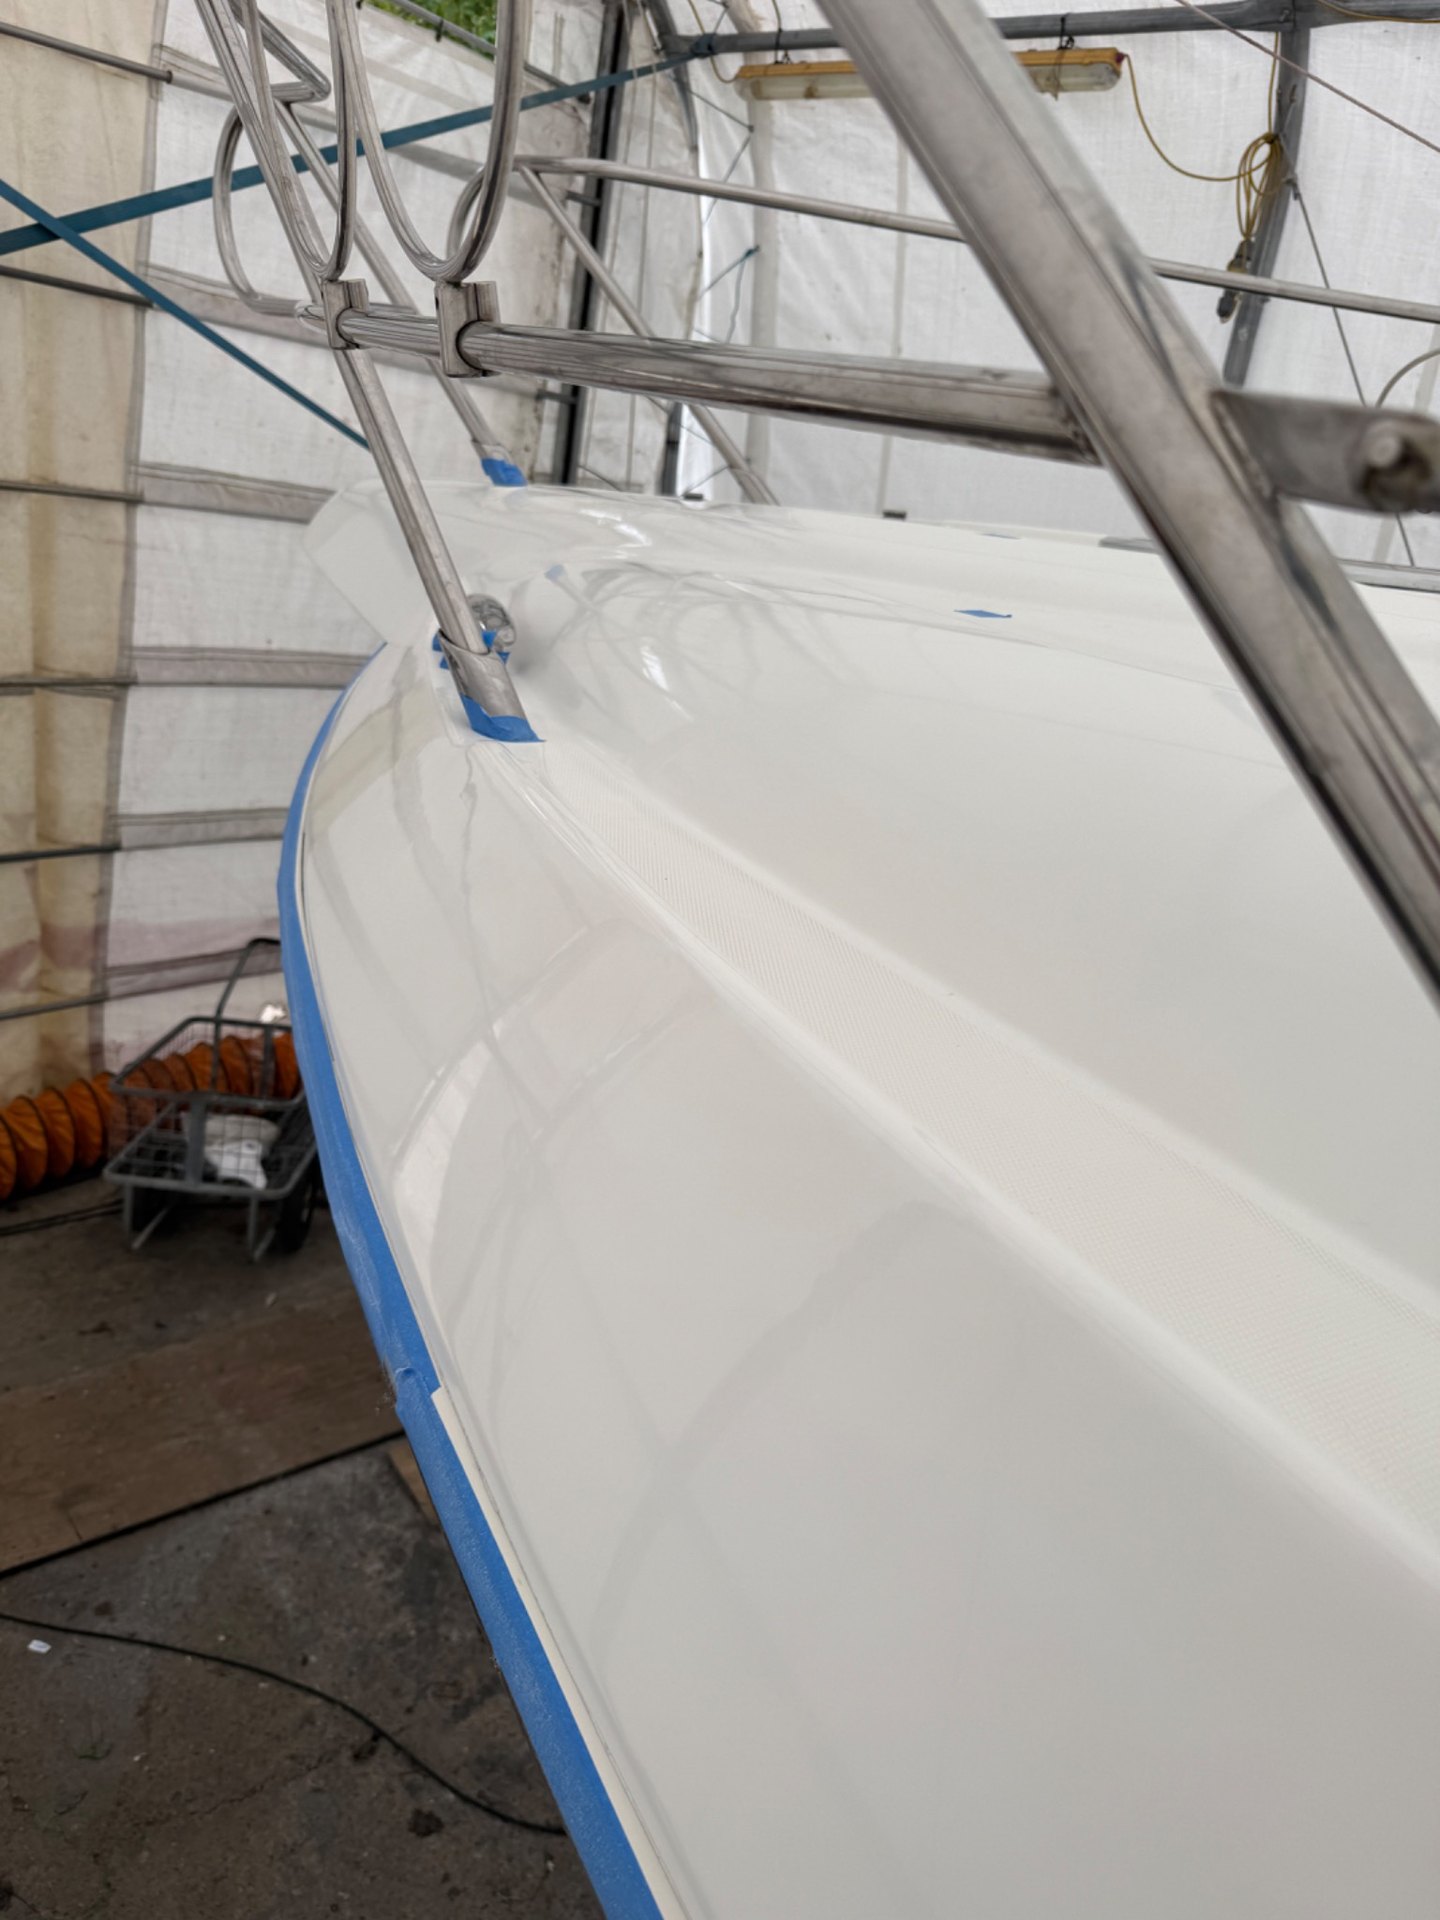
Close view along a glossy white Sessa C35 topside with masking and protective sheeting
Progress 02Gloss returning to the topsideA longer repaired section developing an even, reflective surface while surrounding areas remain protected.
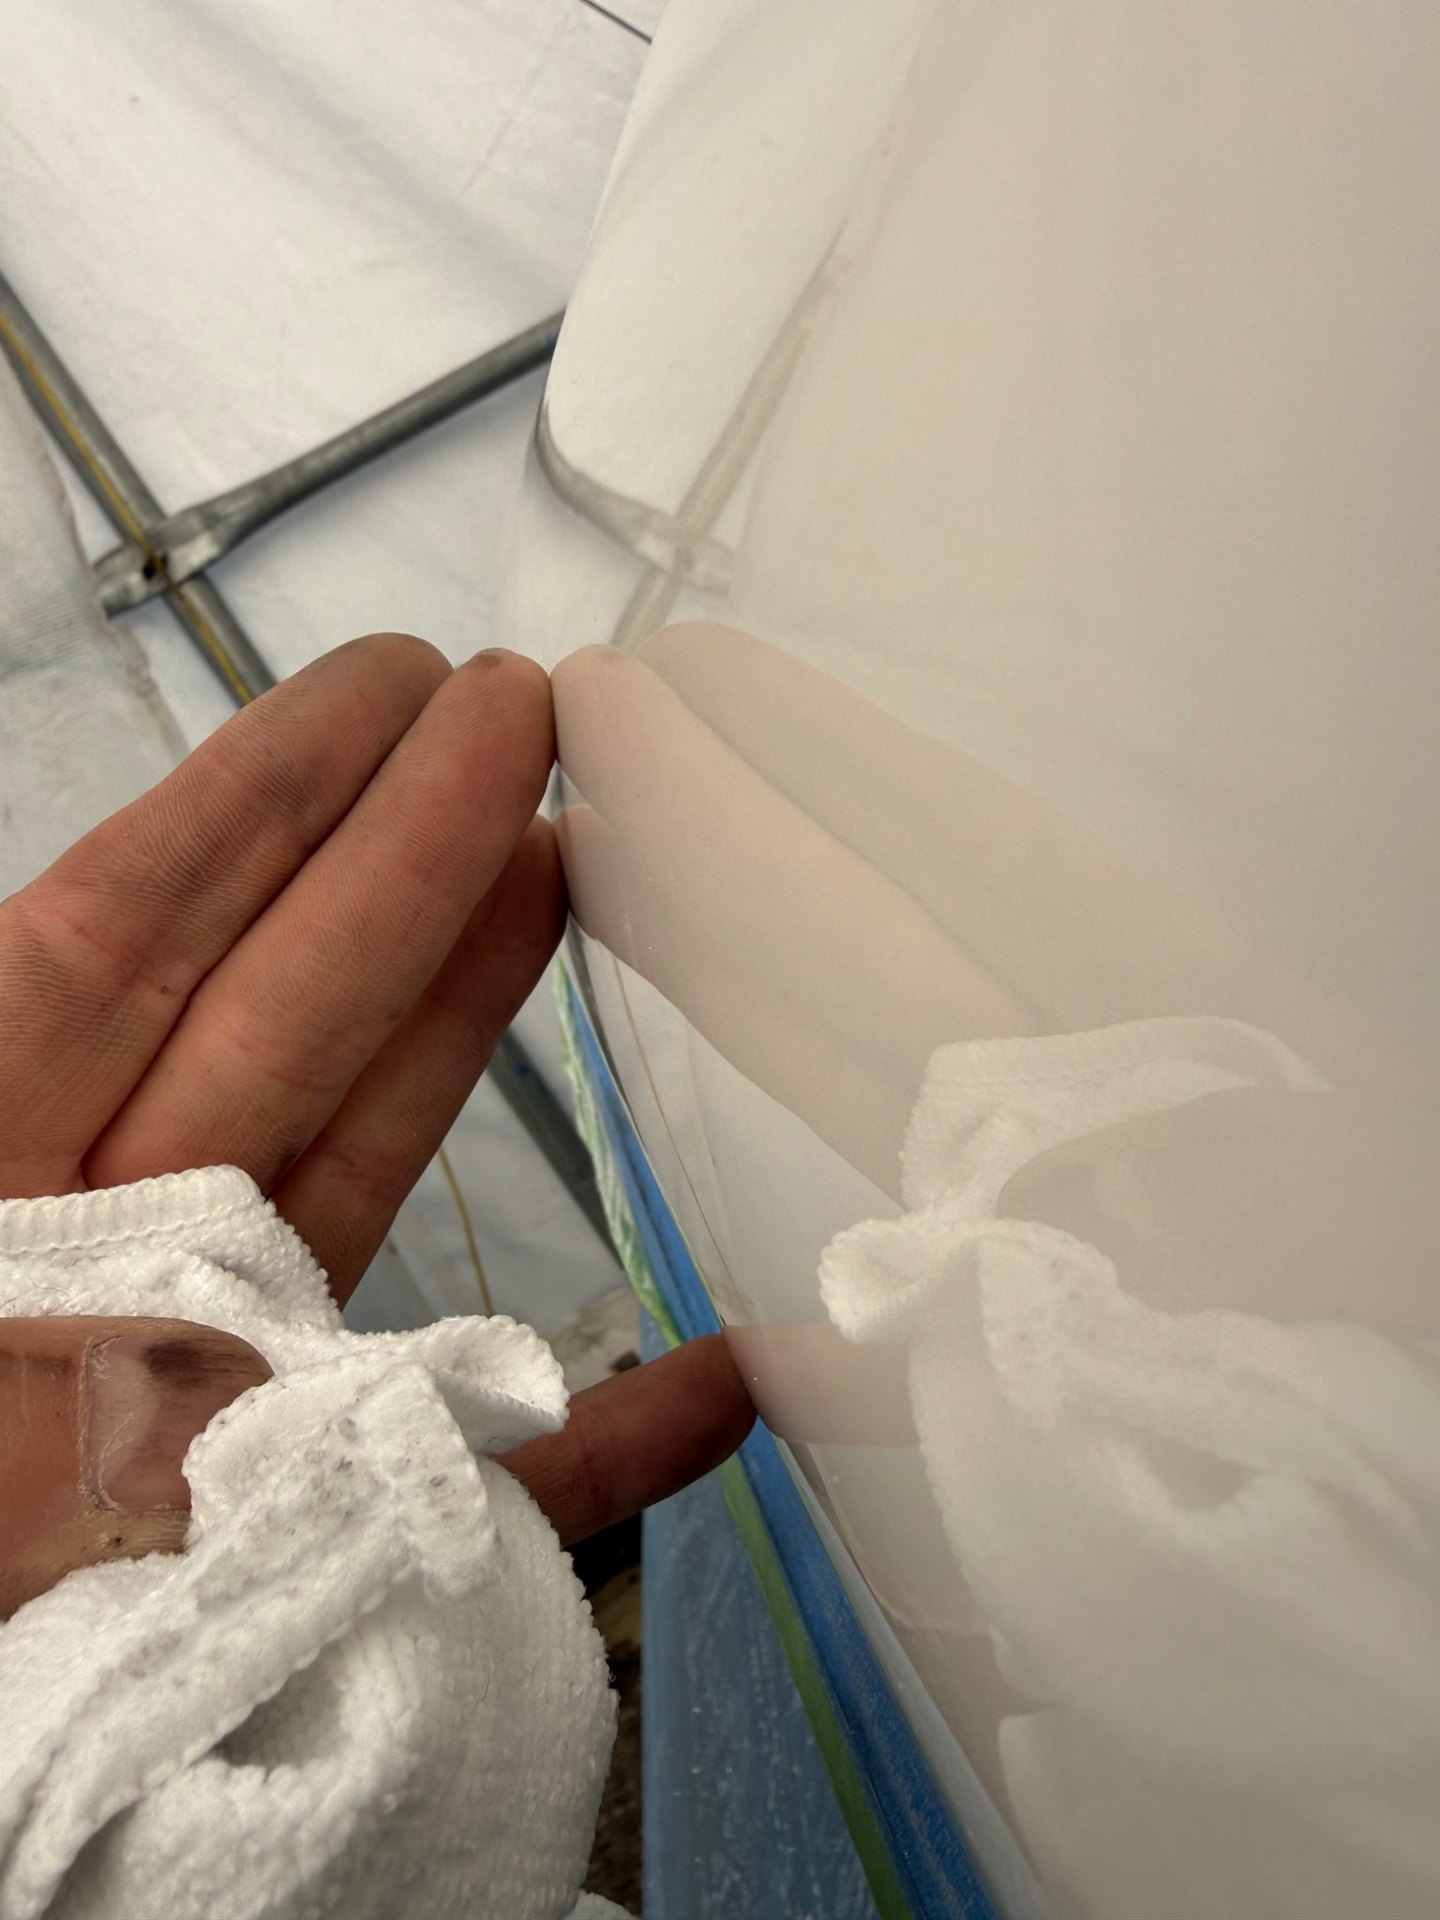
Reflection of a hand against a white gelcoat surface during finish inspection
Progress 03Checking the surface by reflectionThe reflection of a hand in the gelcoat makes the clarity of the developing finish particularly apparent.
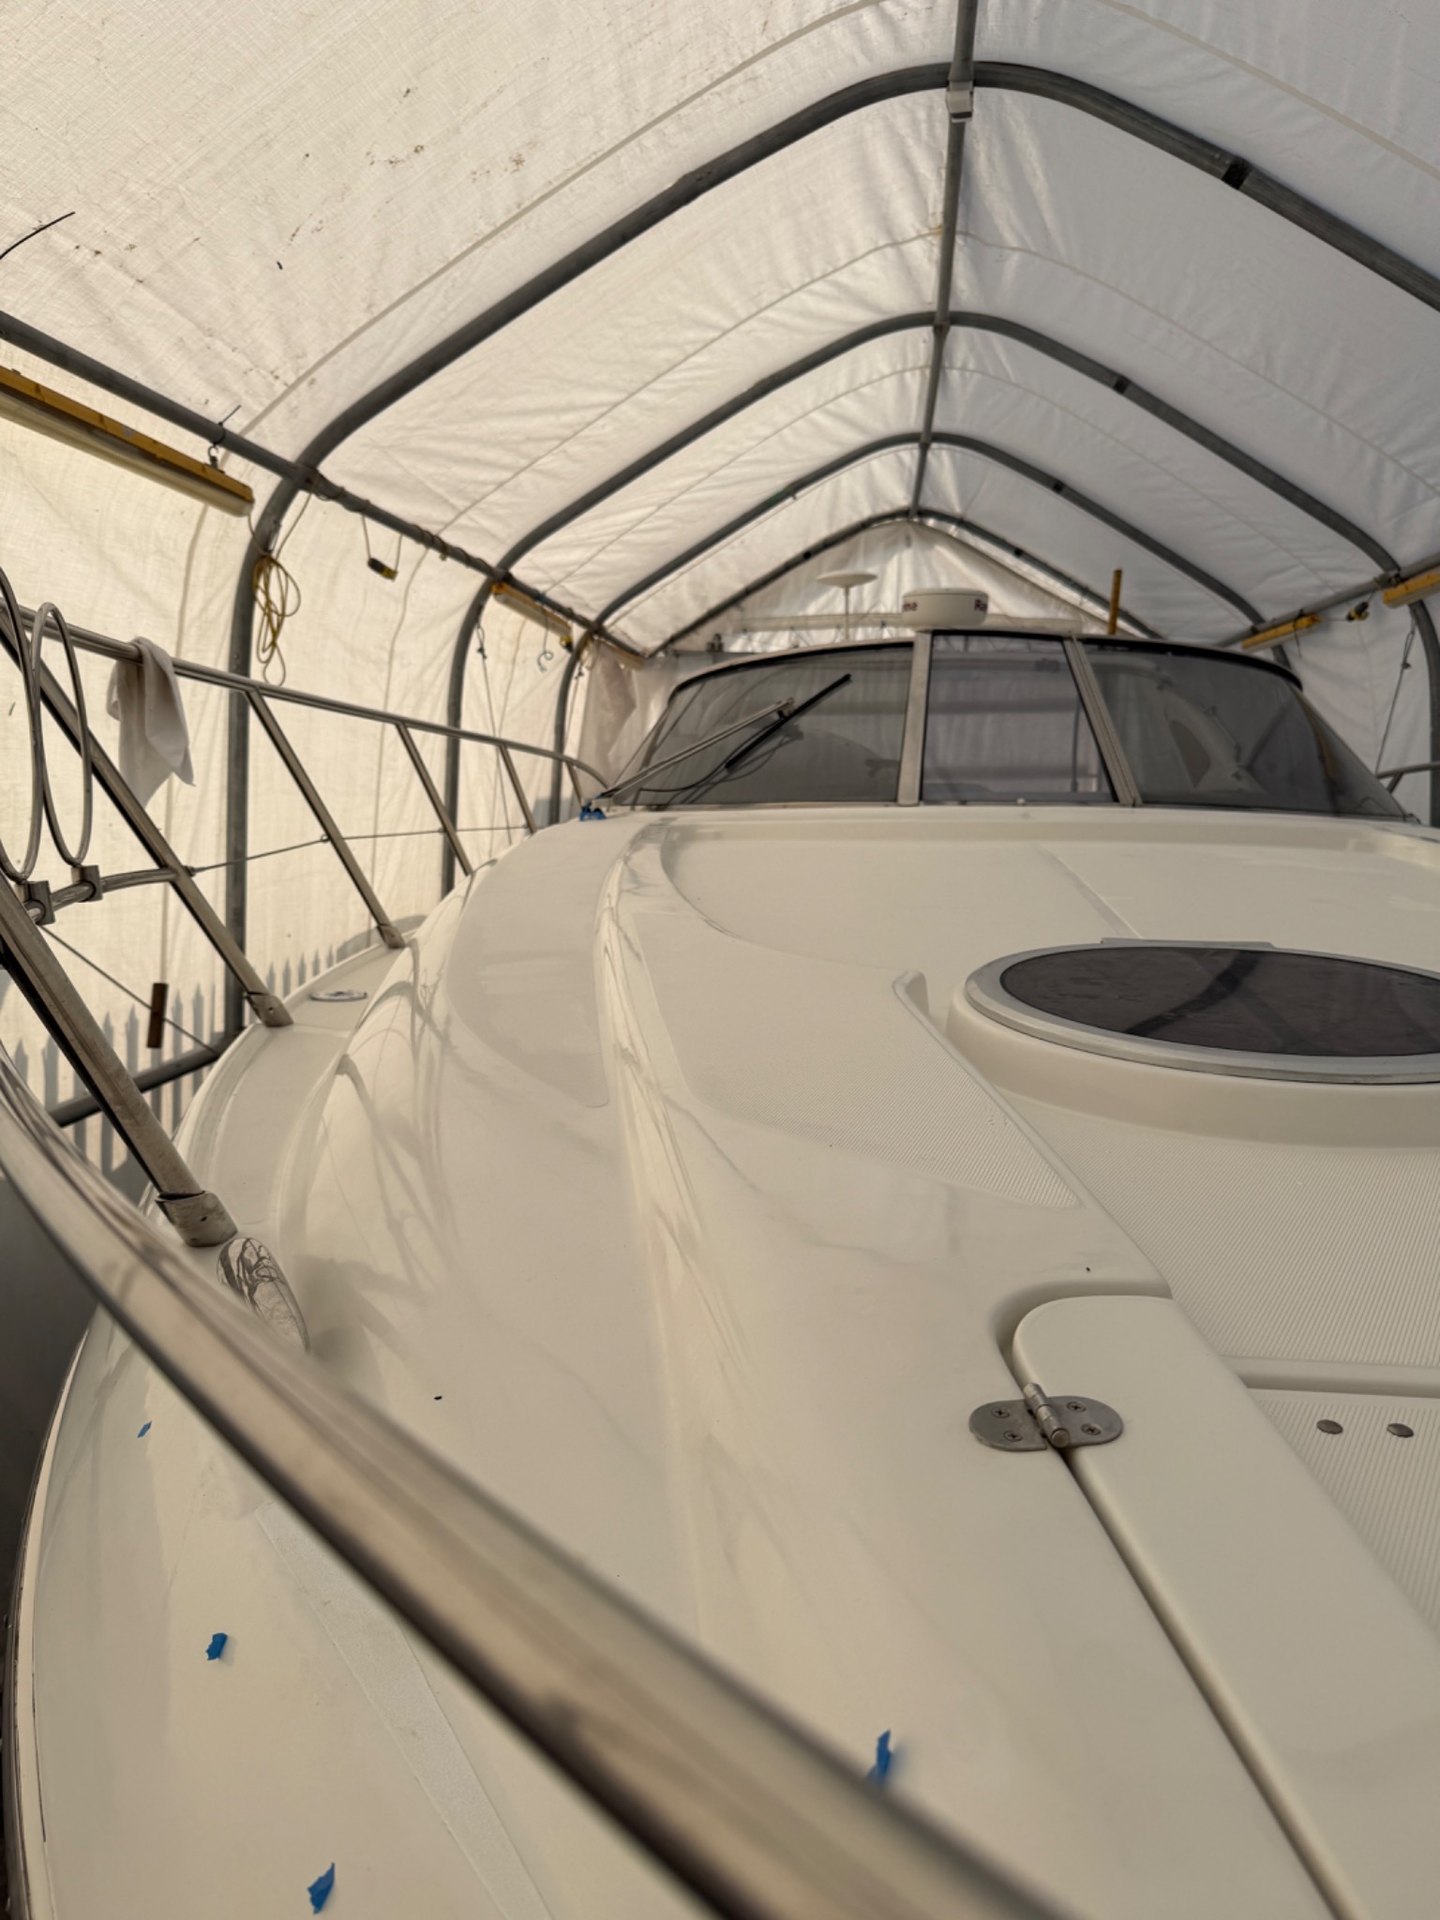
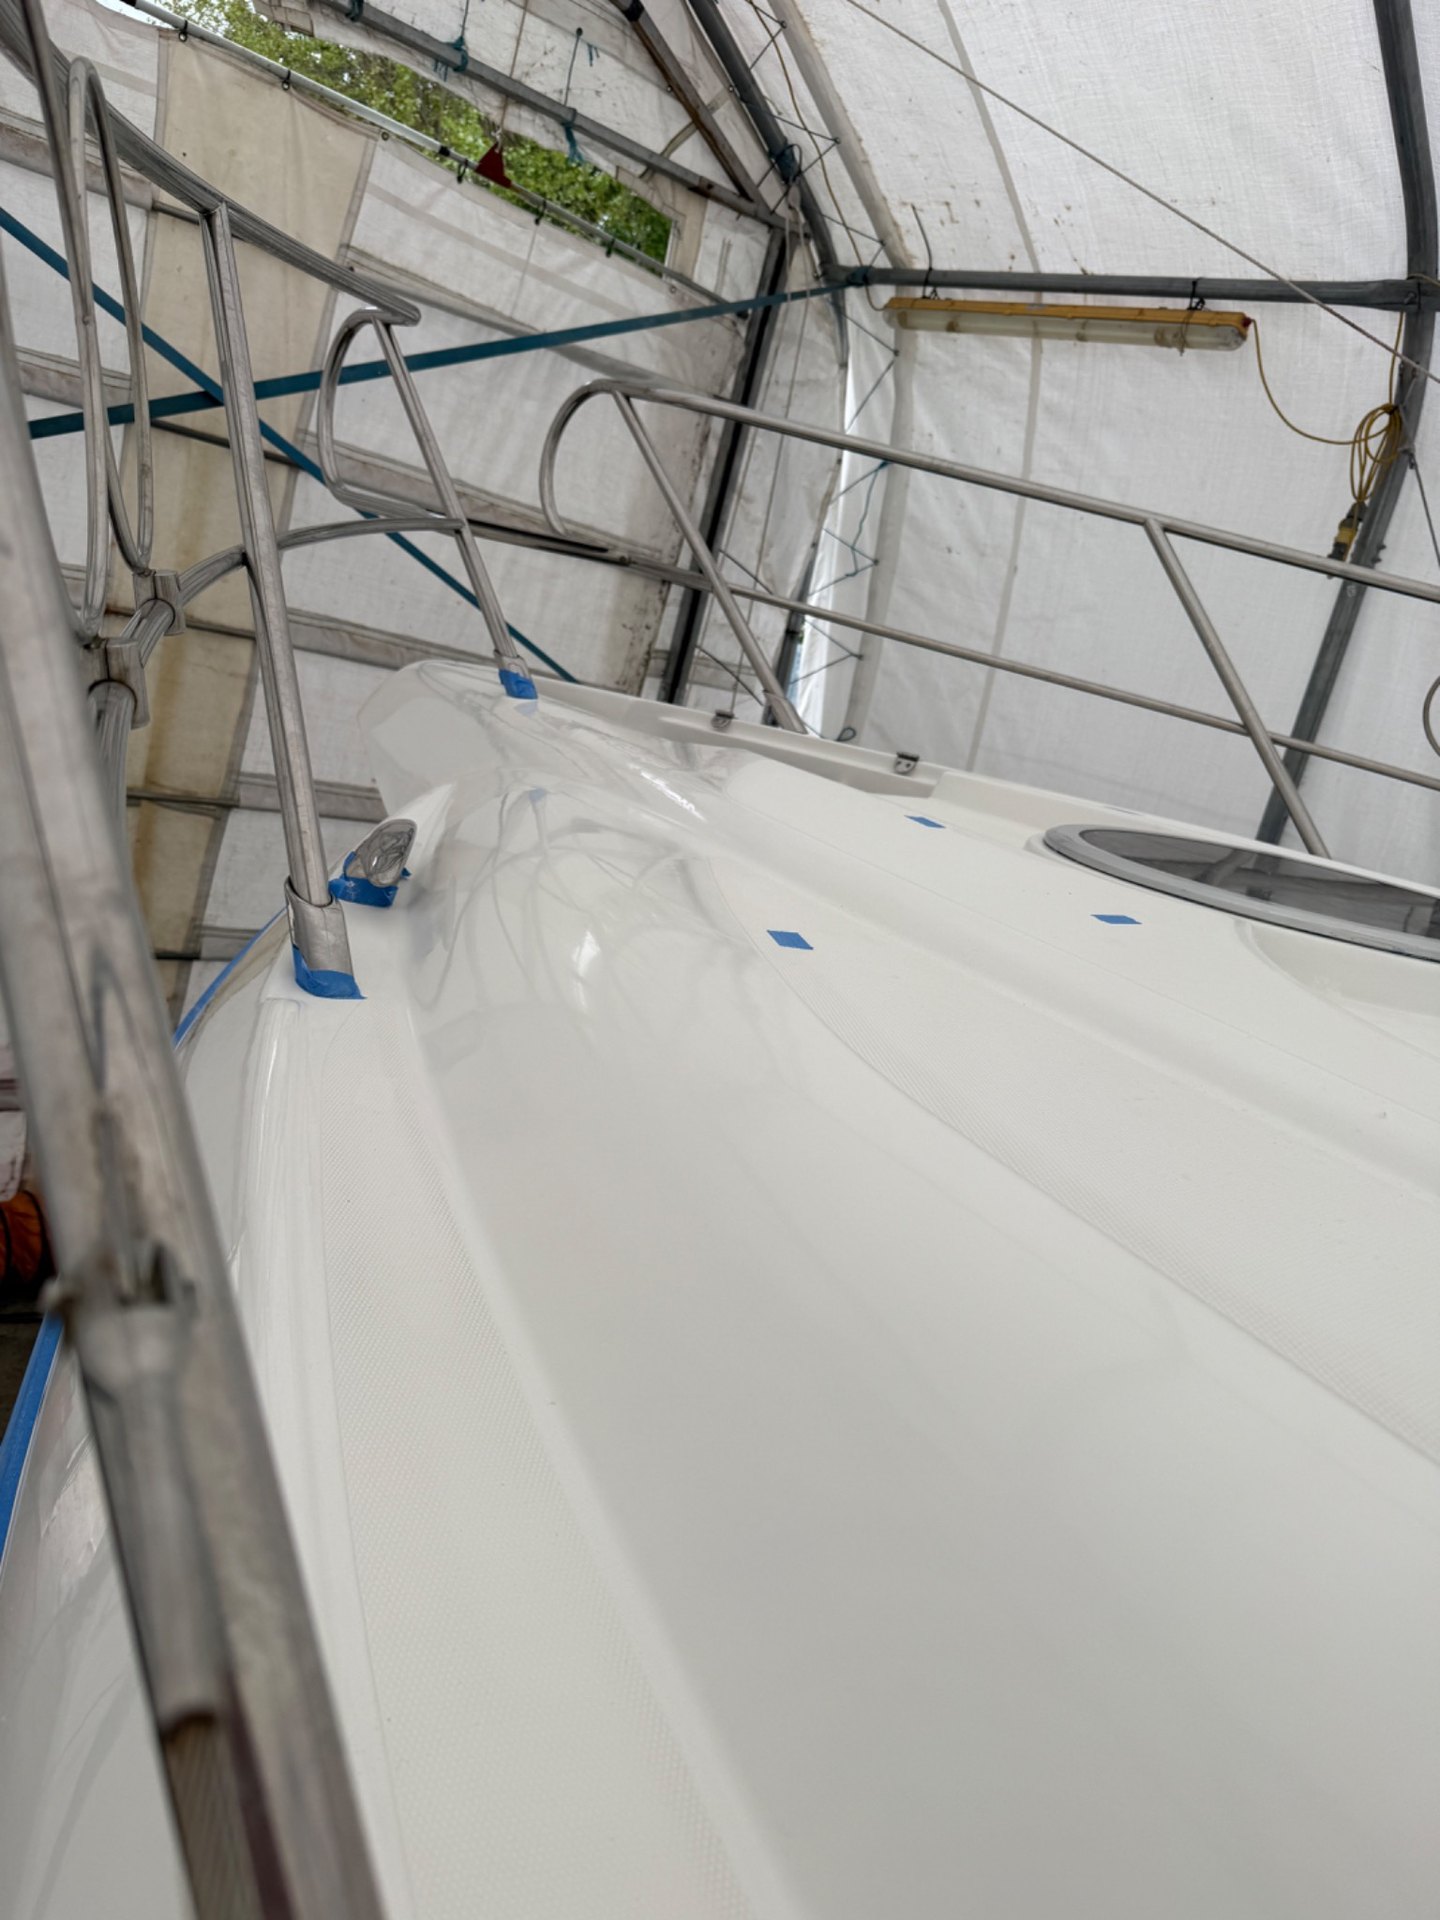
Sessa C35 forward deck and upper structures under a temporary work enclosure
Progress 04Forward deck taking shapeThe bow and surrounding mouldings during the later stages of exterior refurbishment, ahead of final completion.
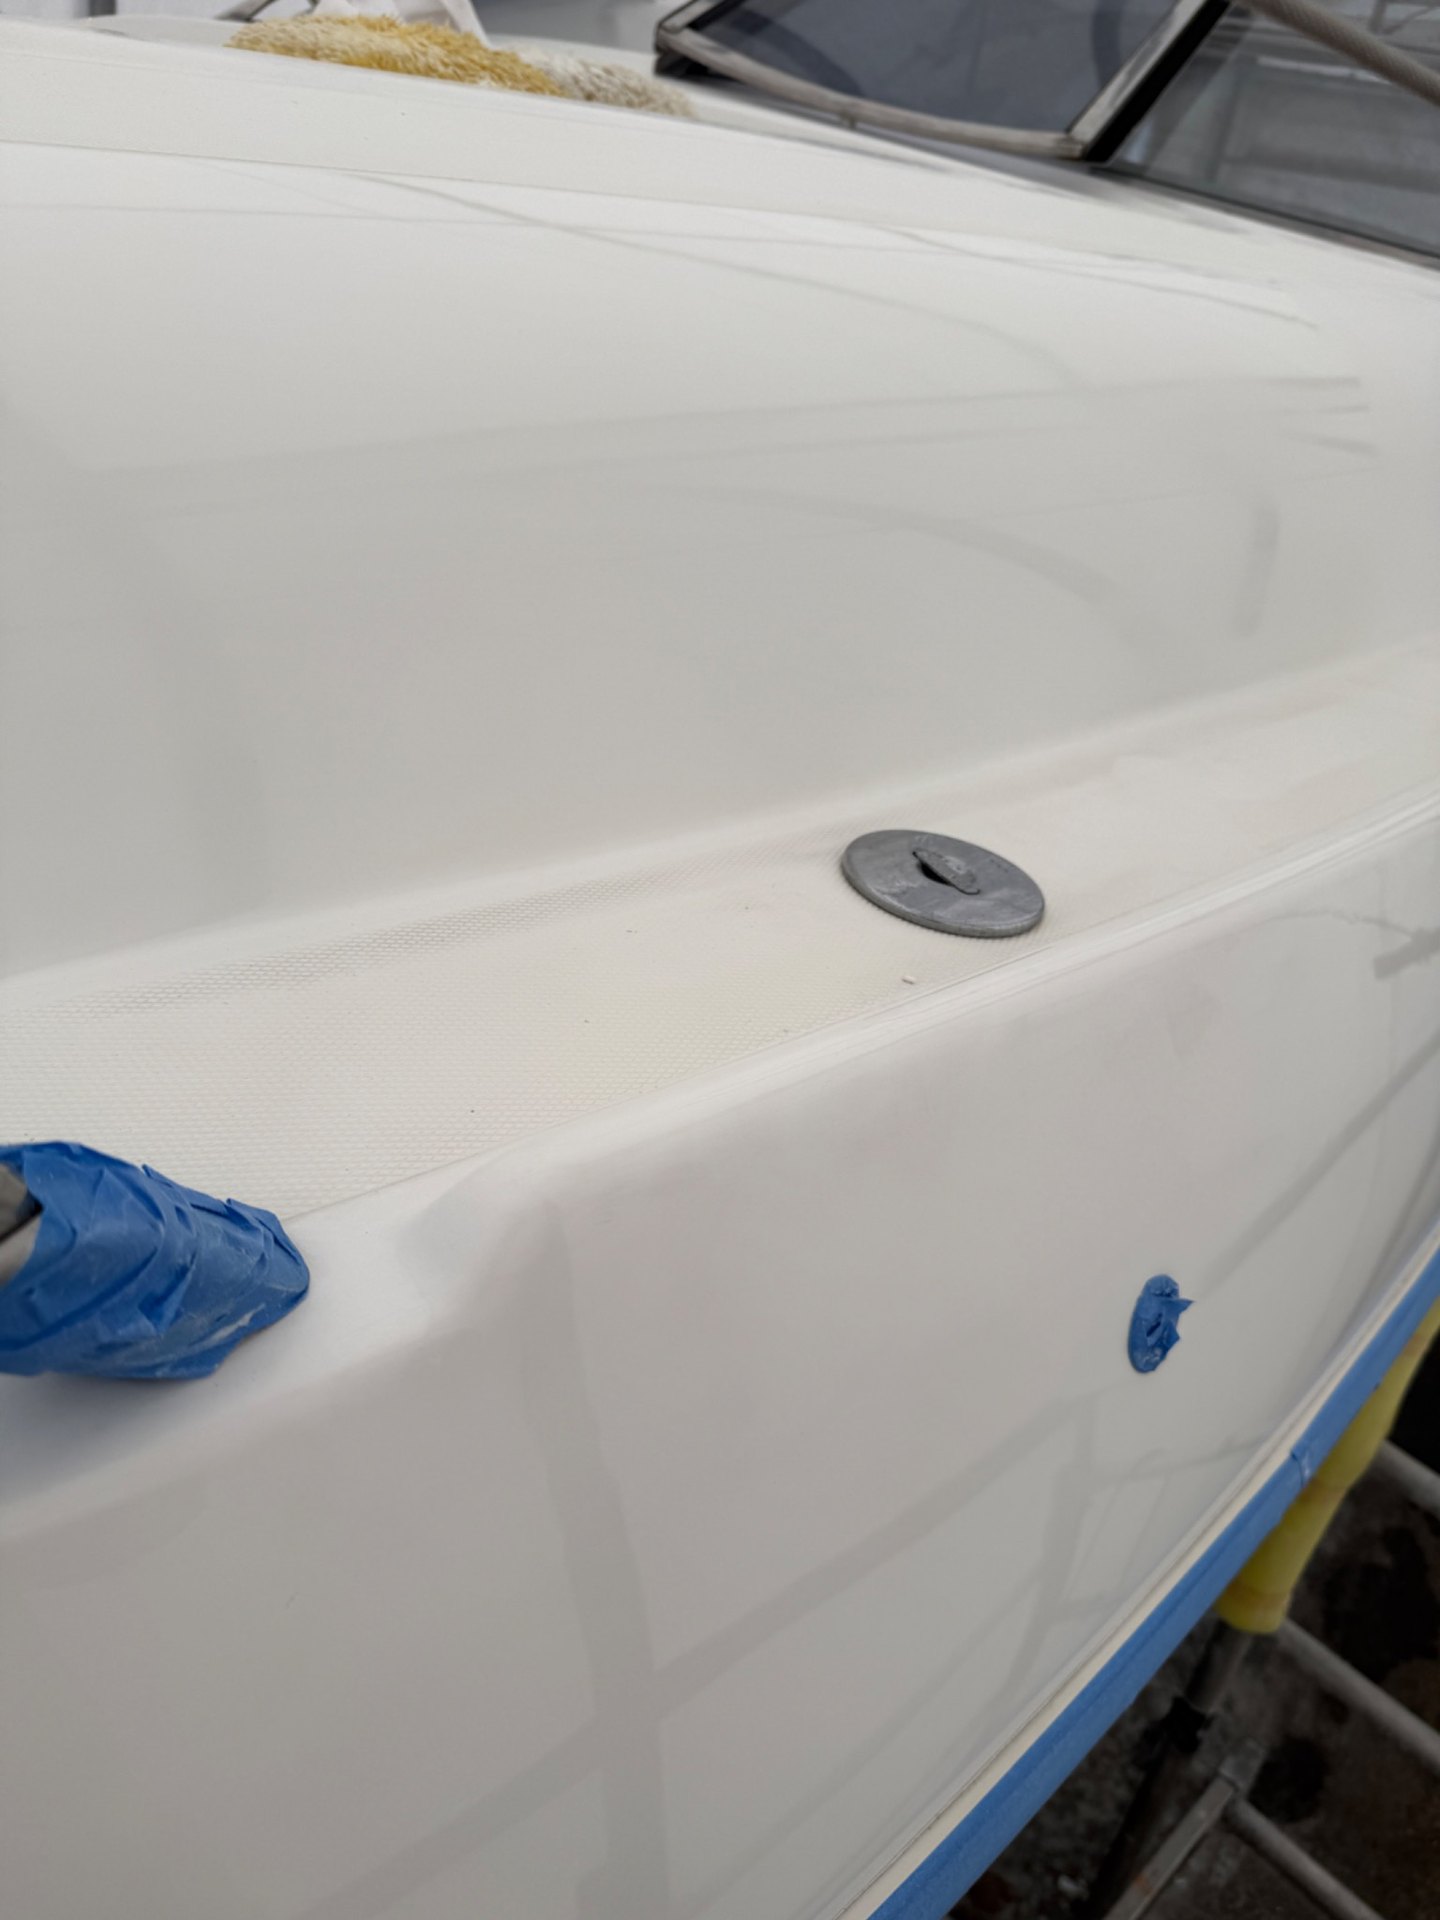
Long view along white moulded side deck and fibreglass surfaces of the Sessa C35
Progress 05Refinishing along the side deckA wider view of the renewed appearance of the deck-edge and adjacent gelcoat, with some masking still in place.
Temporary enclosure framework reflecting in polished white gelcoat along a Sessa cruiser side deck
Progress 06Reflections along the upper surfaceThe enclosure framework is reflected in the progressively restored gelcoat beside the deck fittings.
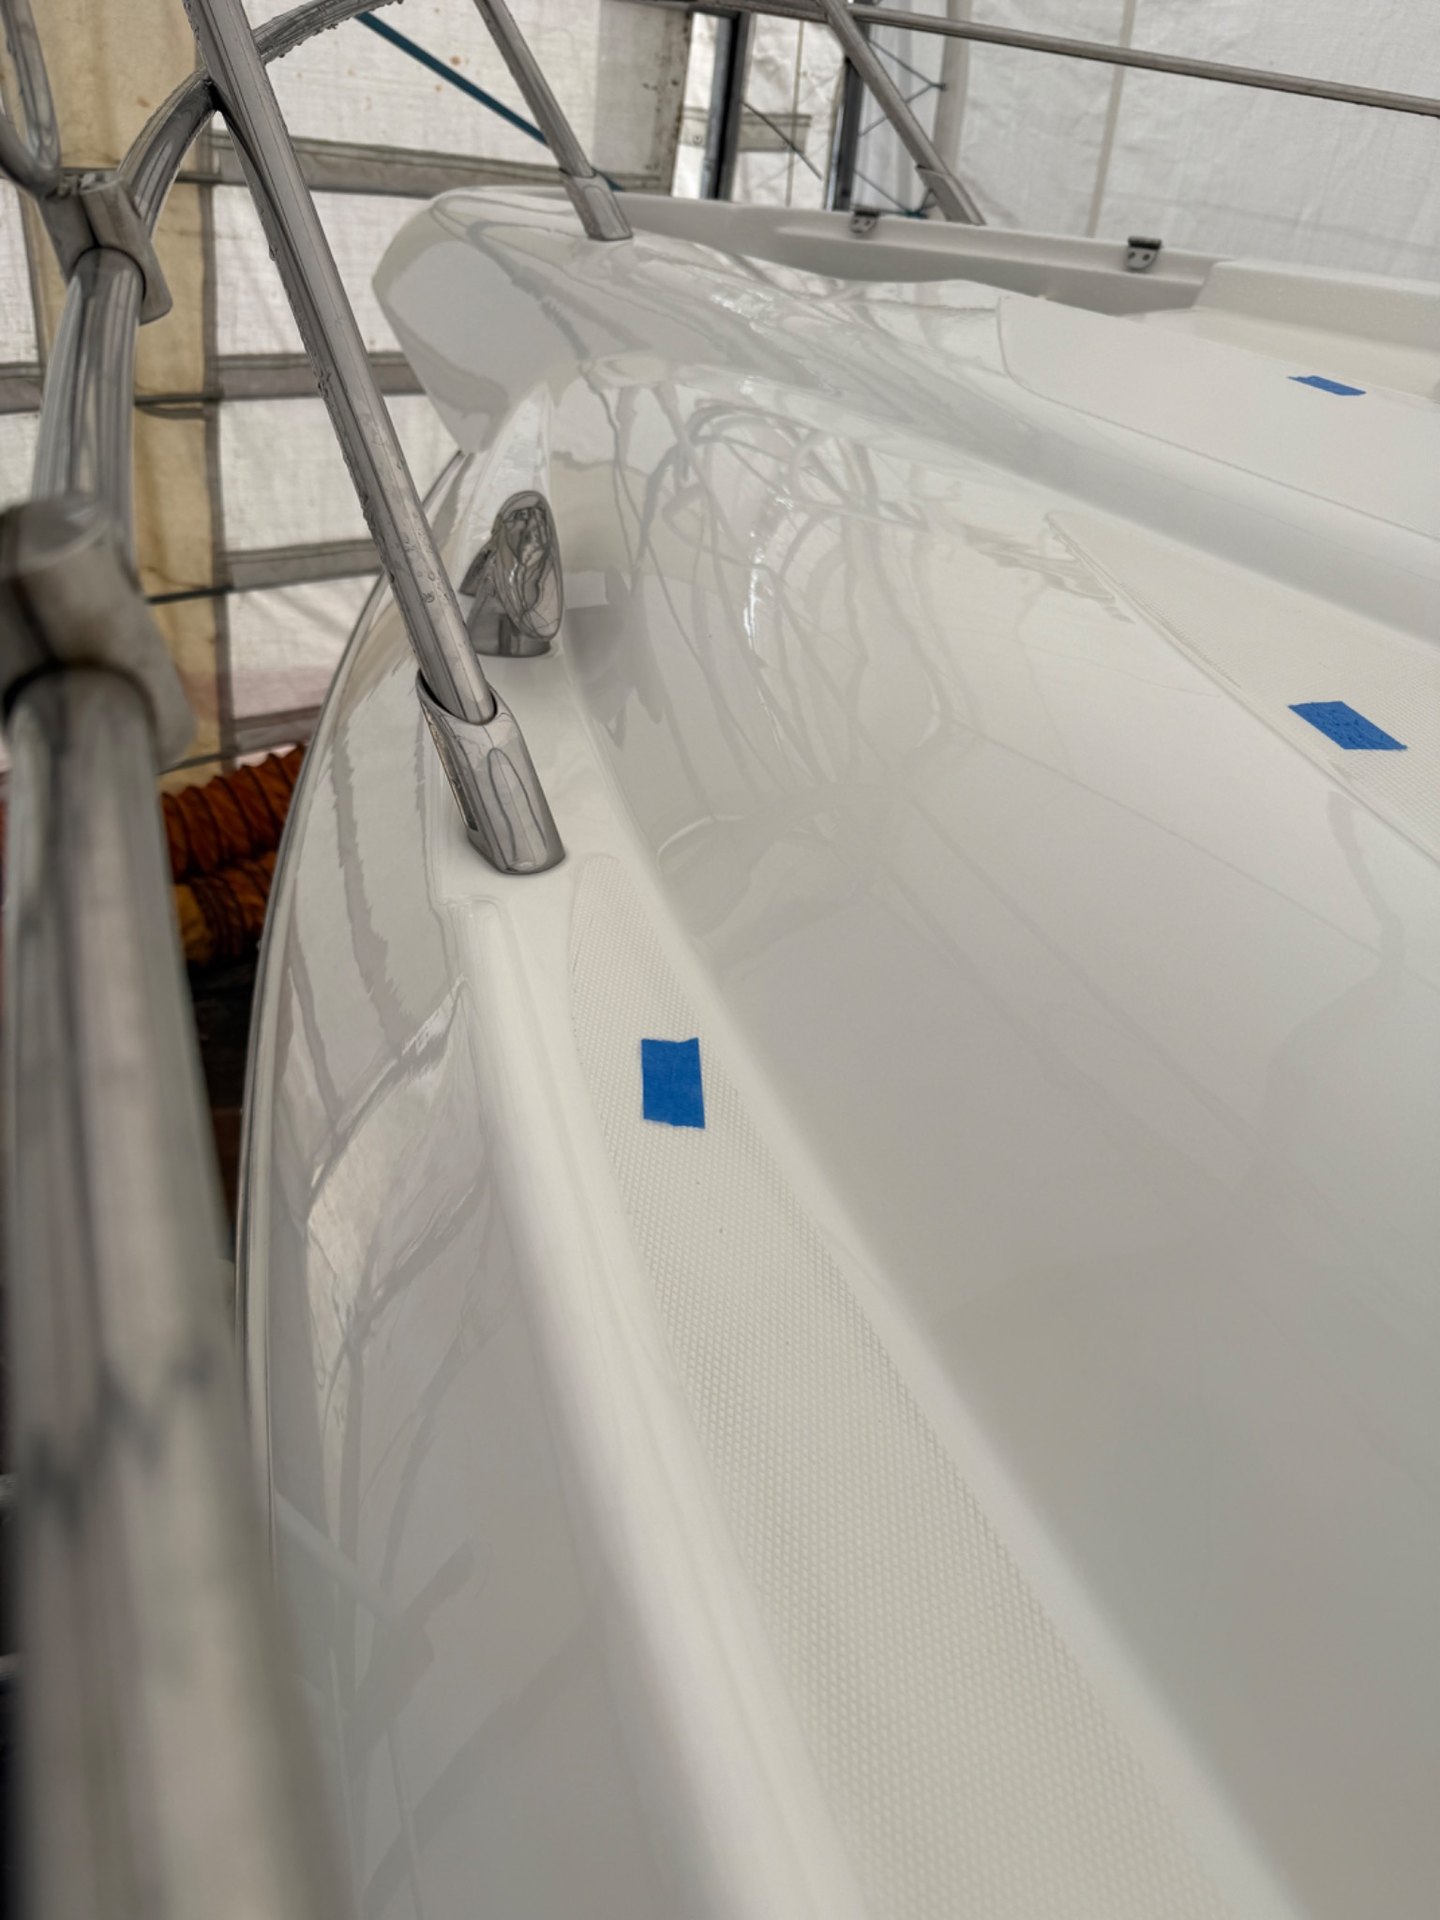
Reflections in repaired white gelcoat along the moulded deck edge near stainless railings
Progress 07Deck-edge finish progressingFurther improvement in the surface appearance along the curved mouldings and handrail supports.
Wide view of white gelcoat refinishing along the Sessa C35 side deck before final fitting reinstatement
Progress 08Restoration across a longer sectionA longer view of the improving gelcoat finish and moulded details, with protection still fitted to nearby hardware.
03 / Overall details & cockpit

Every surface. One complete restoration.

Not all of the existing gelcoat needed to be replaced. Where the material was sound, surface contaminants were removed before extensive surface correction and refinishing brought the surrounding areas up to the standard of the major repairs.

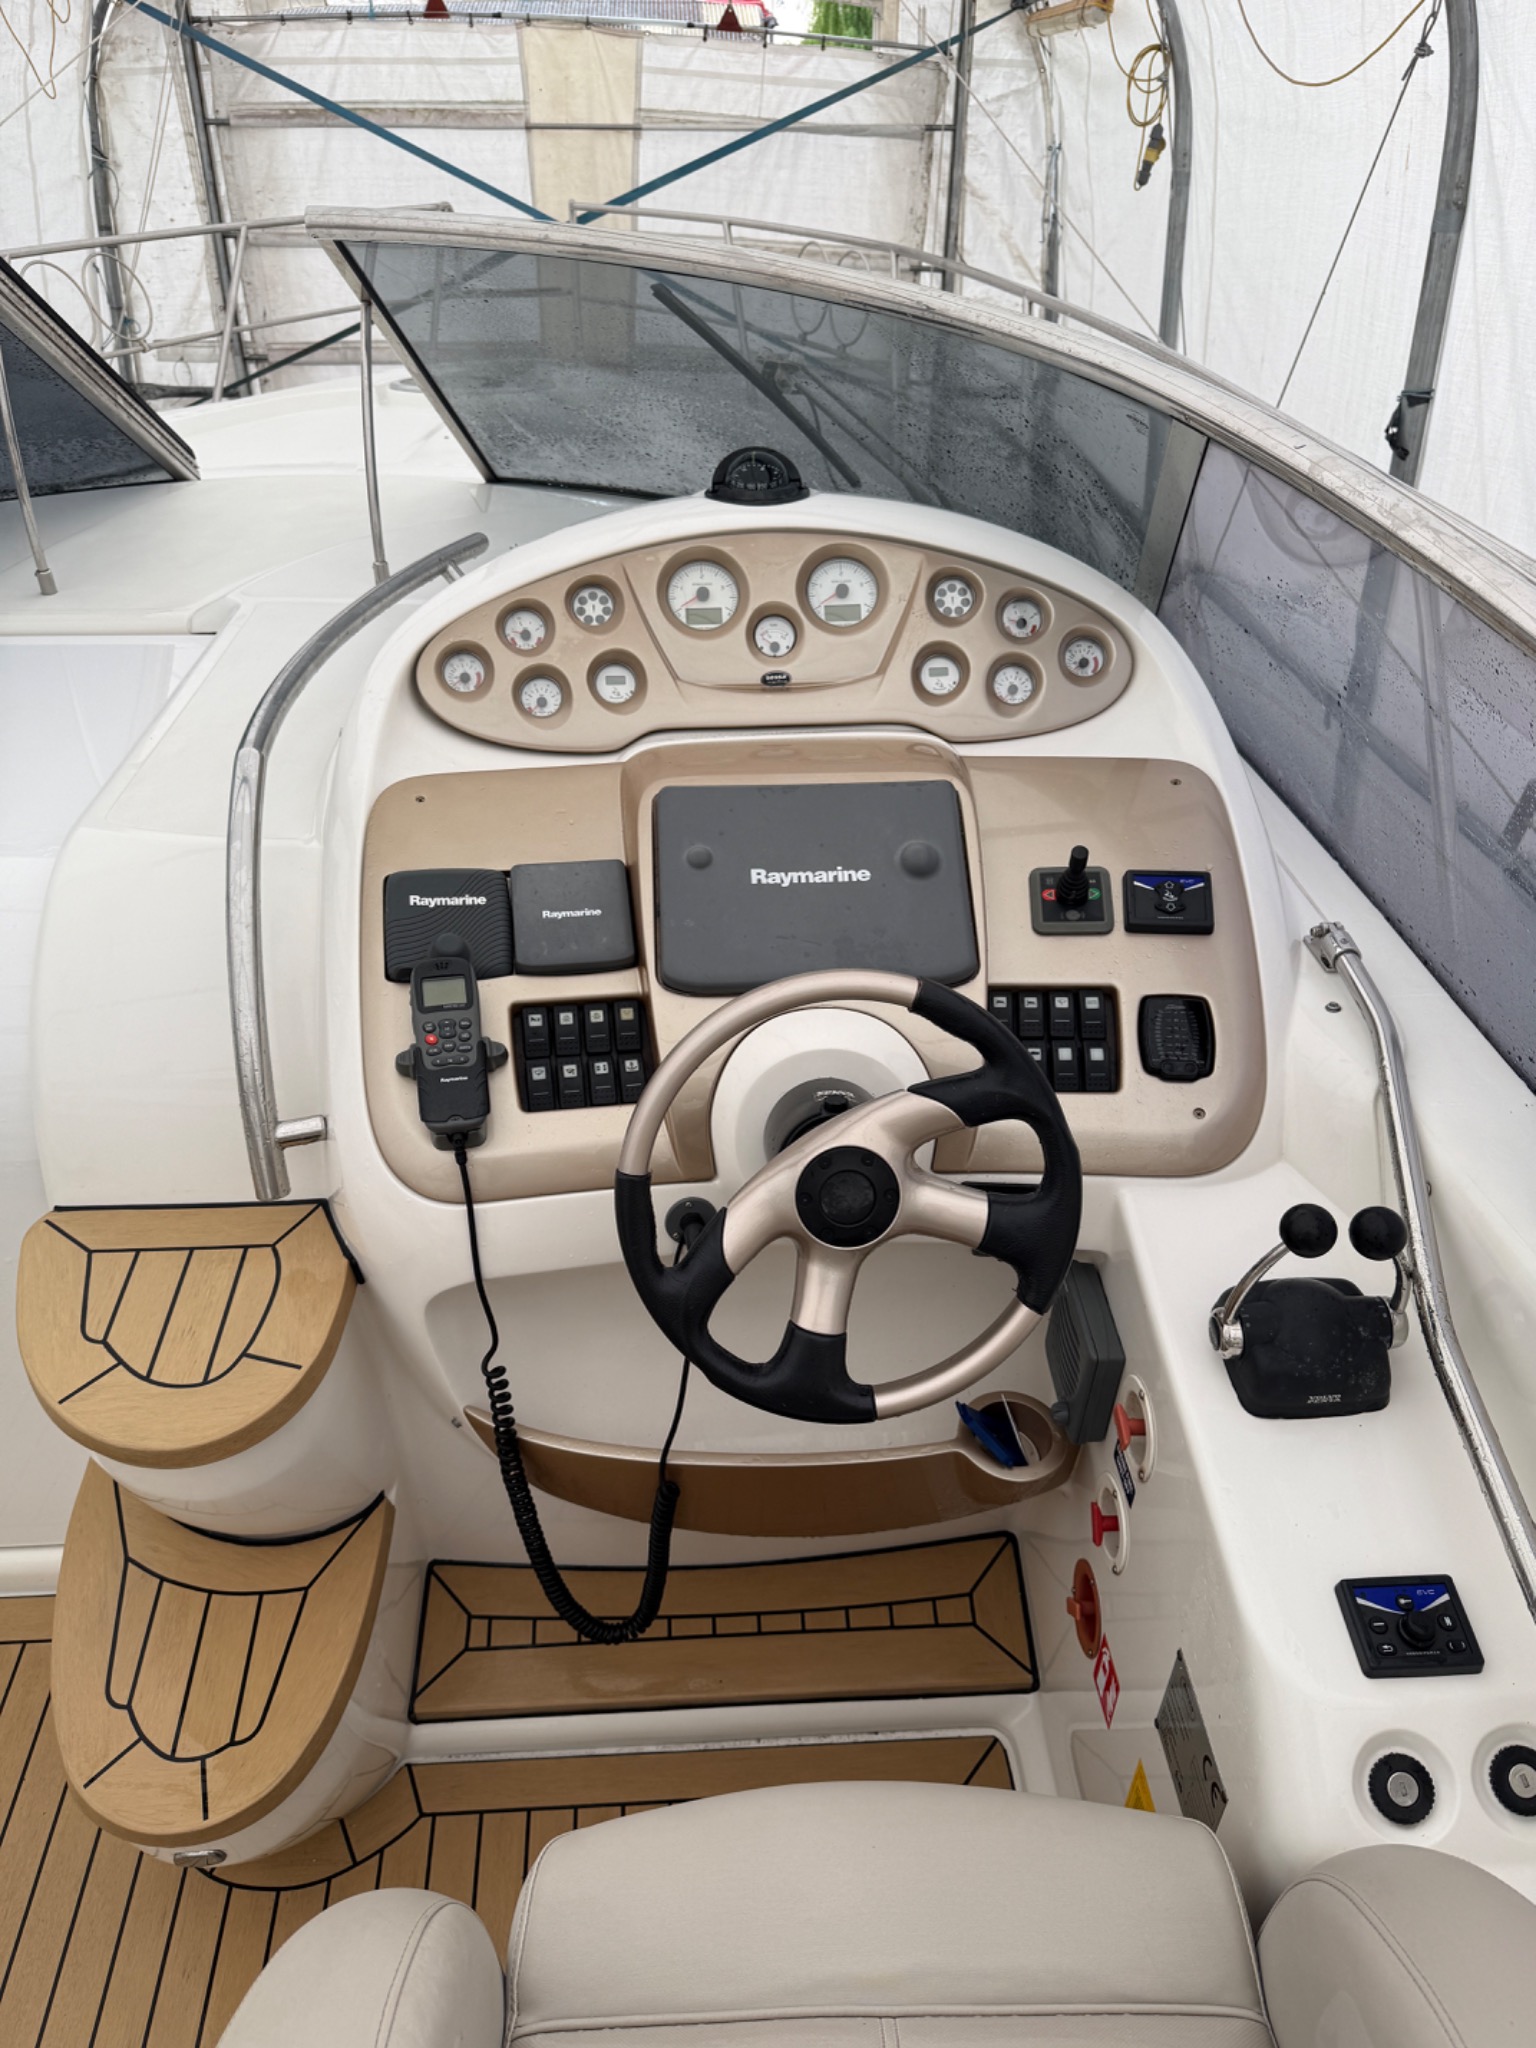
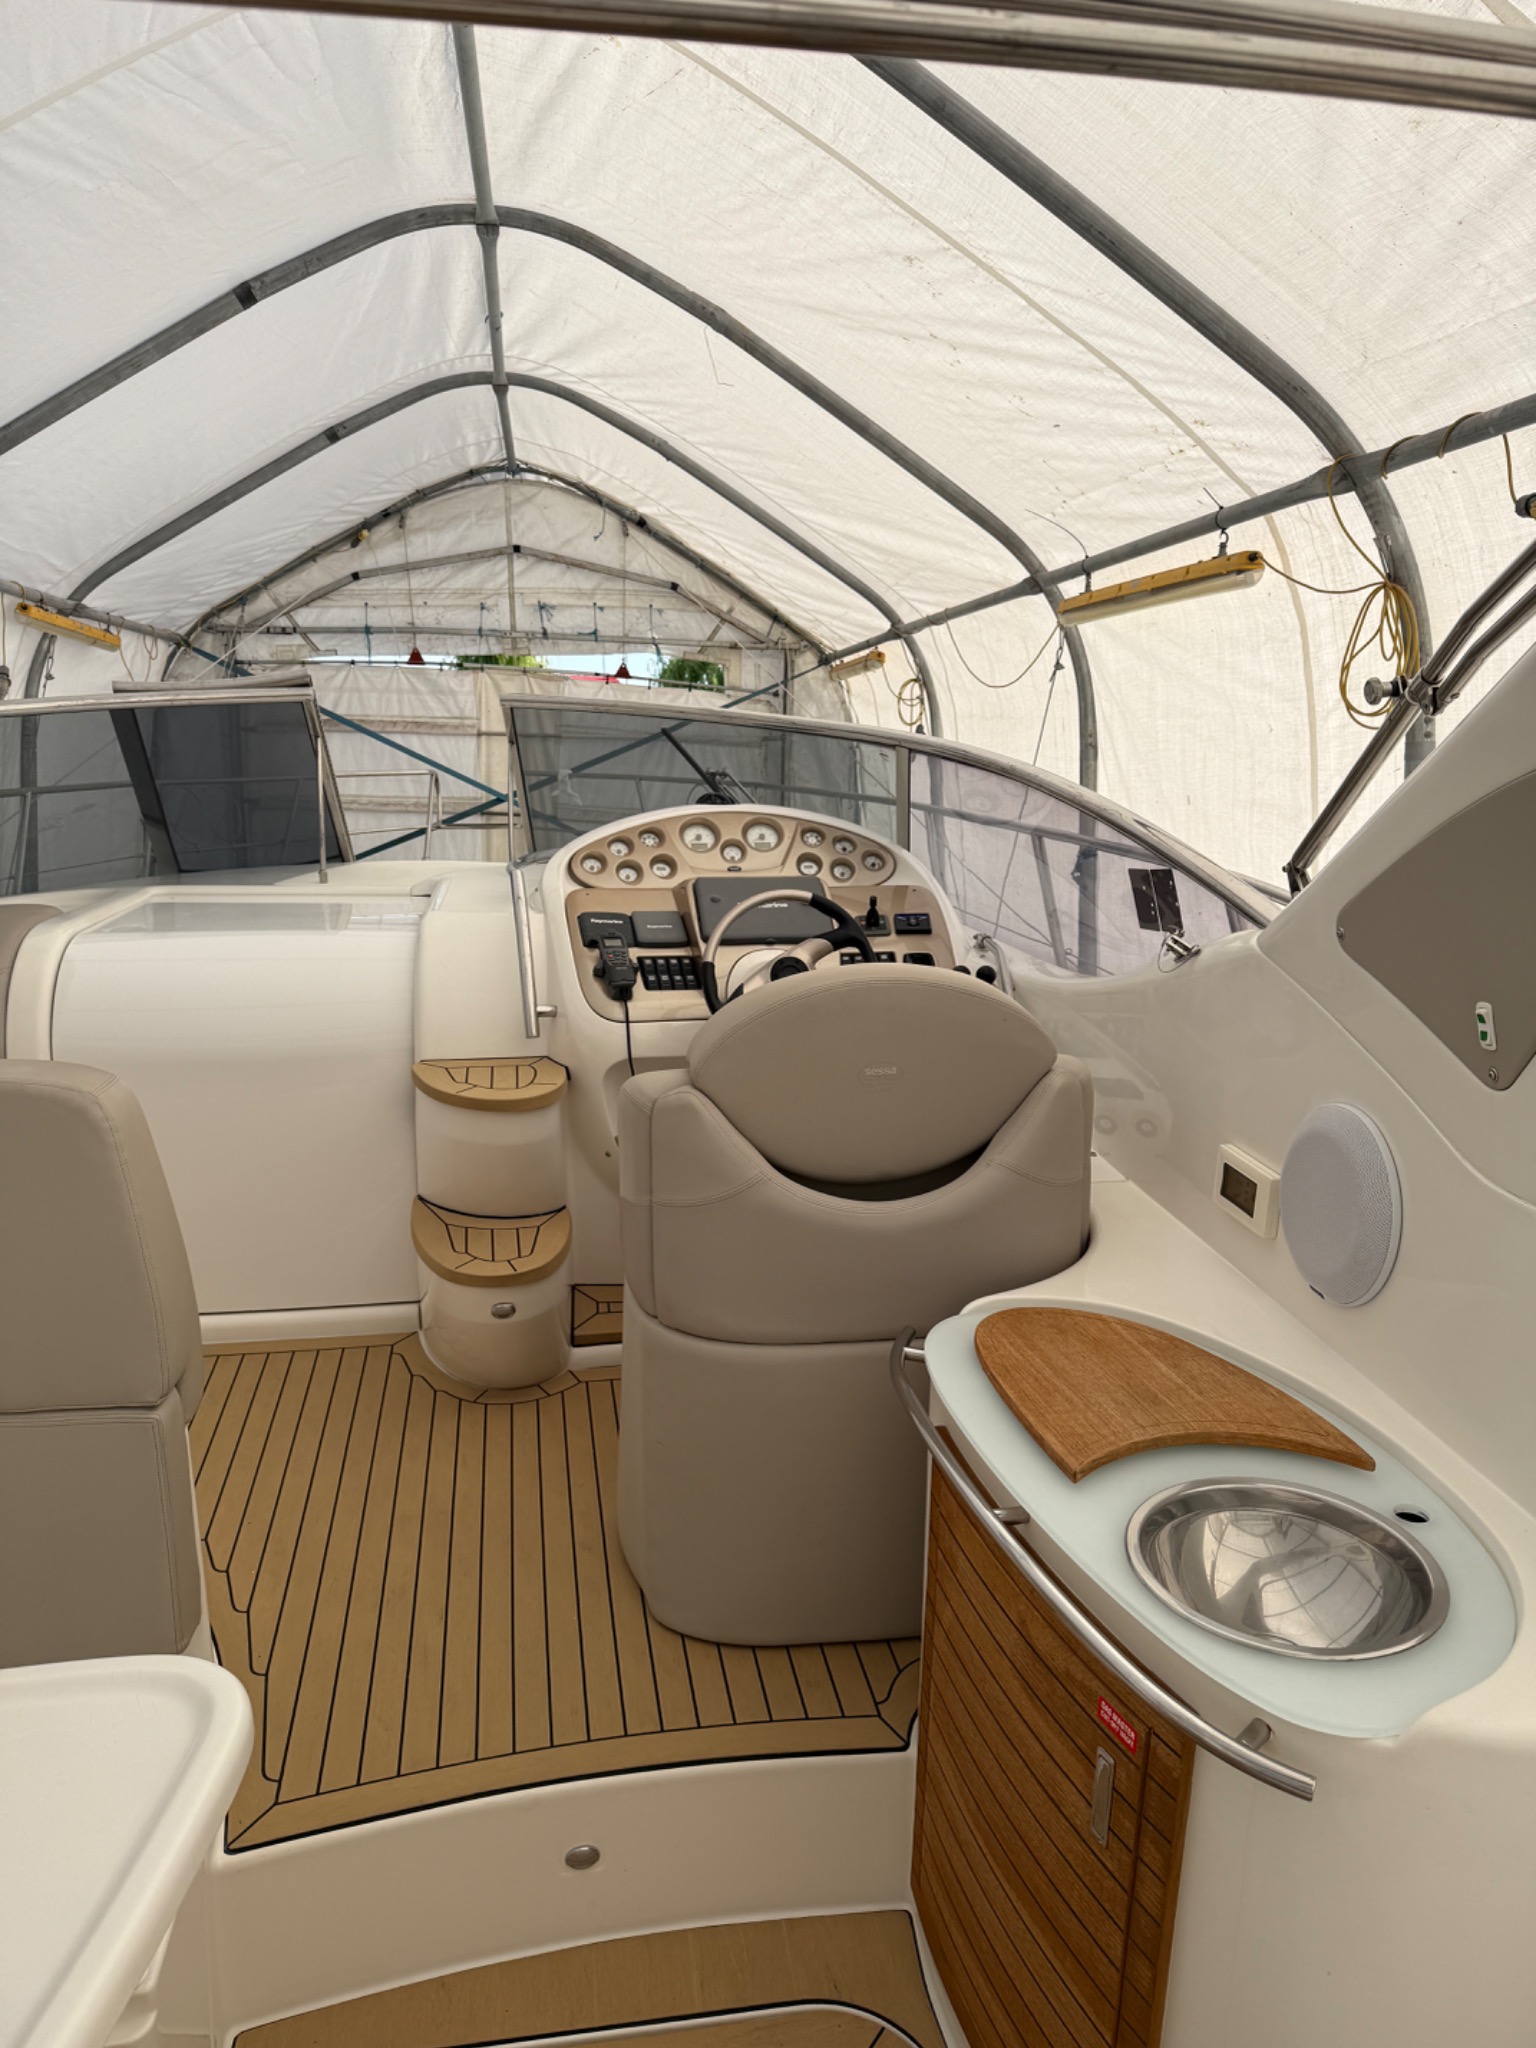
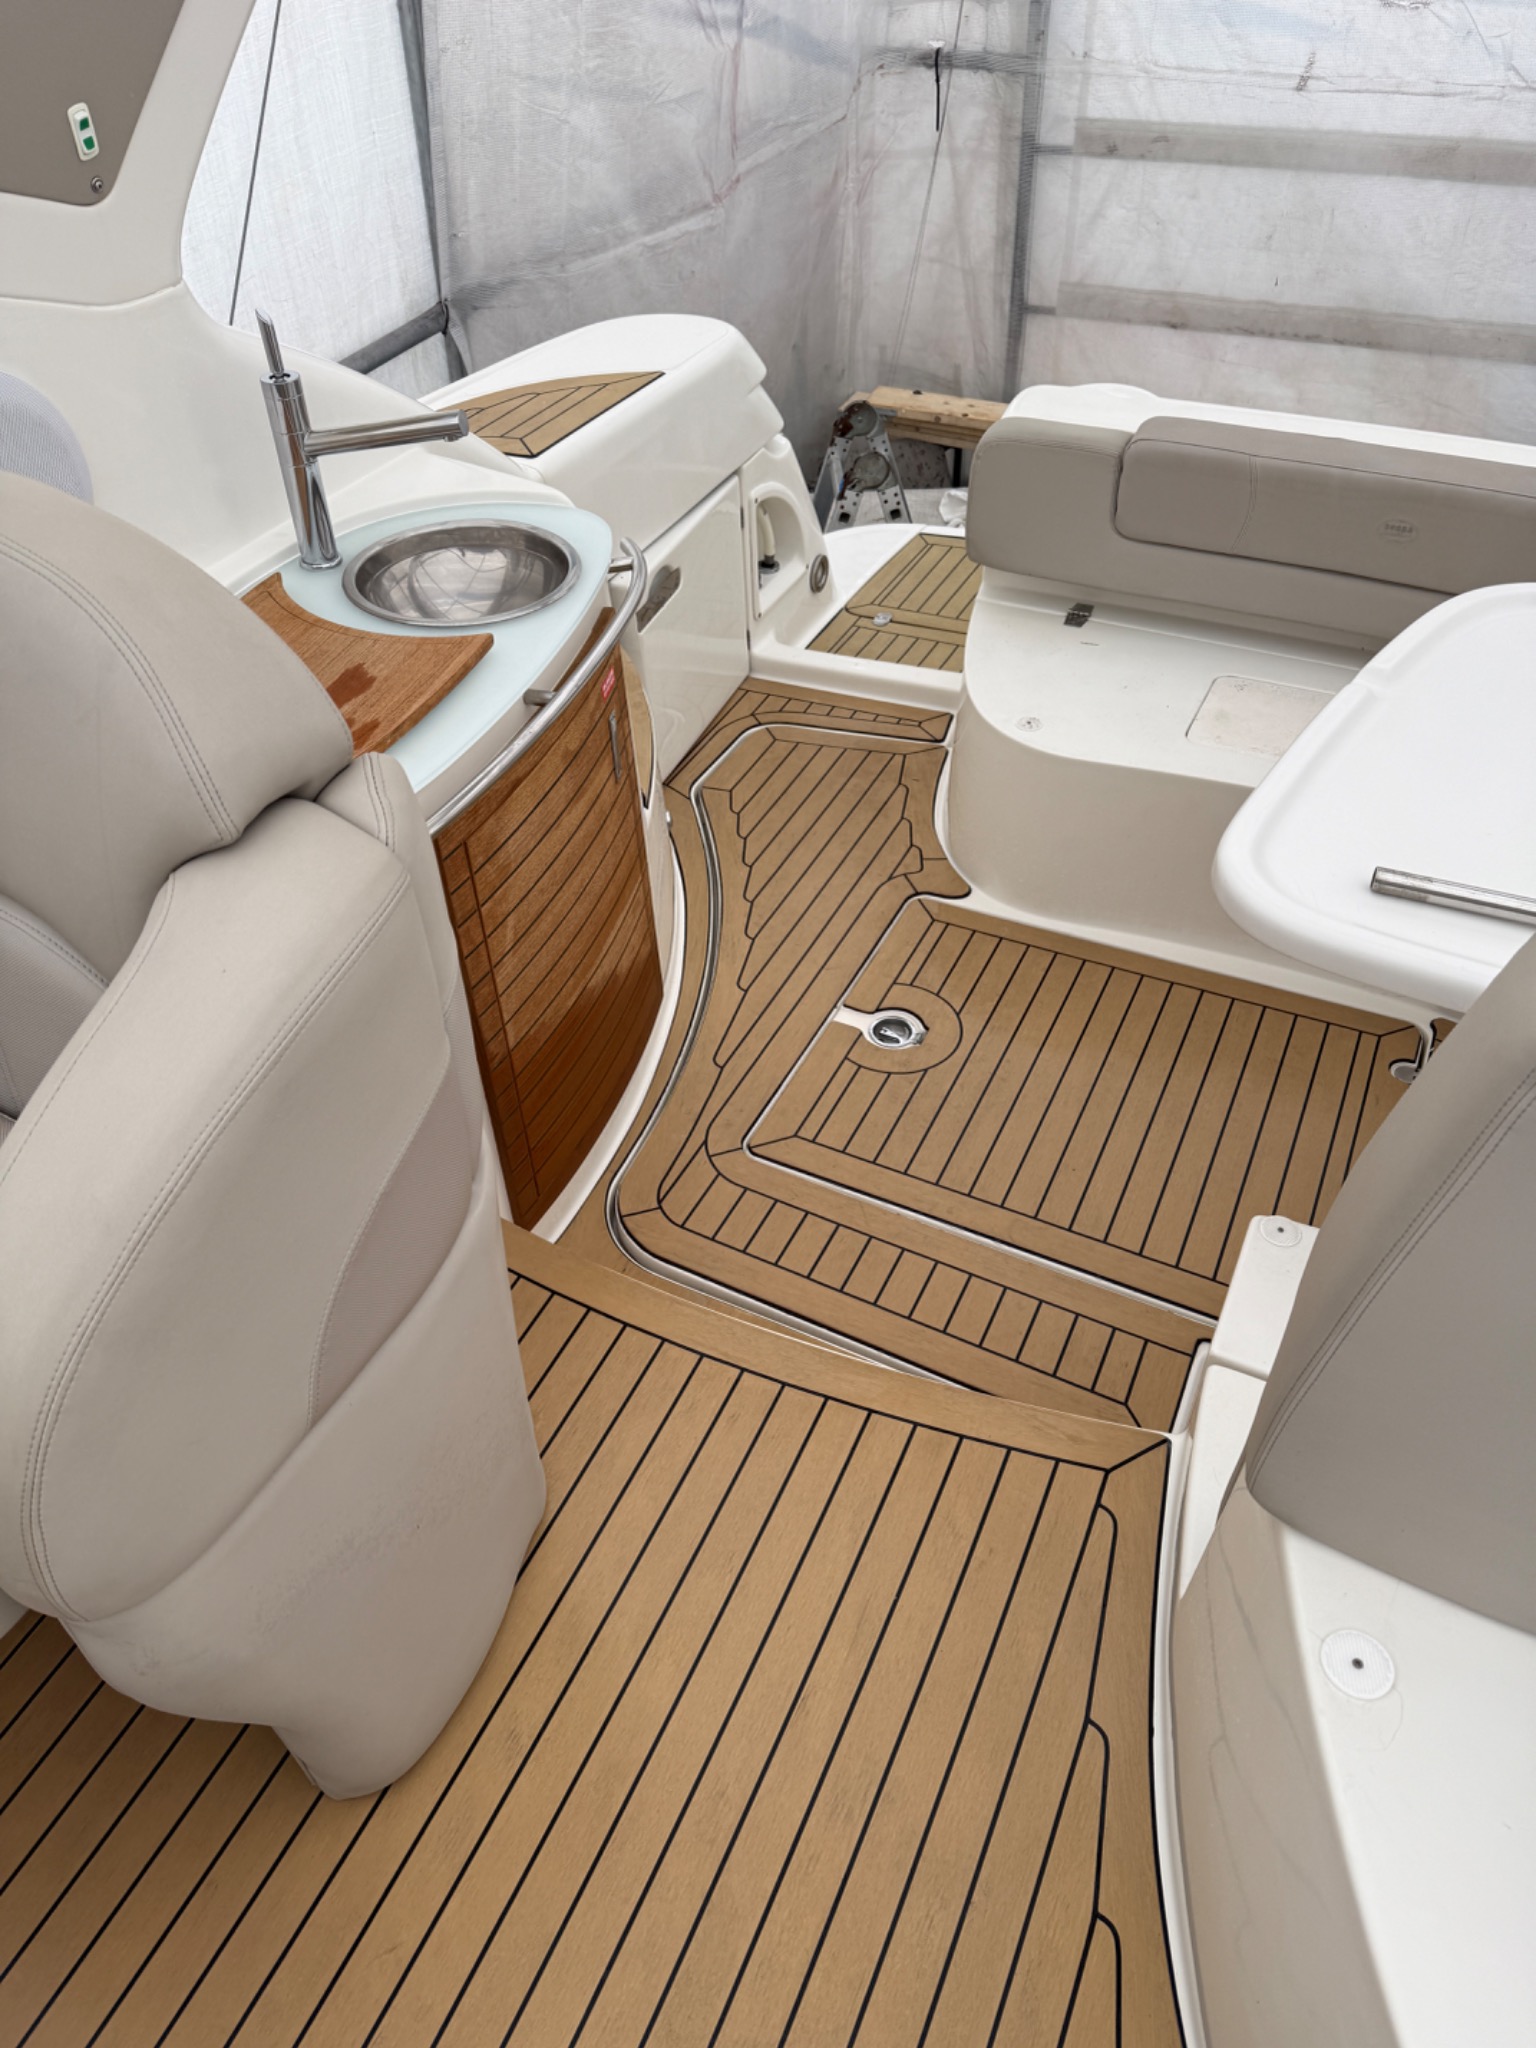
The wider rejuvenation included deep cleaning and detailing throughout the cockpit, including the floor, helm position and glazing. Non-slip areas were re-coated and individual exterior mouldings and fittings received attention as part of the overall finish.

THE WIDER OVERHAULGelcoat surface correctionCockpit, helm & glazingRe-coated non-slip areasWet-bar refurbishmentFinal detailing
01 / Cockpit & finish

Rejuvenating the complete cockpit.

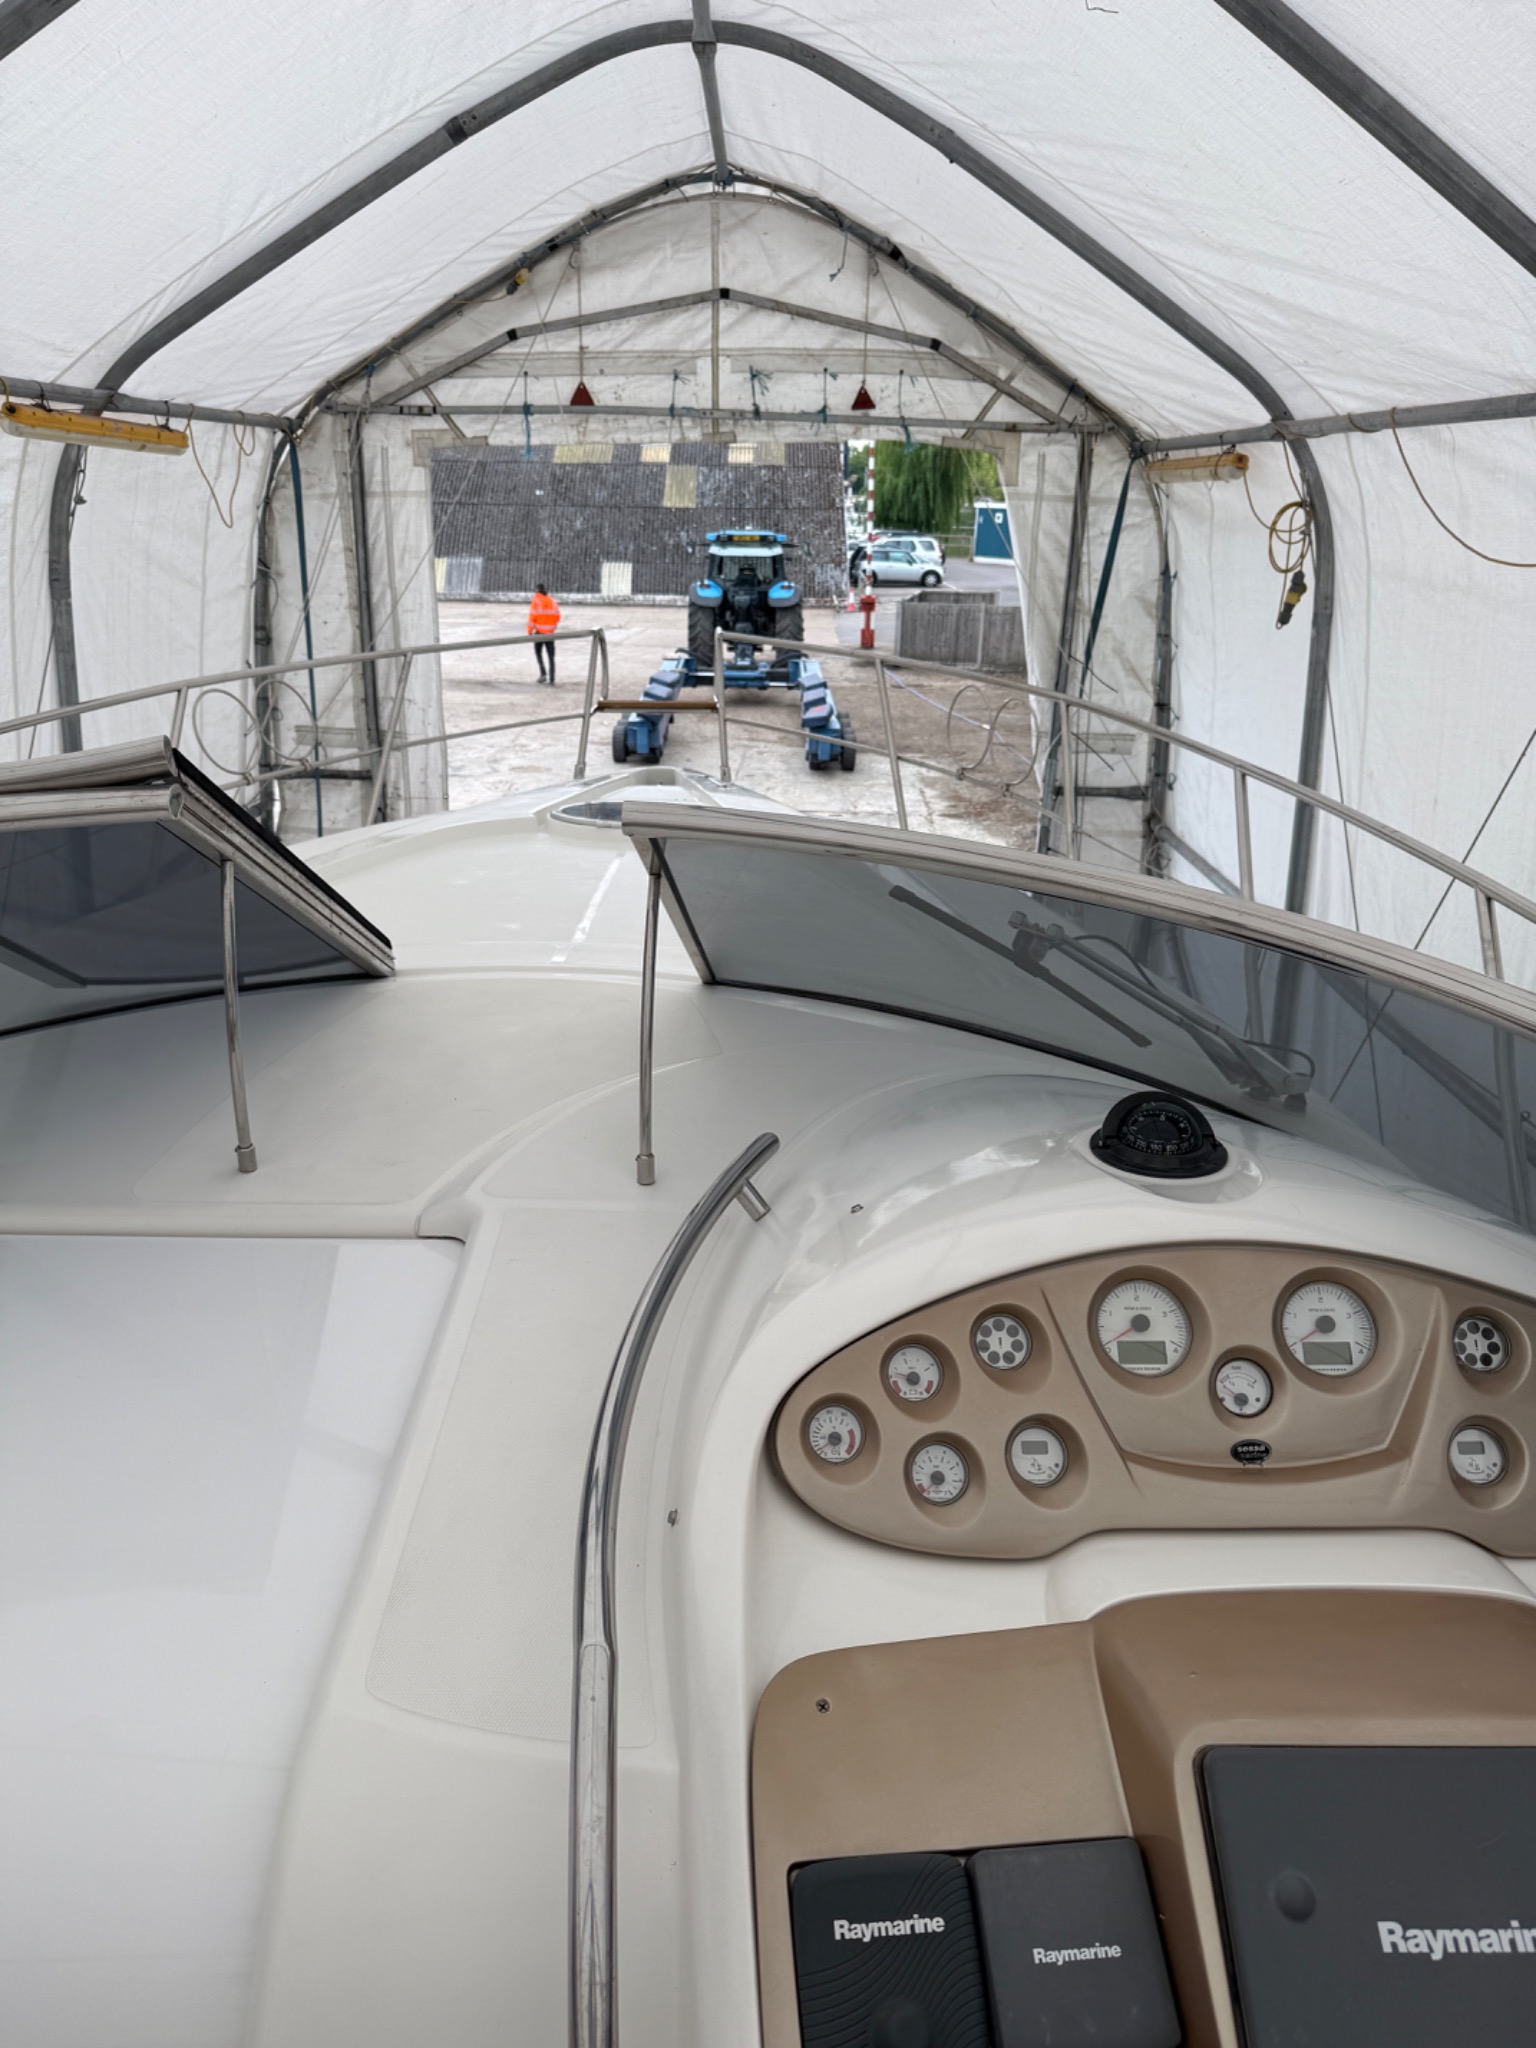
A careful finish across the visible details matters as much as the larger gelcoat repairs. The following original photographs show the cockpit, helm and local exterior surfaces following the refurbishment.
02 / Wet bar

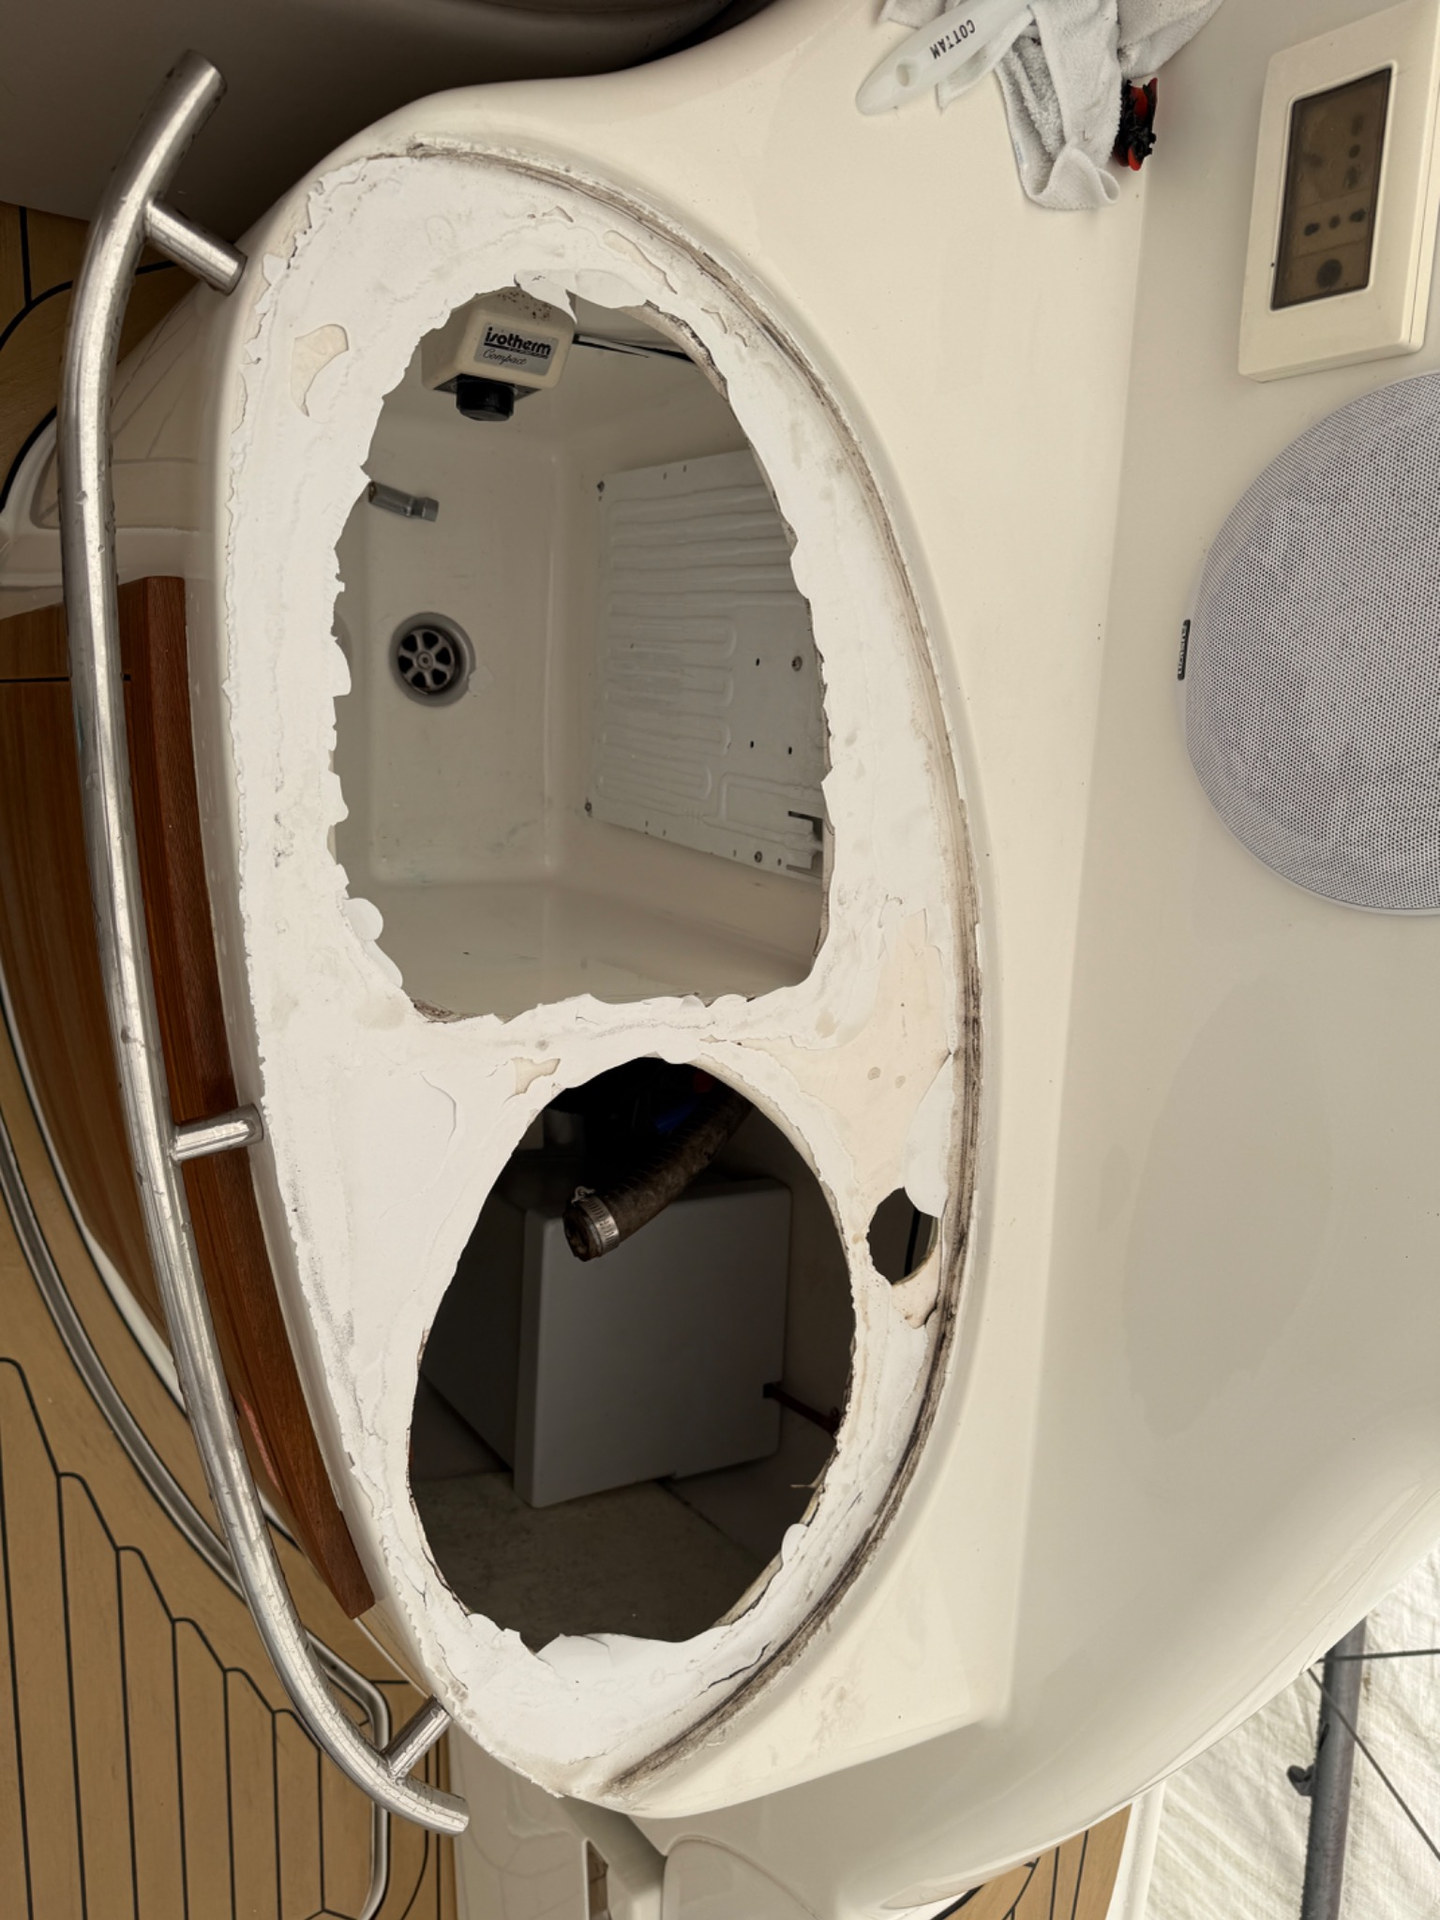
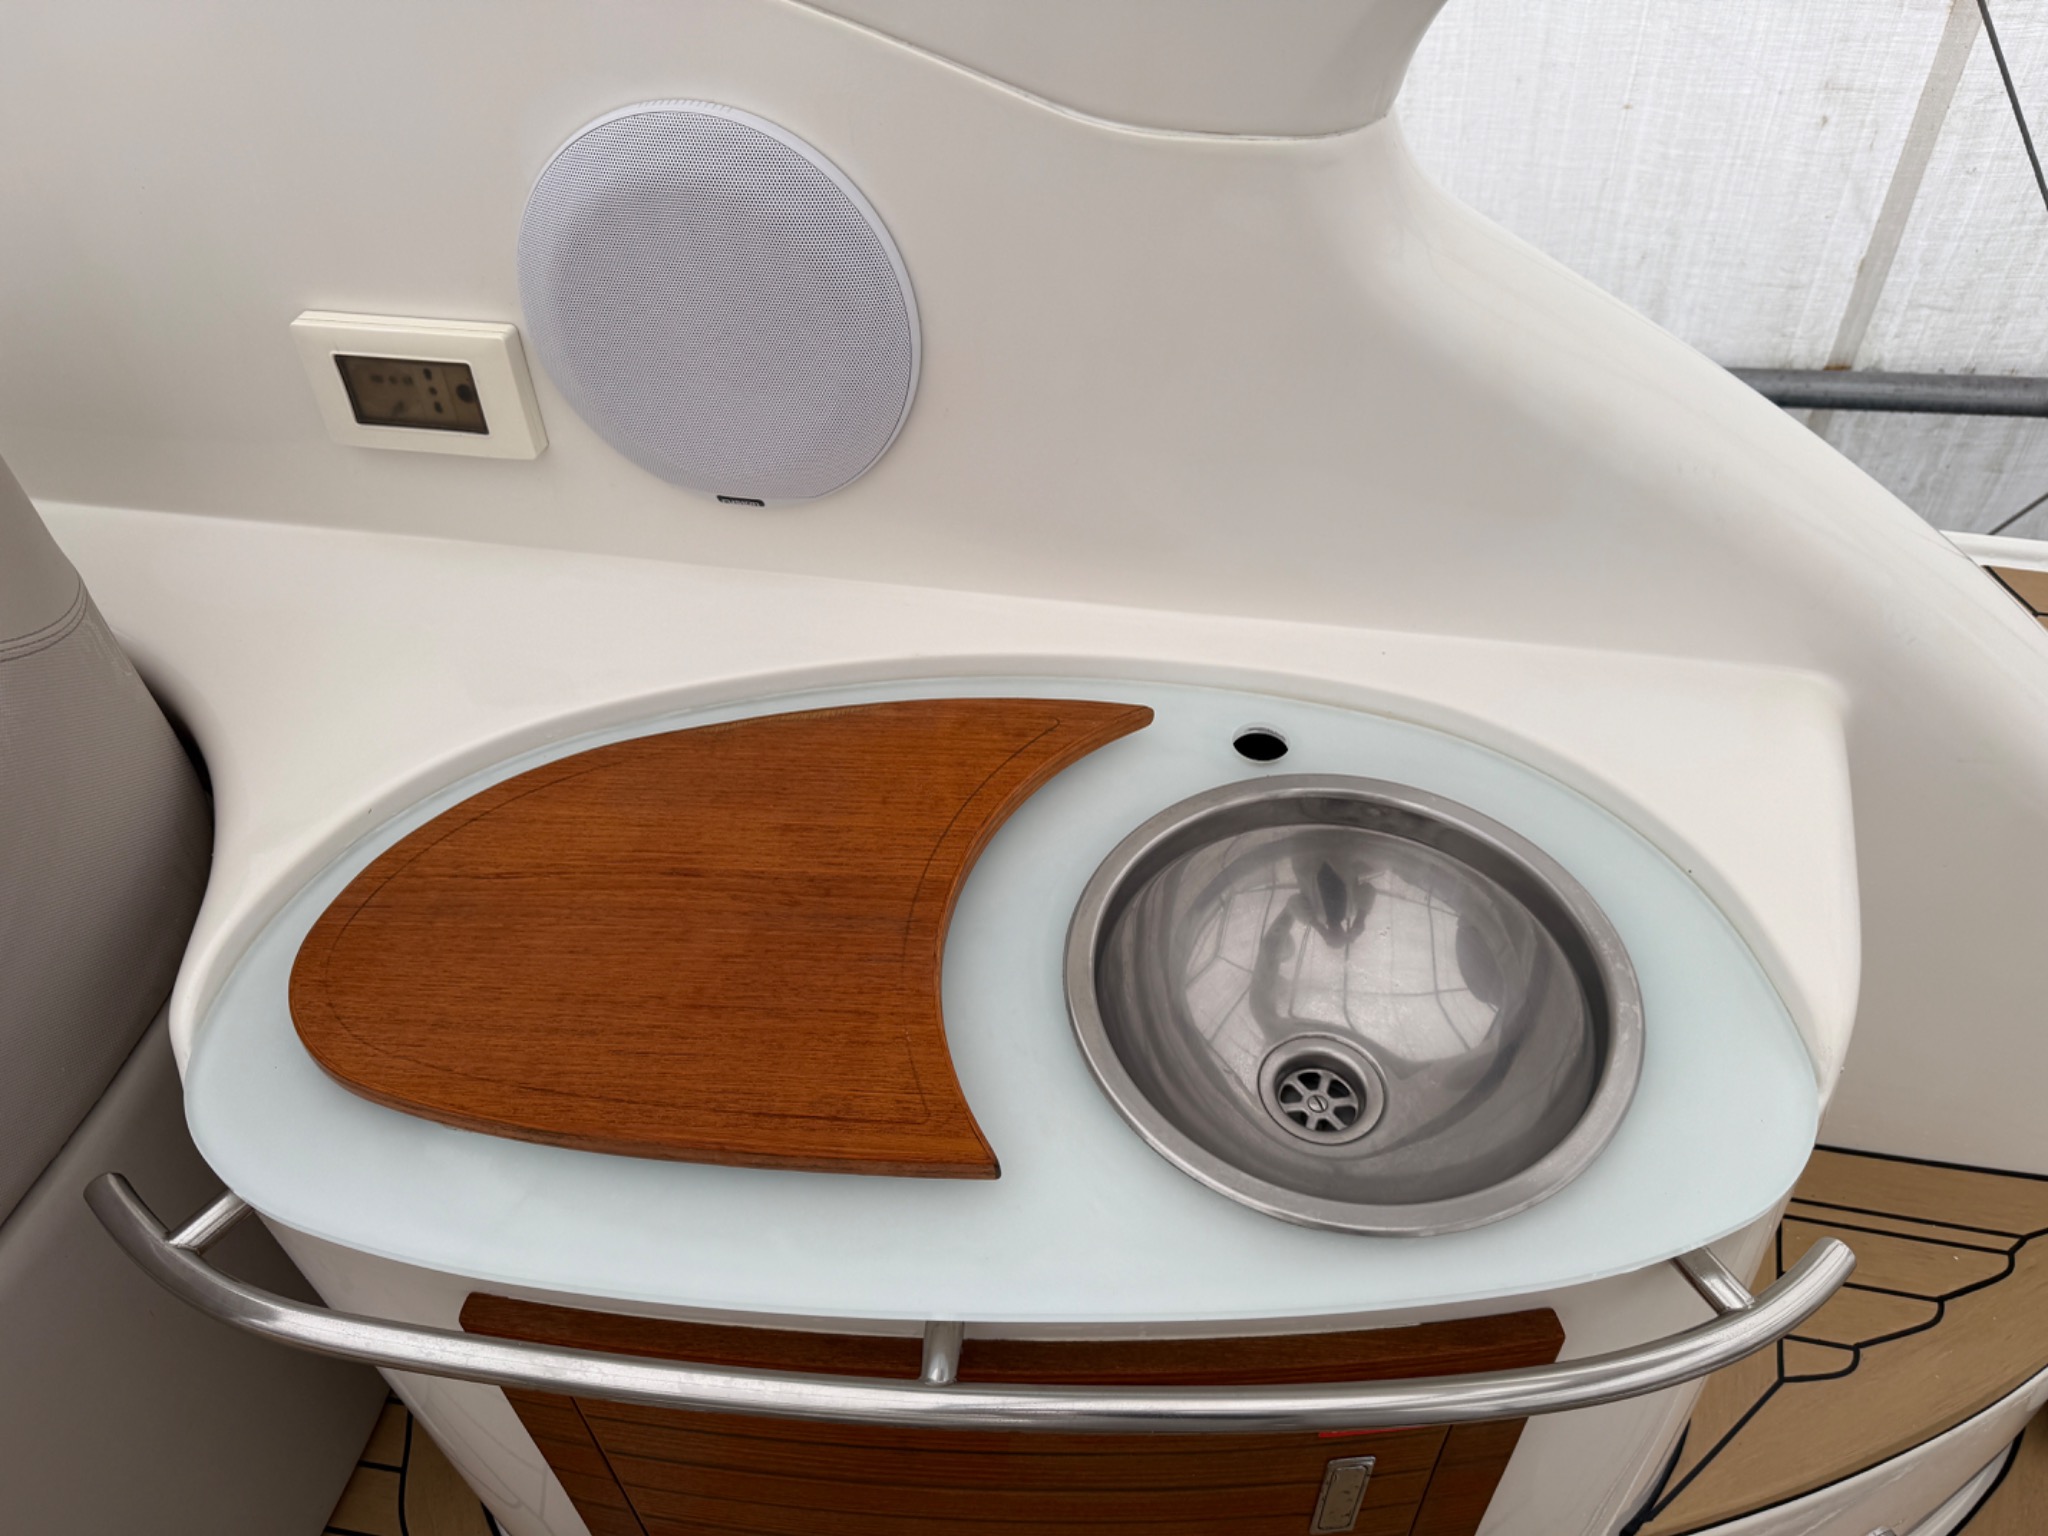
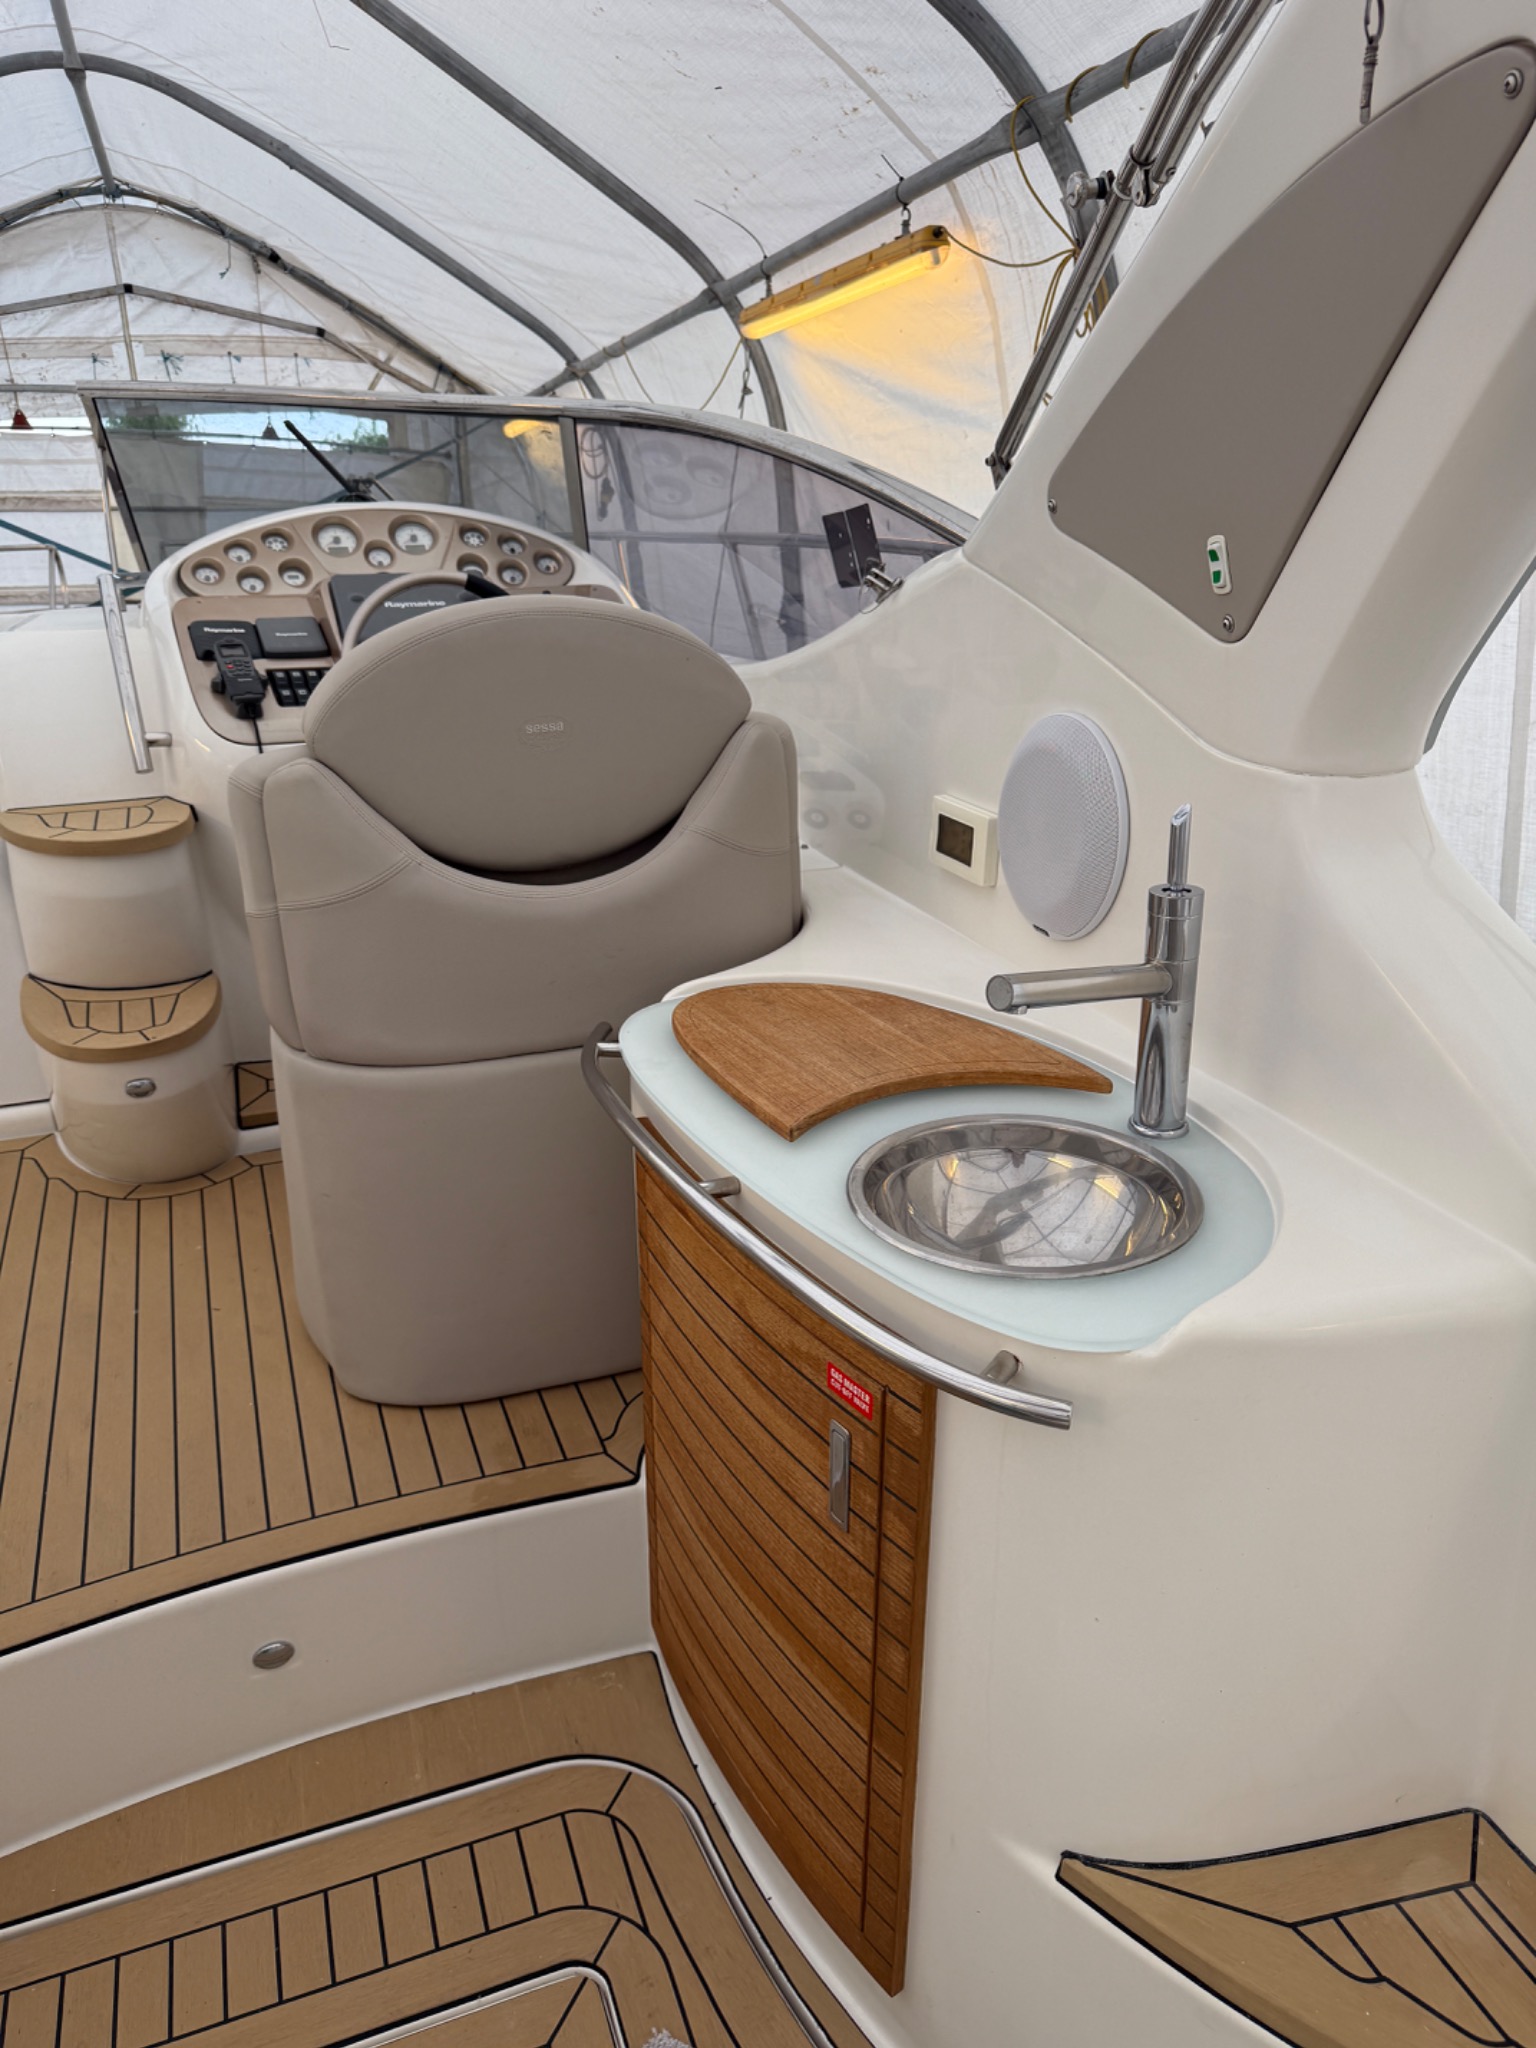
Restoring the frosted-glass wet bar.

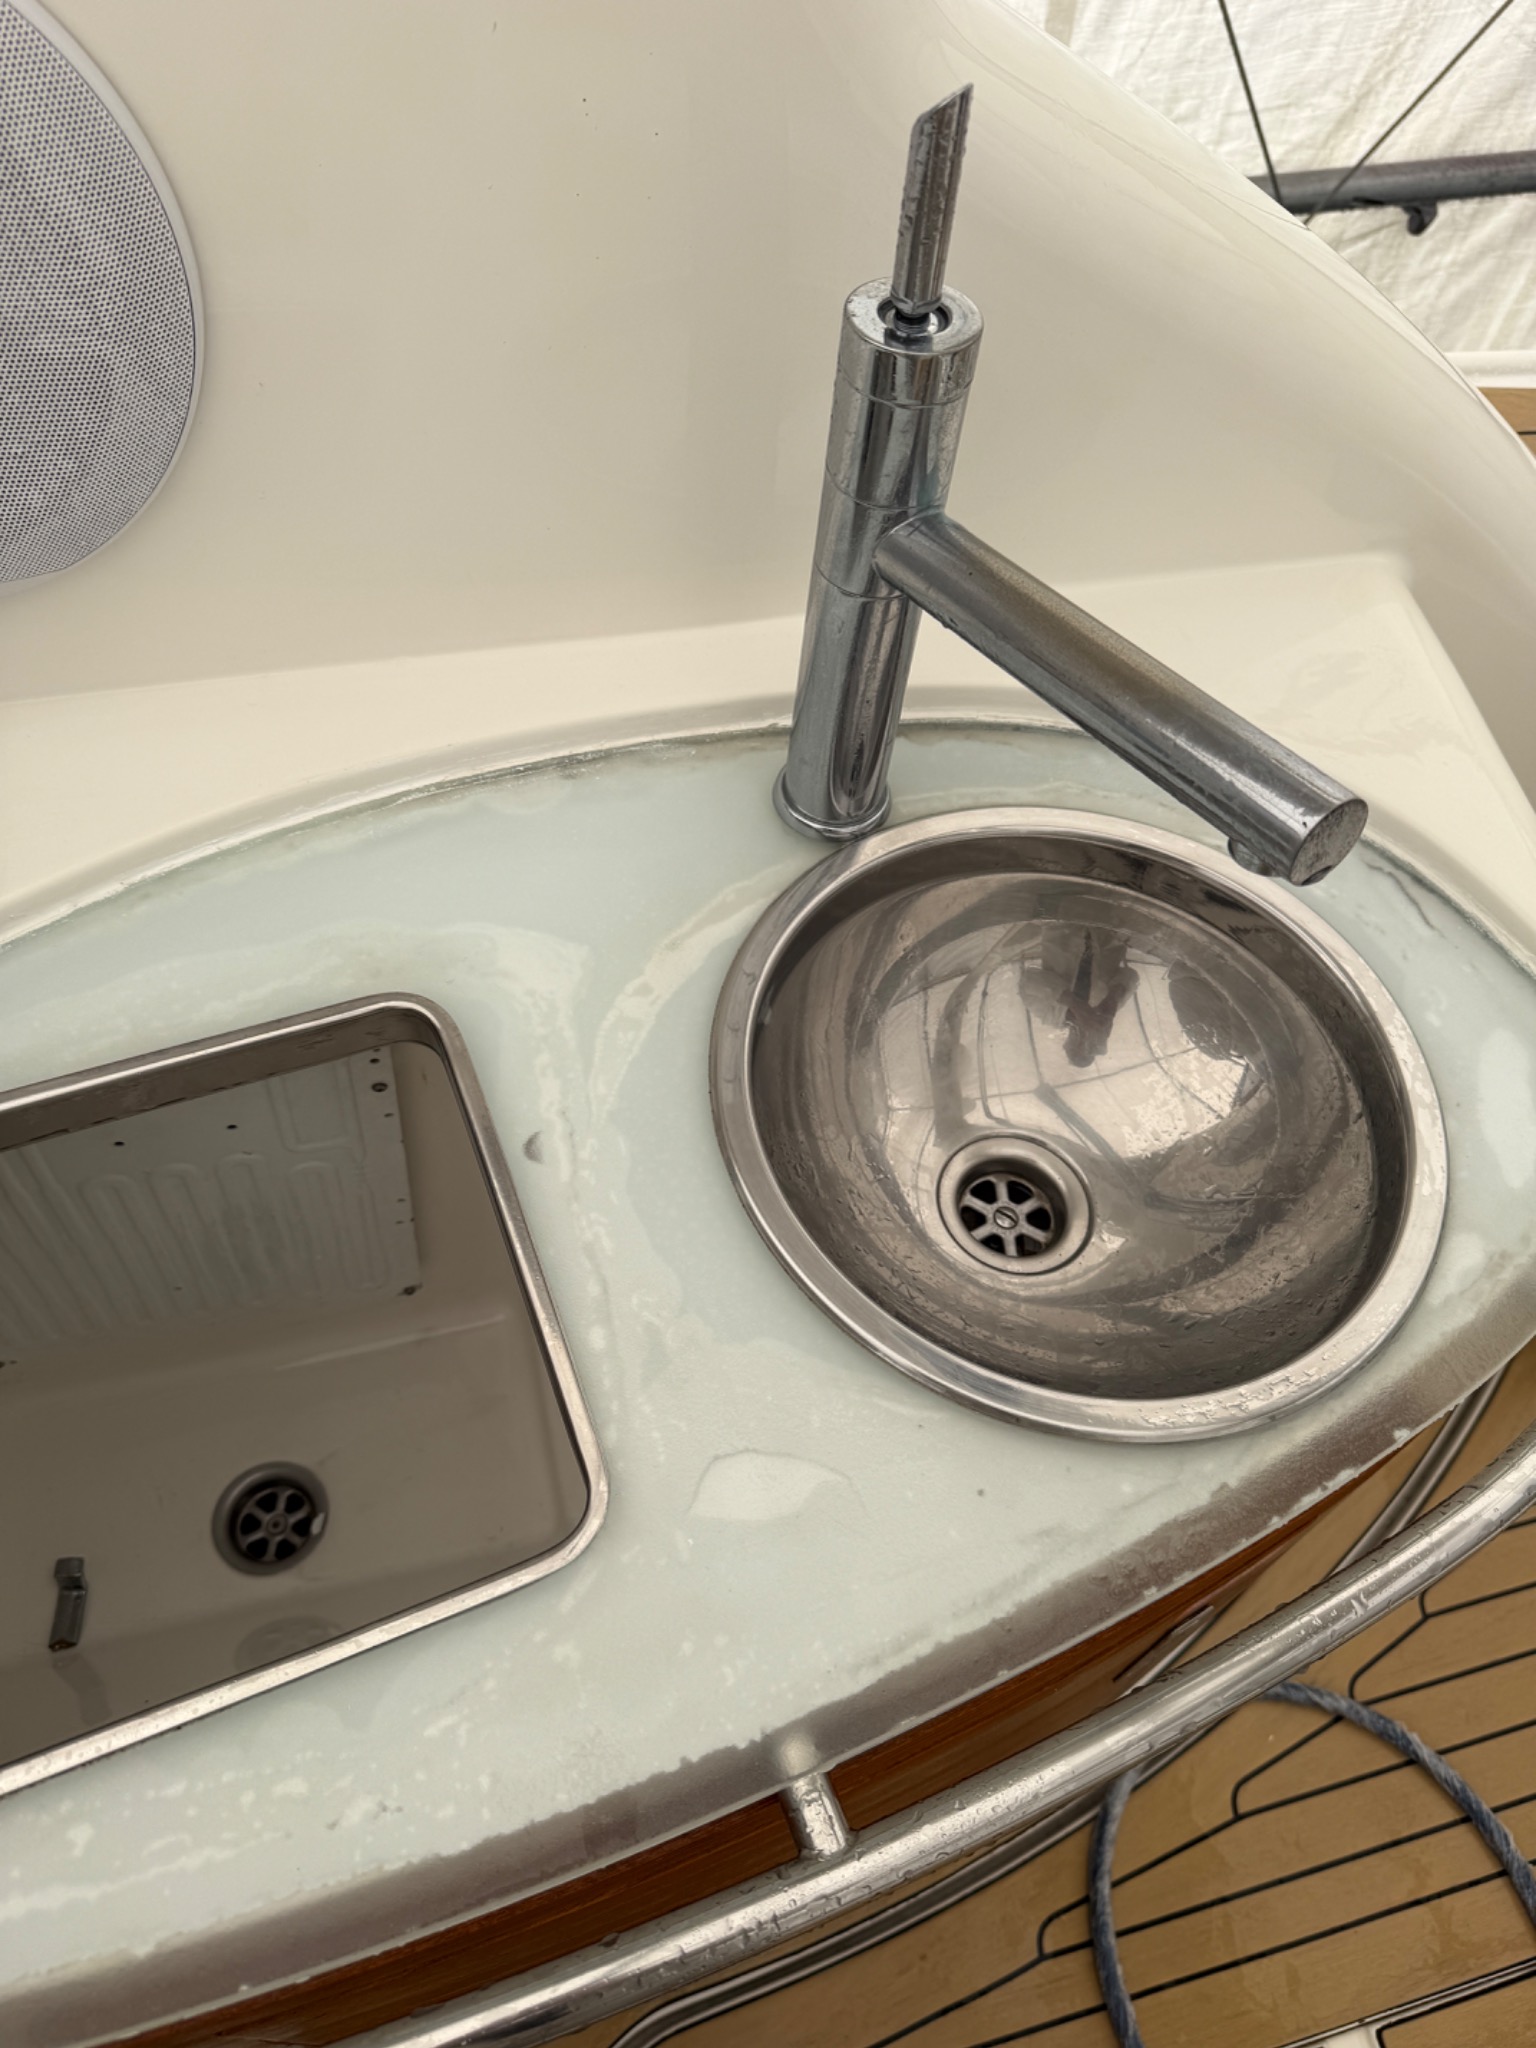
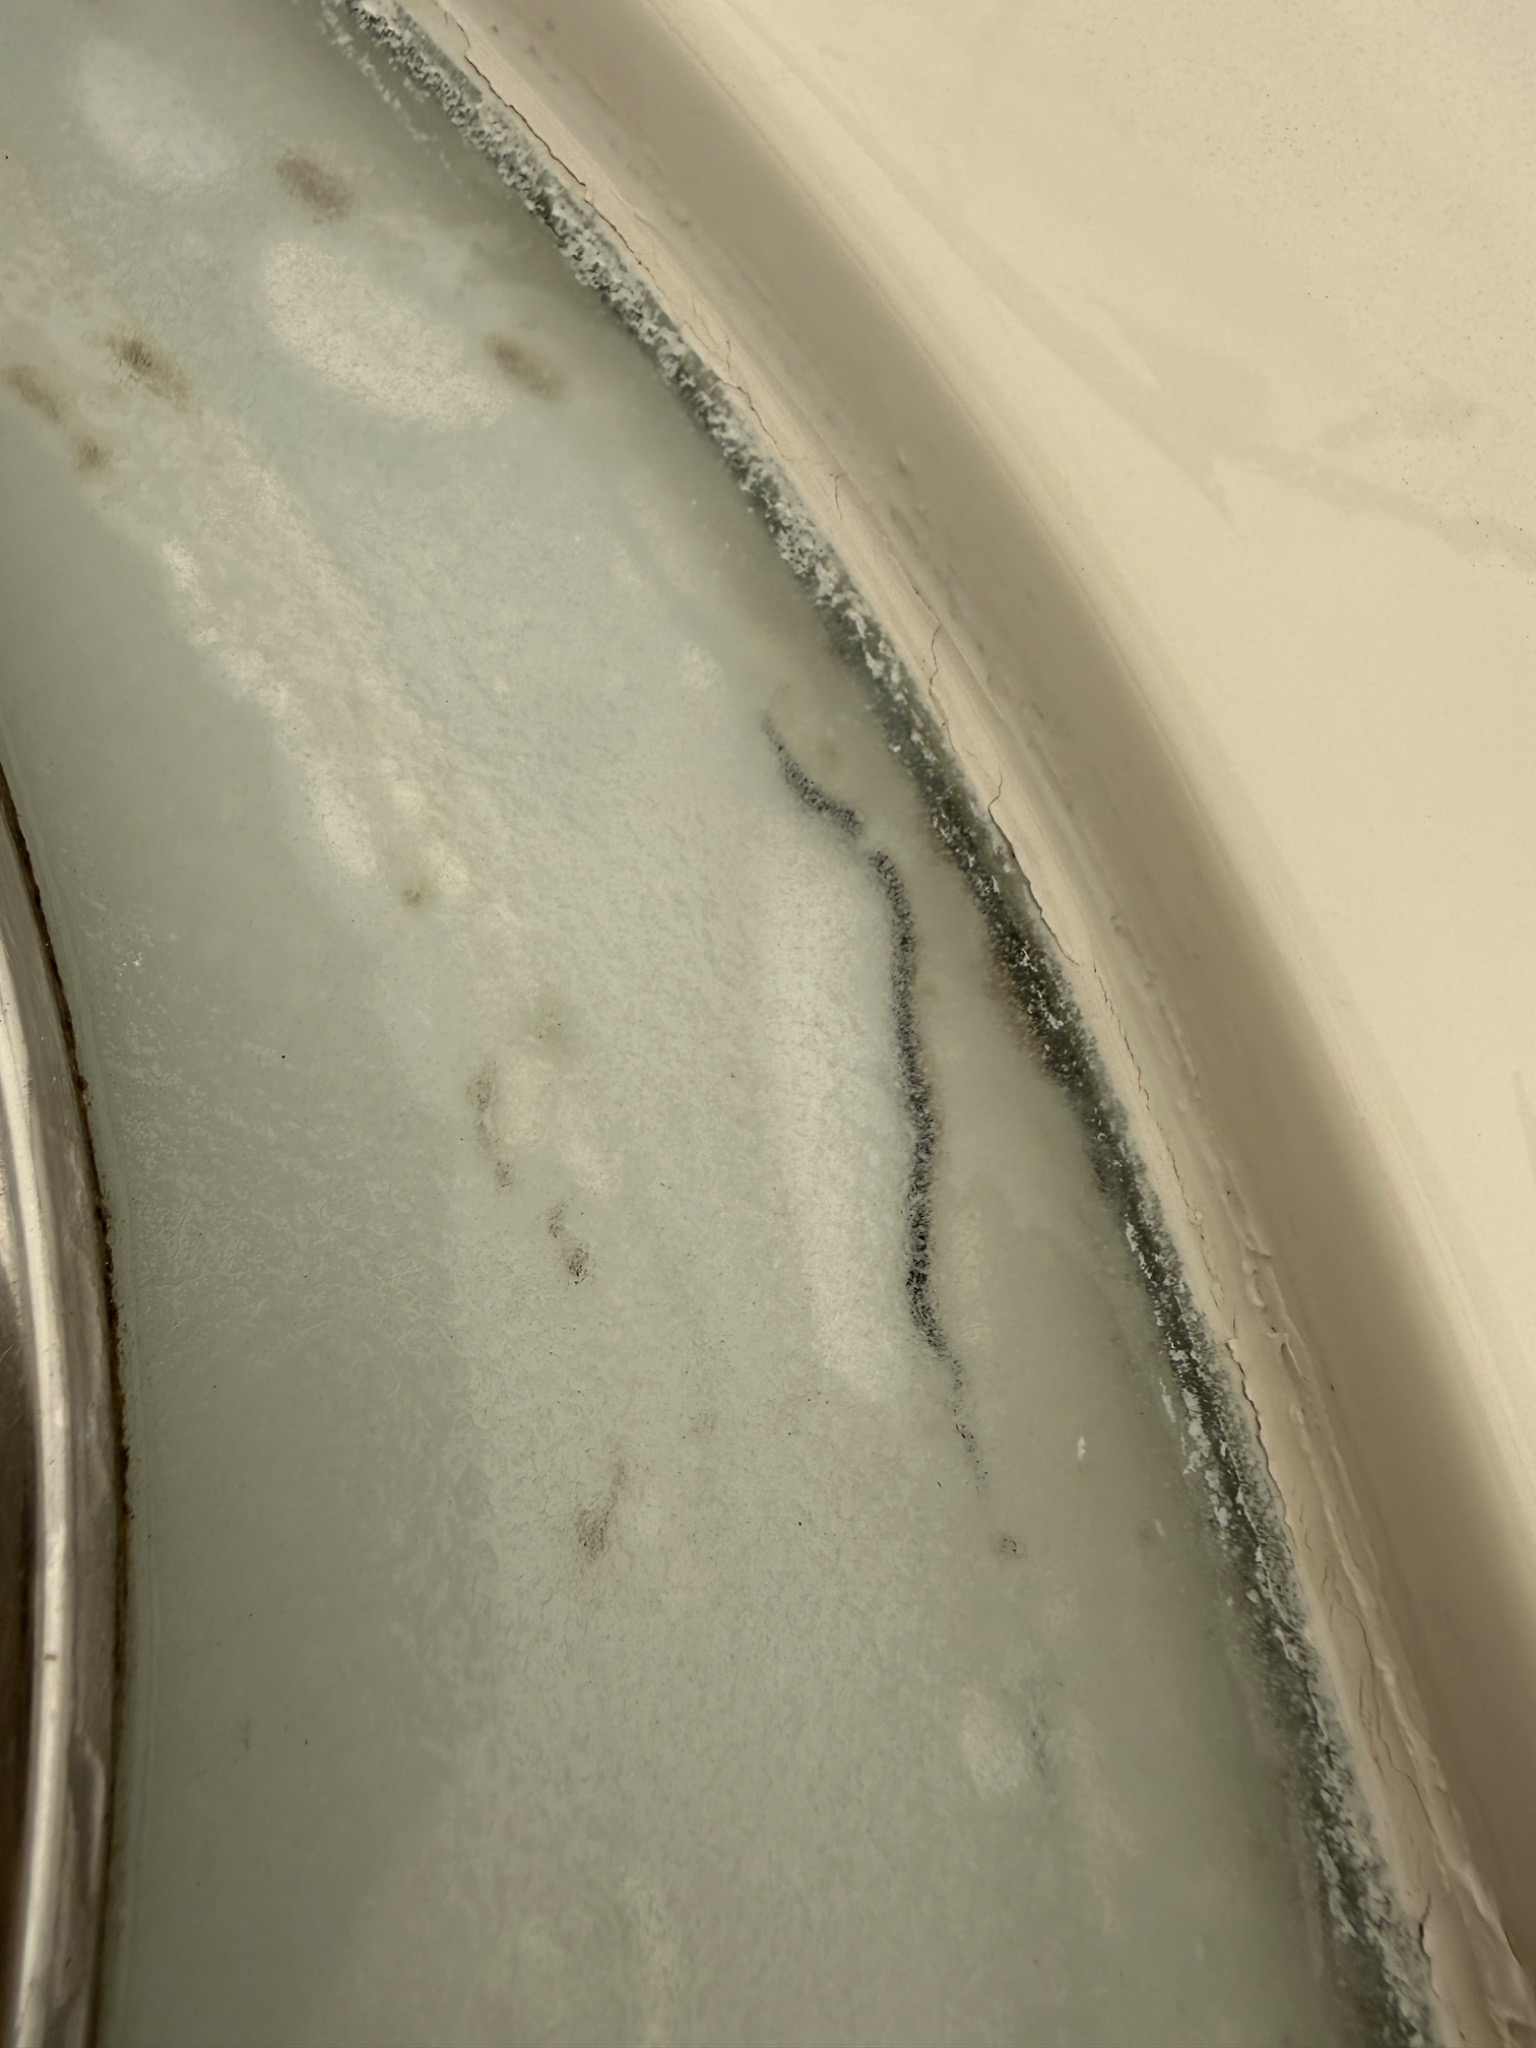
The frosted glass forming the wet-bar worktop had detached from the surface beneath. The glass was removed, refinished and reinstalled, followed by the sink, tap and surrounding details. The photographs show the stages through to the fully reassembled wet bar.
03 / The finishing stages

Attention to the final details.

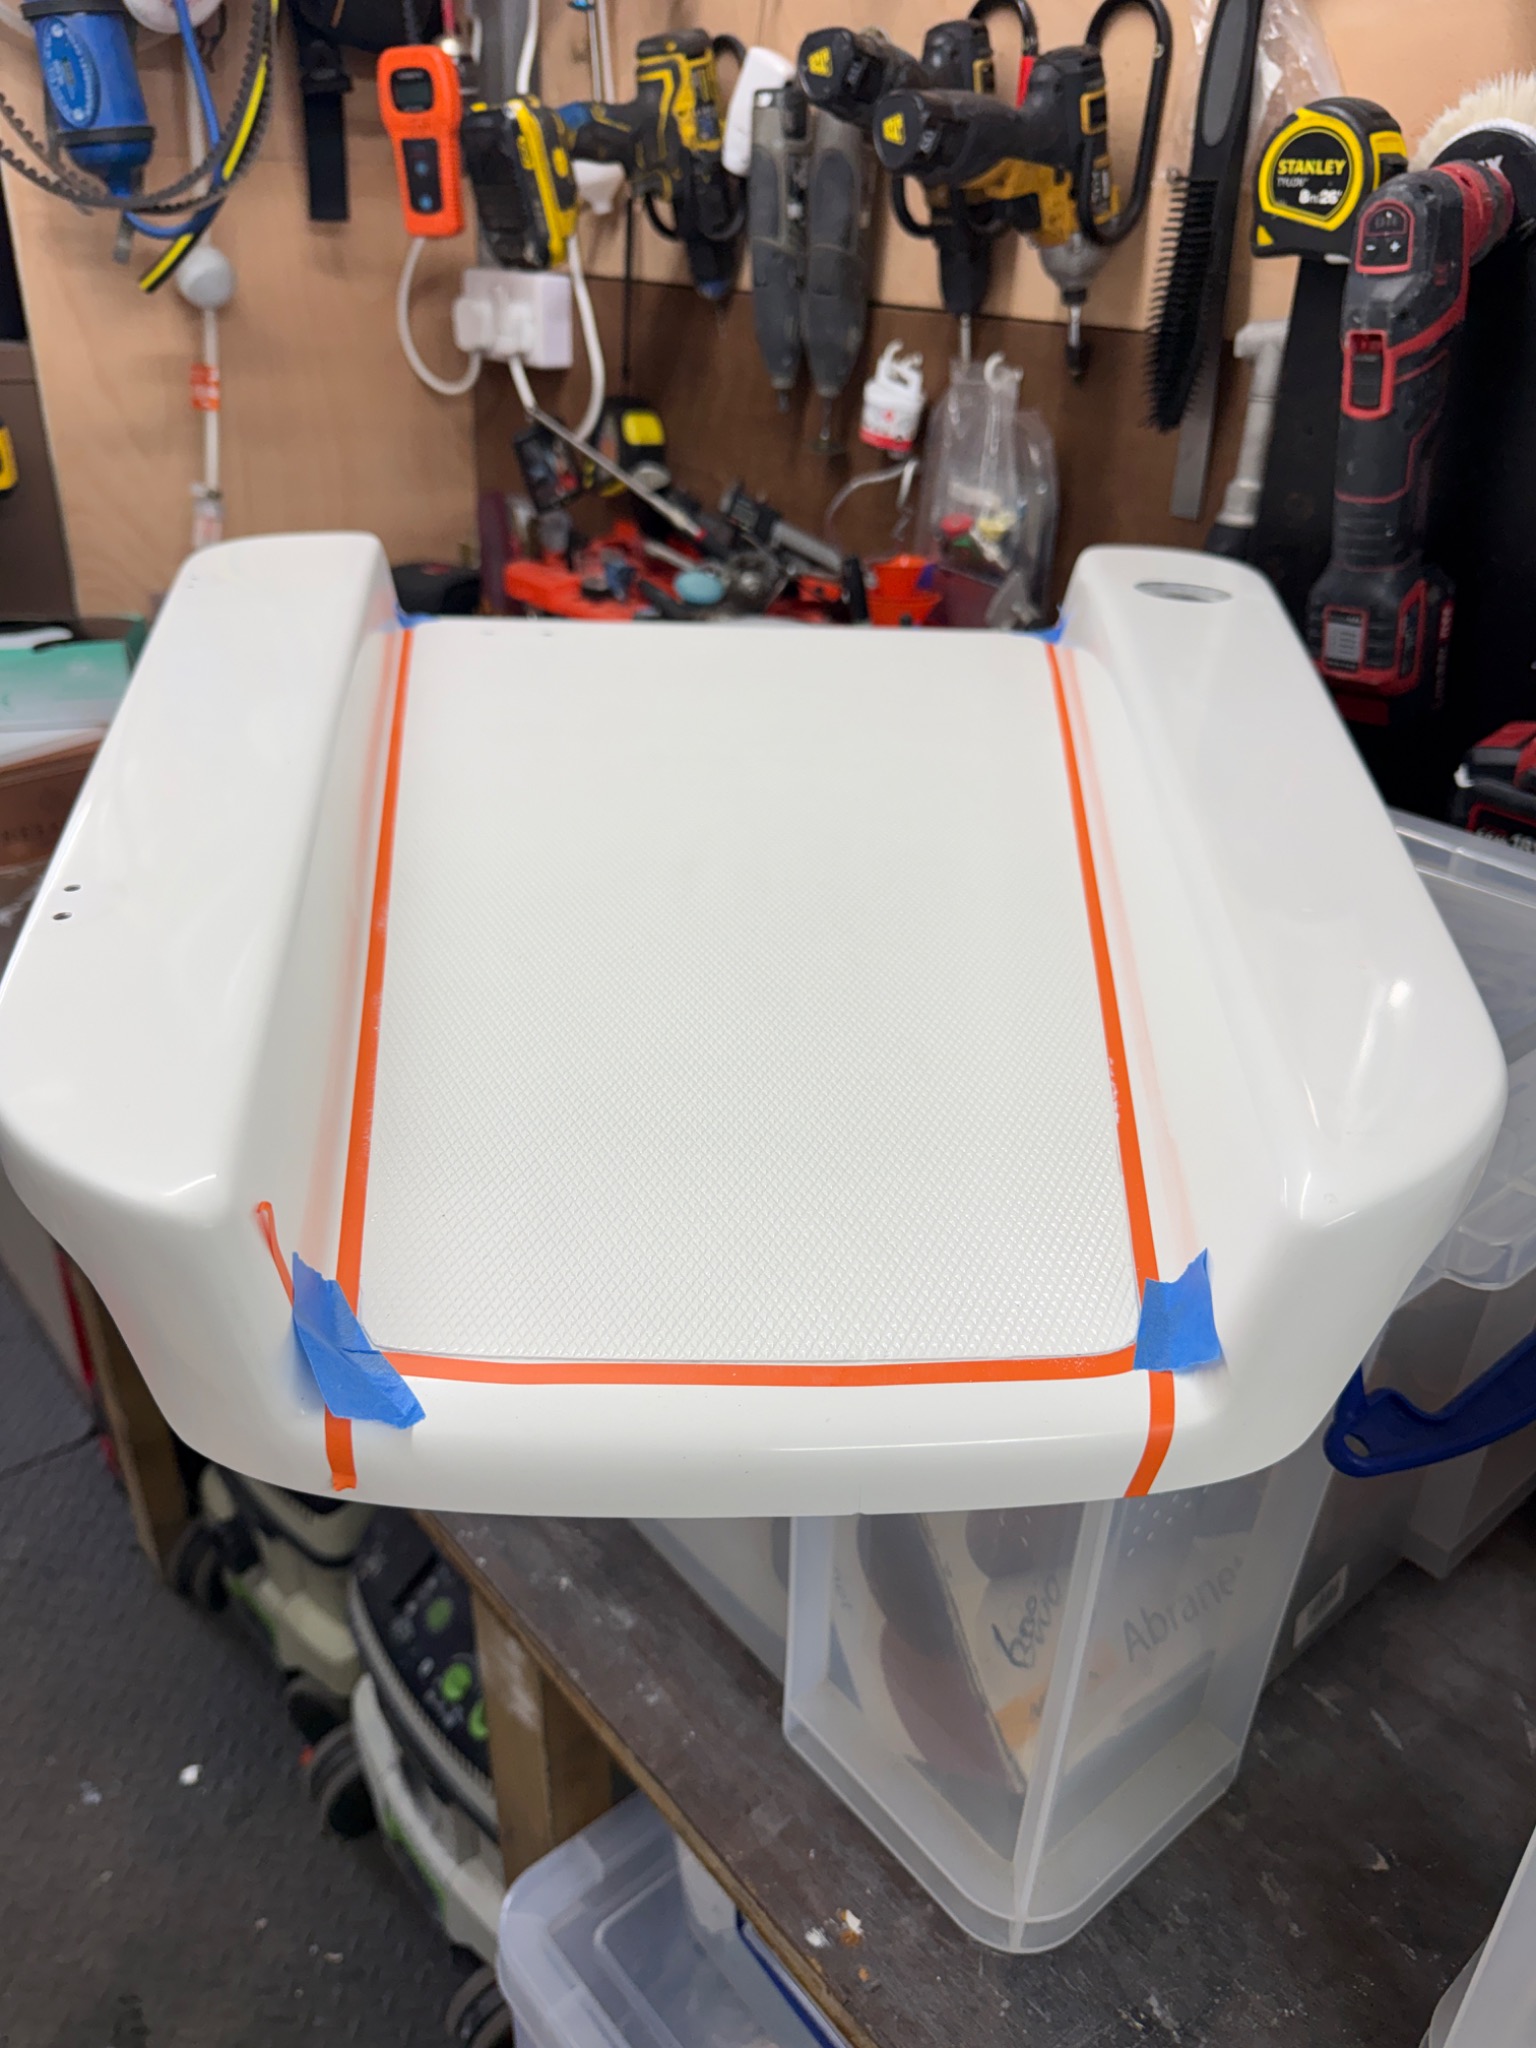
The non-slip surfaces were re-coated, individual components were finished and the vessel was thoroughly detailed before her return to the water.
04 / The final result

Restored. Relaunched. Ready for a new owner.

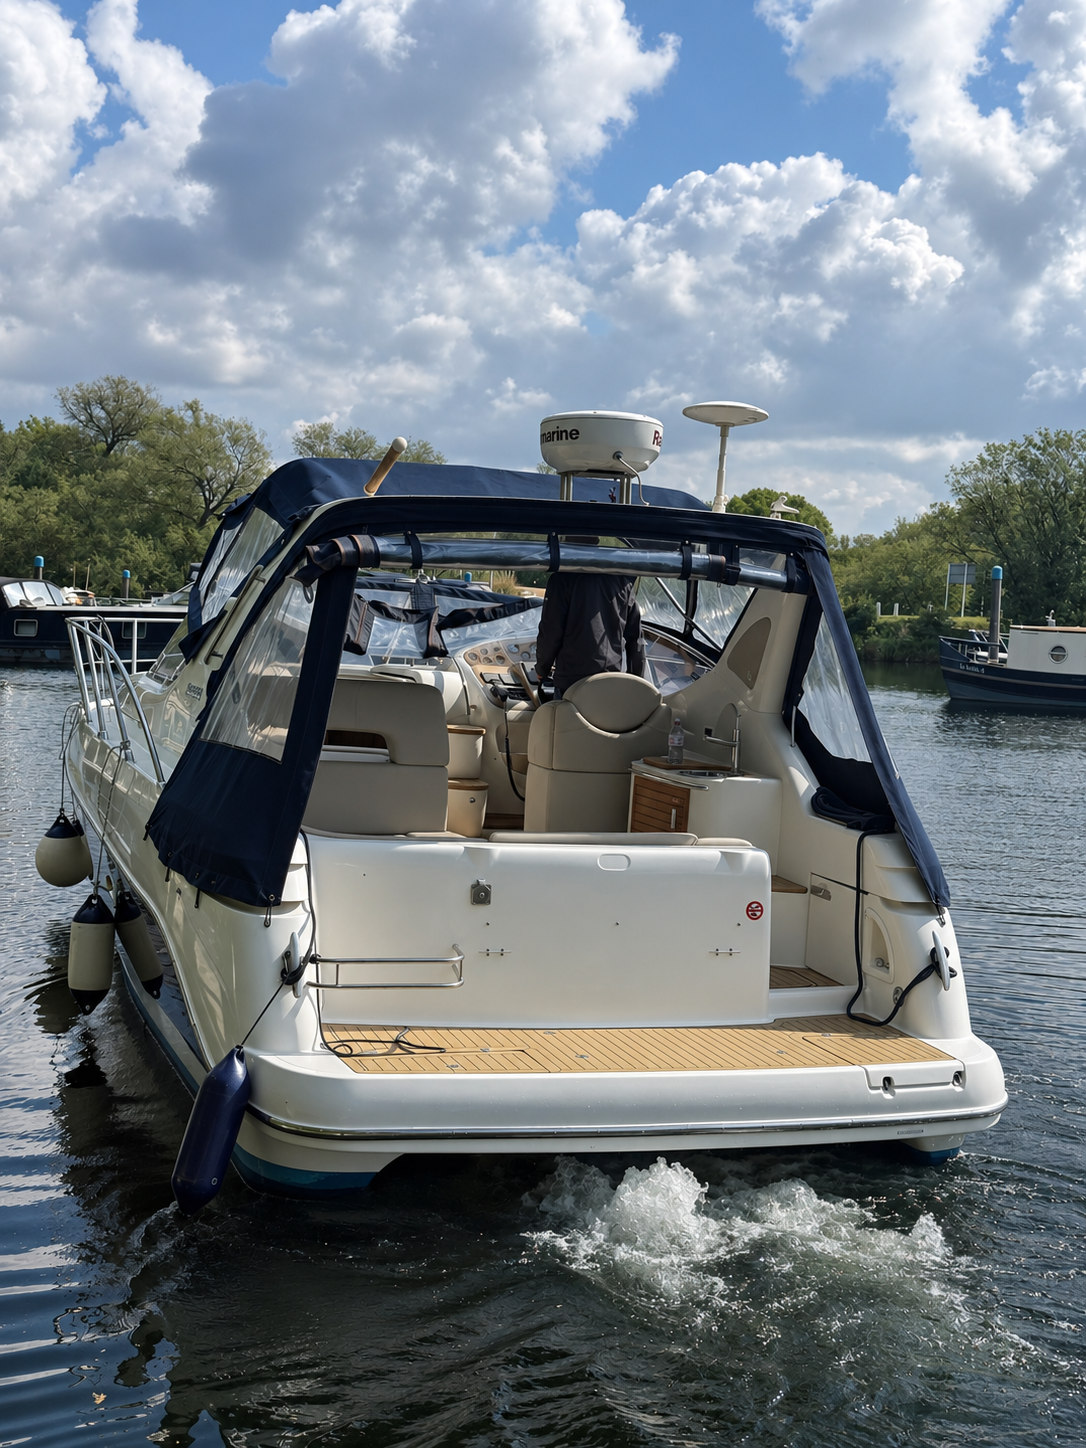
After the extensive gelcoat restoration, surface correction, cockpit overhaul and final detailing, the Sessa C35 returned to the water.

The boat sold that same afternoon — a memorable conclusion to a comprehensive pre-sale refurbishment.
PROJECT OUTCOMESold on the afternoon of relaunch.
Finished Sessa C35 stern and cockpit afloat following restoration
Restored cruiser afloat
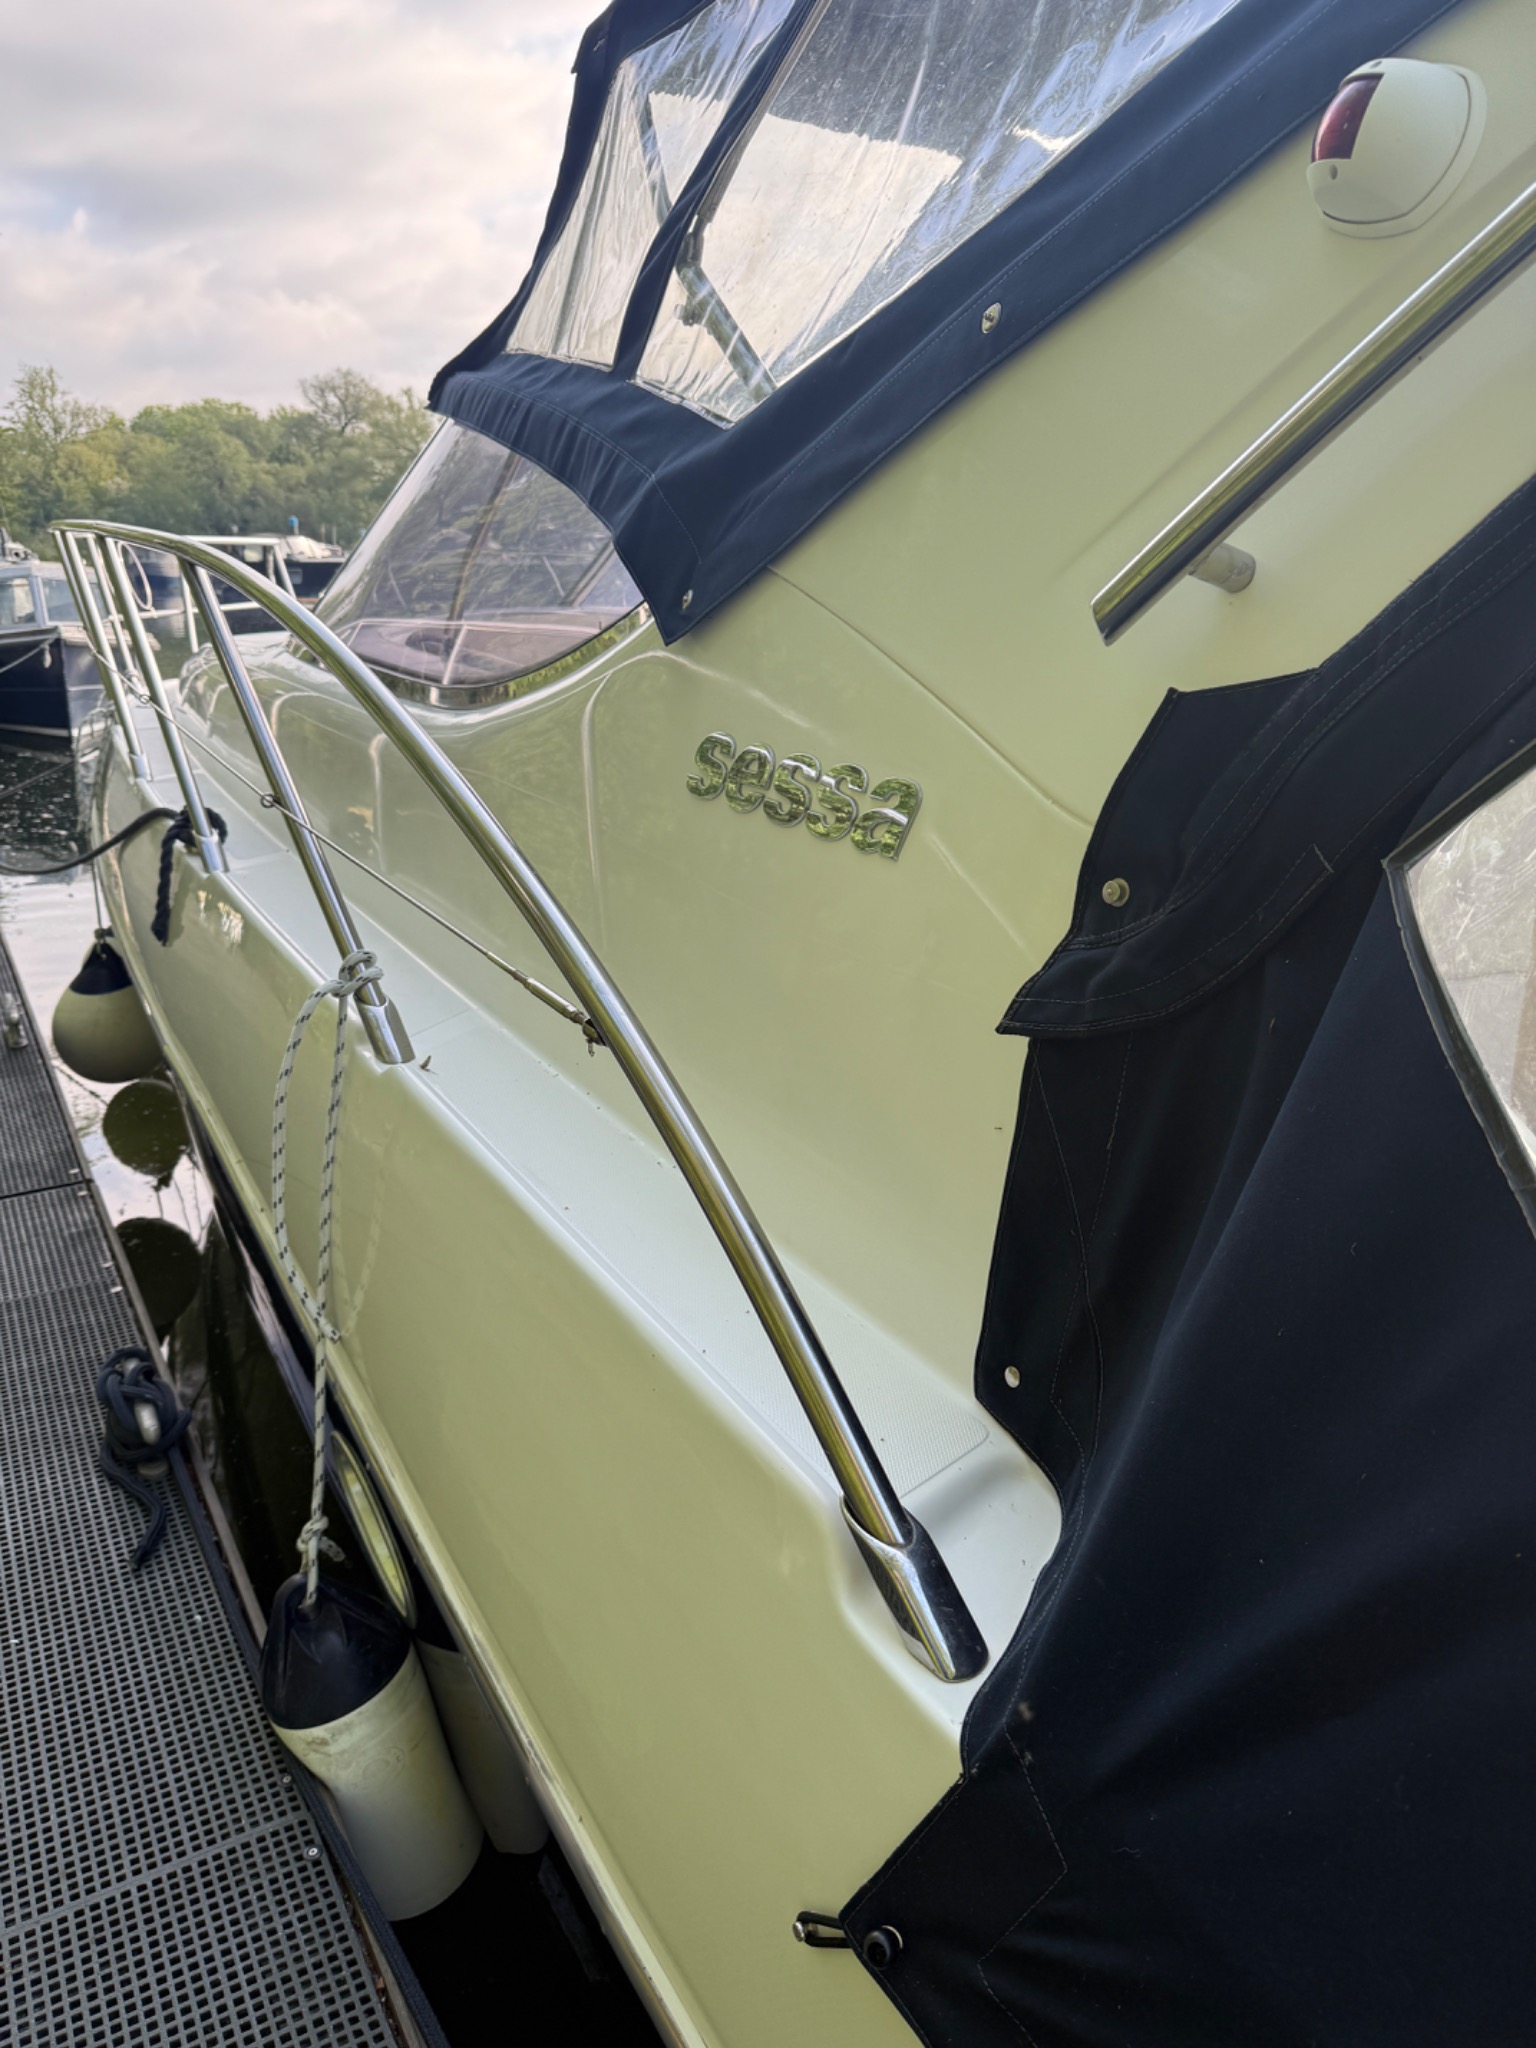
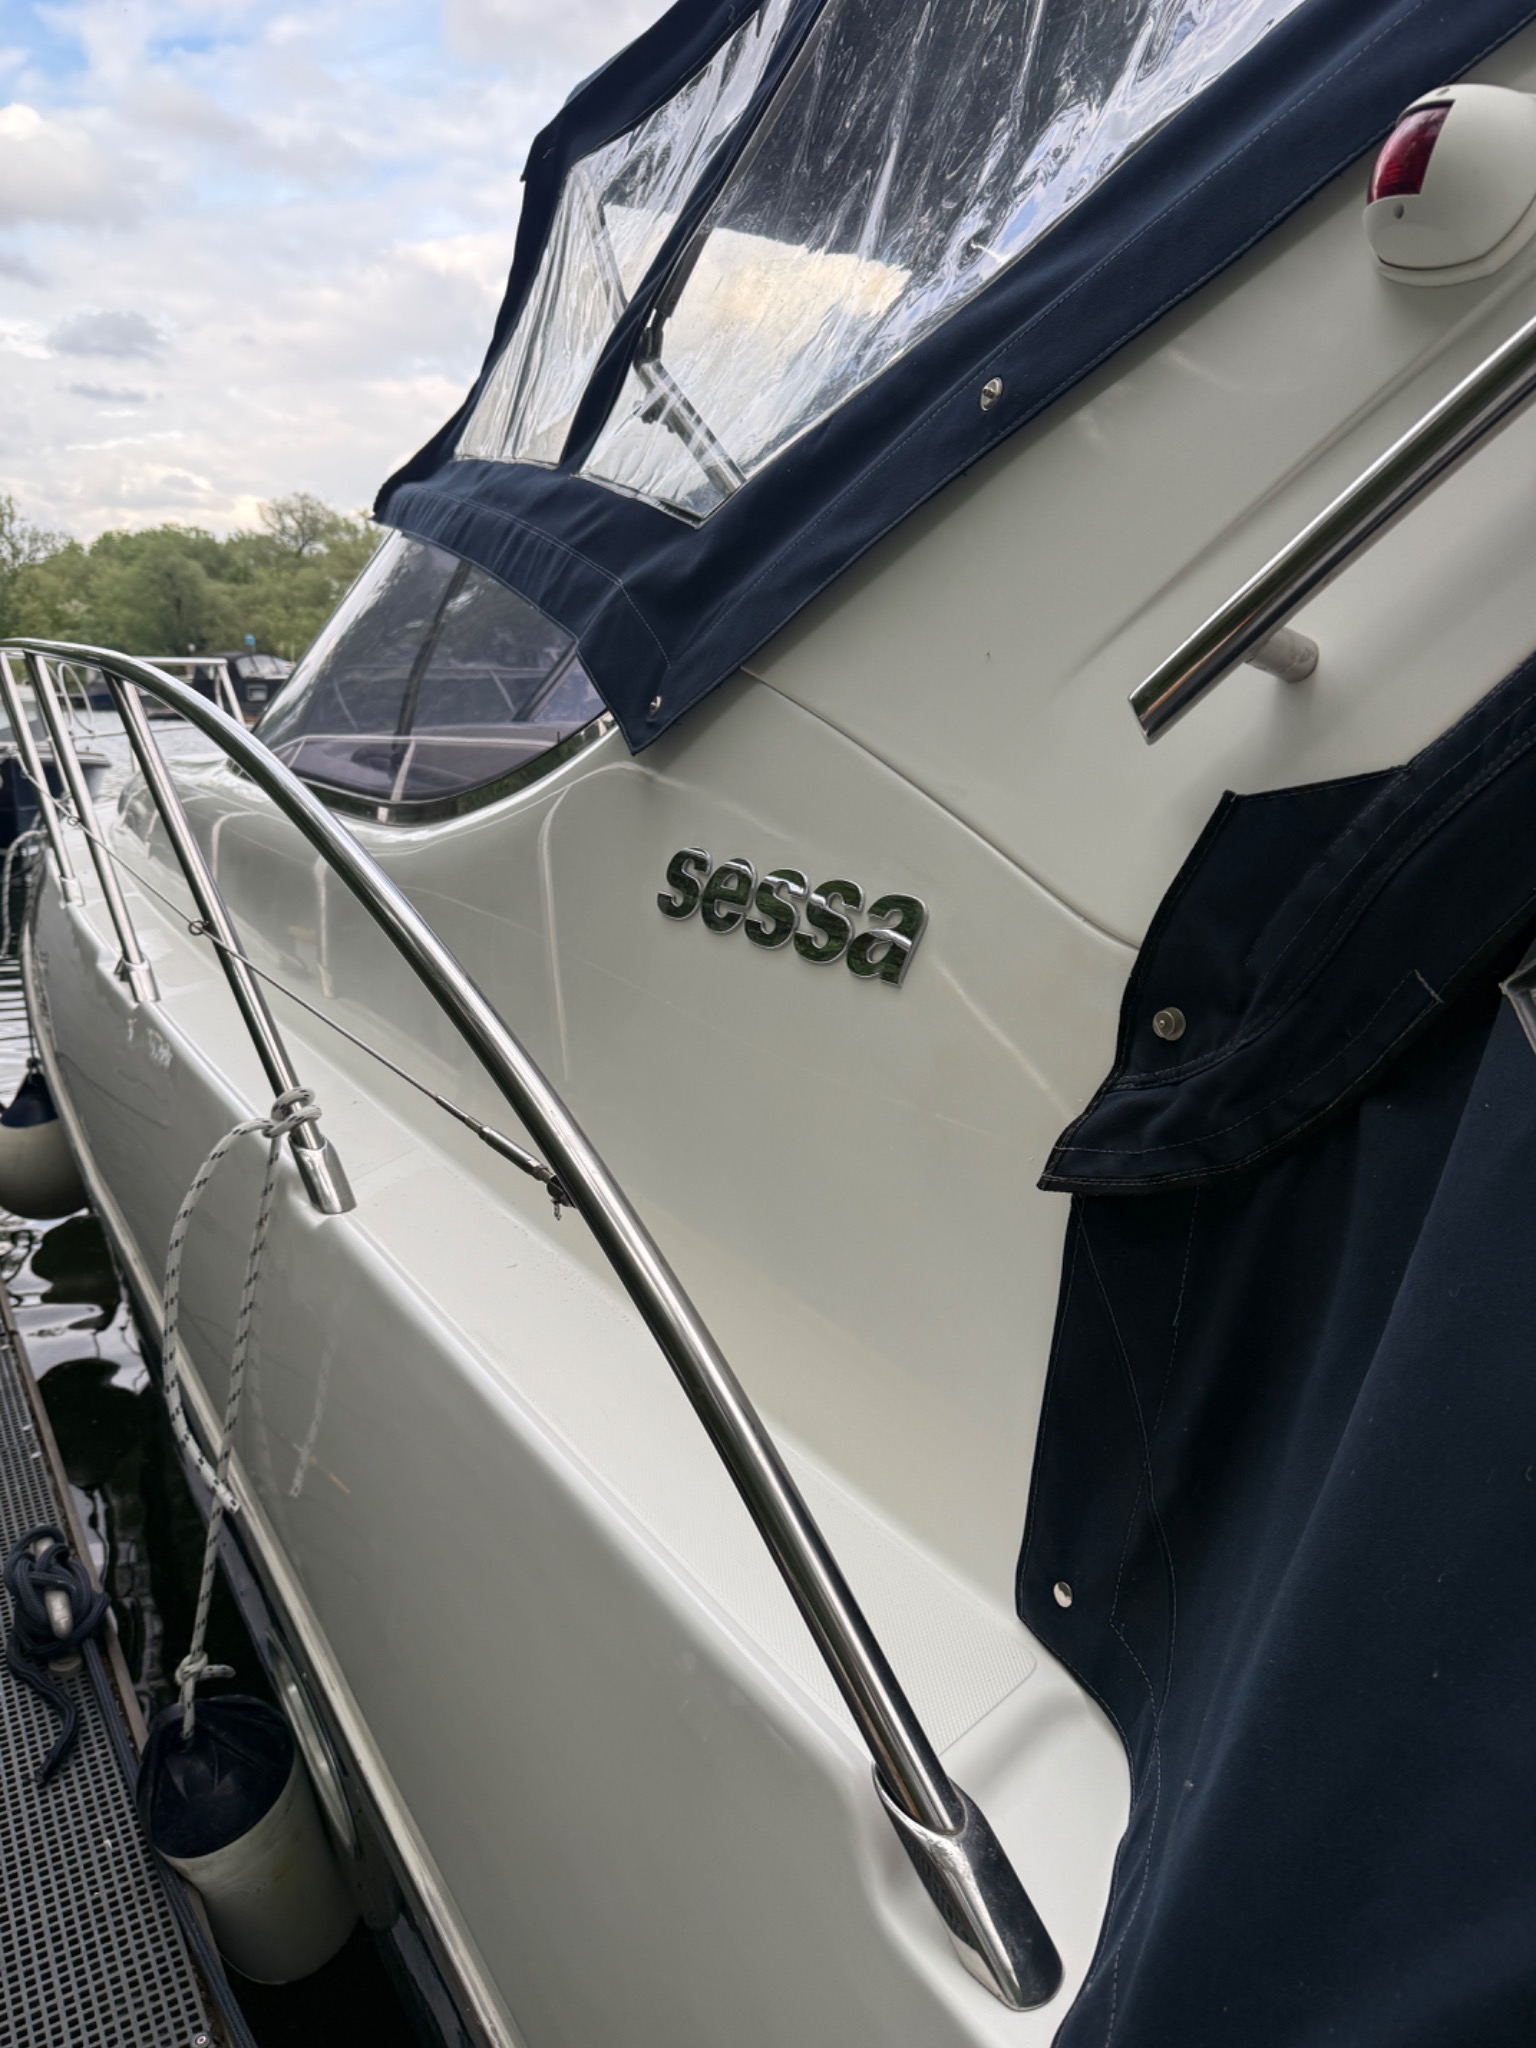
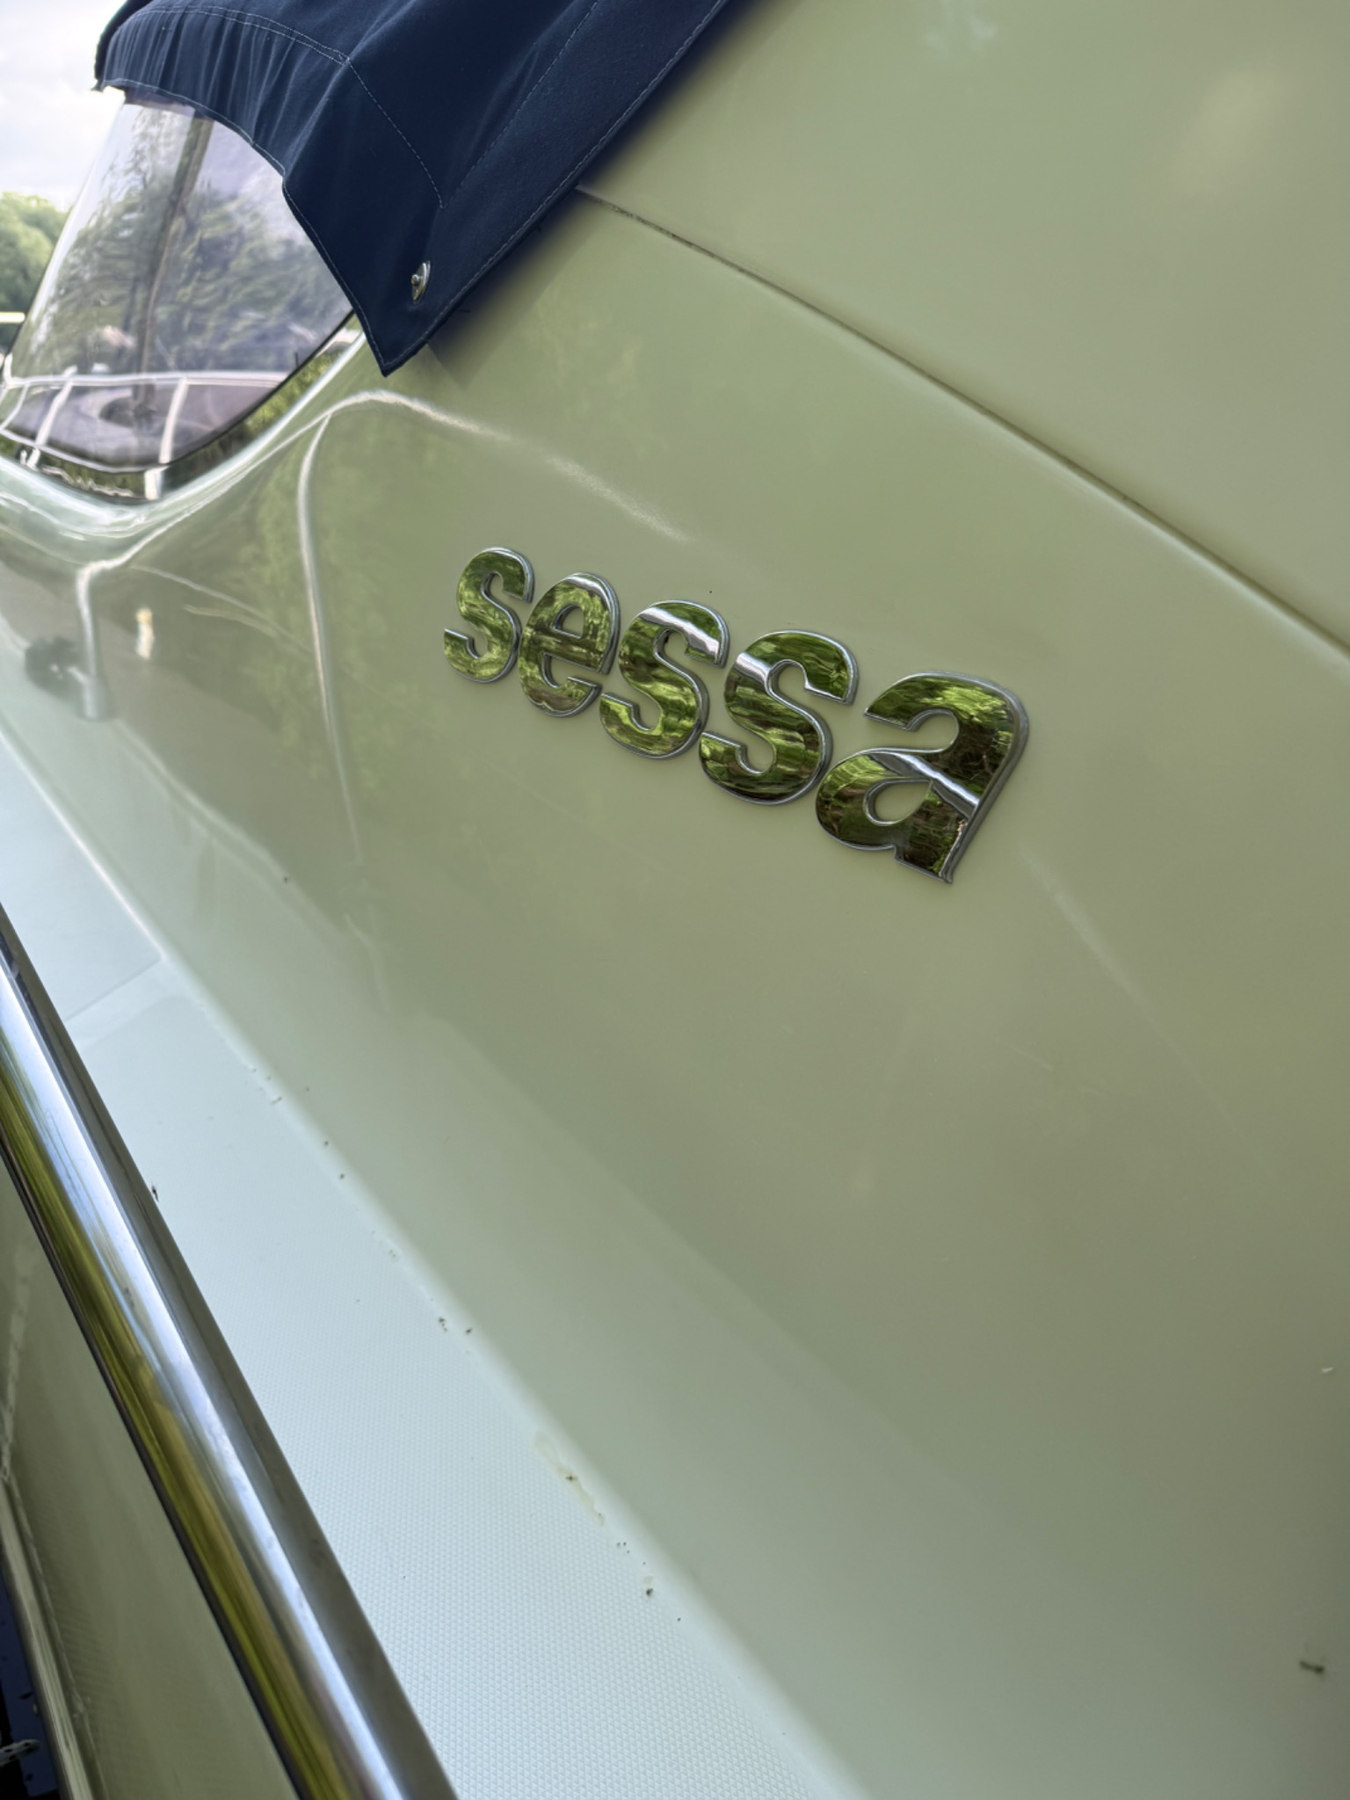
Polished Sessa badge reflecting trees in the refurbished white gelcoat
Gelcoat finish · detail of the restored exterior
Finished Sessa C35 fibreglass cruiser showing the restored starboard hull side and side deck from aft looking towards the bow
Starboard exterior · completed surface restoration
Finished Sessa C35 side deck and aft superstructure with polished gelcoat and Sessa builder's emblem
Aft superstructure · completed finish
Completed Sessa C35 aft superstructure and side deck, with Sessa builder's emblem and stainless-steel guardrails
Final exterior detail · aft quarter
Hull Gel / Restoration for quality cruisers

See what your vessel could become.

Whether your boat needs precision gelcoat repairs or a more comprehensive restoration, the starting point is understanding its condition and your aims.

Discuss your vessel